4
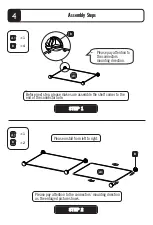
Assembly Steps
5
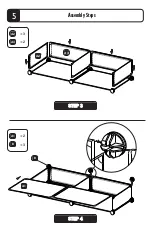
Assembly Steps
STEP 1
STEP 2
STEP 4
STEP 3
A
A1
× 2
A
B
× 3
A
B
Ÿ
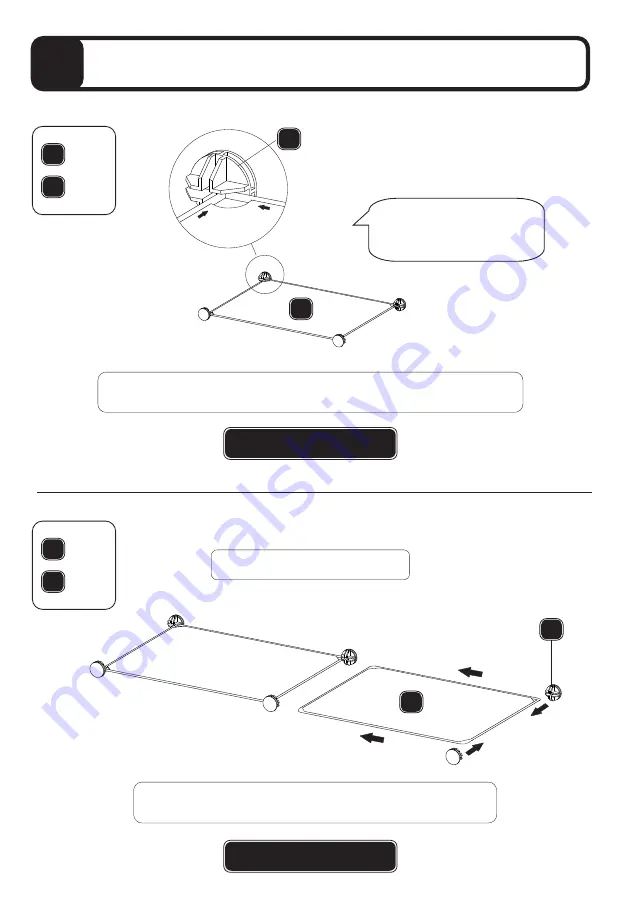
Please pay attention to
the connectors
mounting direction.
× 1
A
B
× 2
A
A1
A
A1
A
A1
A
B
Please install from left to right.
A
A2
× 3
A
A3
× 2
A
A2
A
A3
A
A1
A
B
A
A1
A
B
× 1
A
B
× 4
A
A1
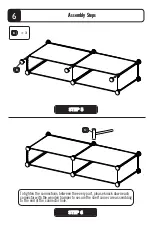
Before next step, please make sure assemble the shelf corner to the
end of the connector hole.
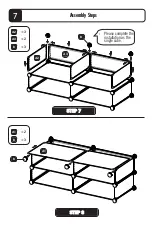
Please pay attention to the connectors’ mounting direction
as the enlarged picture shows.


