background image


SonicWALL Content Security Manager 2100 CF Getting Started Guide       Page 3

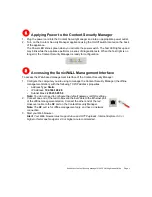
Applying Power to the Content Security Manager

1. Plug the power cord into the Content Security Manager and into an appropriate power outlet. 
2. Turn on the Content Security Manager appliance using the On/Off switch located on the back 

of the appliance. 
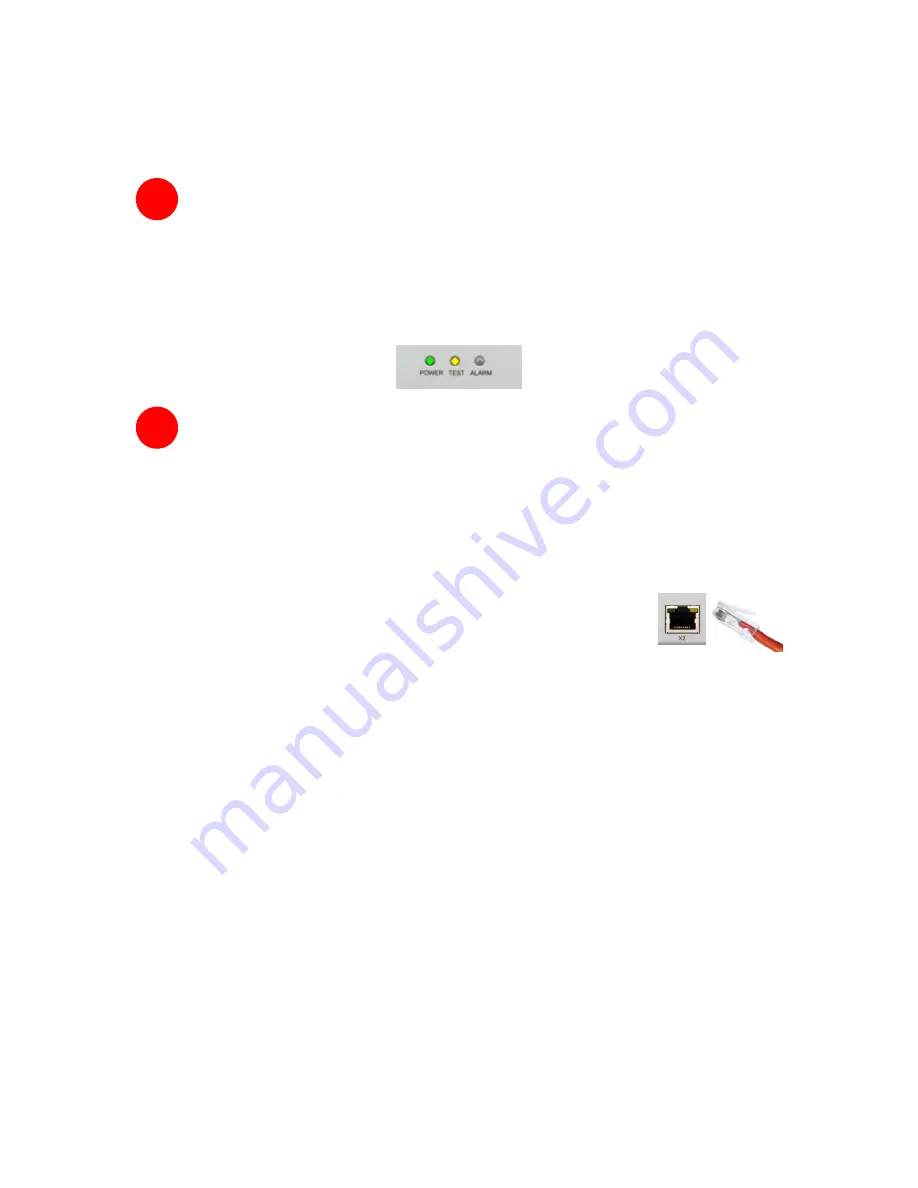
The Power LED shines green when you activate the power switch. The Test LED lights up and 
may blink while the appliance performs a series of diagnostic tests. When the Test light is no 
longer lit, the Content Security Manager is ready for configuration. 

Accessing the SonicWALL Management Interface

To access the Web-based management interface of the Content Security Manager: 
1. Configure the computer you are using to manage the Content Security Manager (the offline 

management station) with the following TCP/IP address properties:

Address Type: 

Static

IP Address: 

192.168.168.20


Subnet Mask: 

255.255.255.0


Note:


You do not need to configure the default gateway or DNS settings. 

2. Connect one end of the red crossover Ethernet cable to the Ethernet port 

of the offline management station. Connect the other end of the red 
crossover cable to the 

X2

 port on the Content Security Manager.

Note:


The 

X2

 port is for offline management only, and has no network 

connection. 

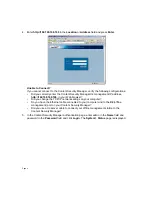
3. Start your Web browser. 

Alert: 

Your Web browser must support Java and HTTP uploads. Internet Explorer 5.0 or 

higher or Netscape Navigator 4.0 or higher are recommended.


1

2

Summary of Contents for 2100 CF

Page 1: ...COMPREHENSIVE INTERNET SECURITY SSSonicWALL Content Security Manager 2100 CF Getting Started Guide...

Page 2: ...e complexities of your network Note For complete configuration instructions refer to the SonicWALL Content Security Manager 2100 CF Administrator s Guide available on the SonicWALL Content Security Ma...

Page 3: ...mation carefully Username default admin Password default password Content Security Manager Configuration Steps Getting started with your Content Security Manager comprises the following steps Applying...

Page 4: ...cess the Web based management interface of the Content Security Manager 1 Configure the computer you are using to manage the Content Security Manager the offline management station with the following...

Page 5: ...168 in your Web browser Did you change the TCP IP network settings on your computer Do you have the Ethernet cable connected to your computer and to the X2 offline management port on your Content Secu...

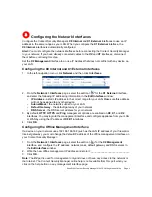
Page 6: ...address will not be assigned to any other device Subnet Mask the network subnet for your LAN Default Gateway the default gateway of your network DNS Server the DNS server address for your network 3 By...

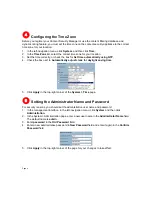
Page 7: ...utomatically adjust clock for daylight saving time 5 Click Apply in the top right corner of the System Time page Setting the Administrator Name and Password For security reasons you should set the adm...

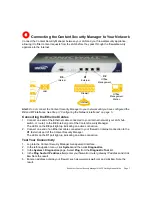
Page 8: ...0 Internal port of the Content Security Manager The LEDs on the X0 port light up indicating an active connection 2 Connect one end of an Ethernet cable connected to your firewall or internet connectio...

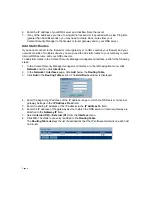
Page 9: ...rform the following steps 1 In the Content Security Manager management interface in the left navigation menu click Network and then click Interfaces 2 In the Network Interfaces page click Add below th...

Page 10: ...L management interface Alert Verify that the DNS and Time settings on your Content Security Manager are correct when you register the device Configure Time settings in the System Time page Configure D...

Page 11: ...account has been created Click Continue Congratulations Your mySonicWALL com account is activated Now you need to log into mySonicWALL com to register your Content Security Manager Registering Your C...

Page 12: ...inue with steps 7 8 and 9 to further customize your installation Modifying the Default Policy Group The Content Security Manager includes a preconfigured Default policy group that automatically applie...

Page 13: ...line as the Default policy The Edit Policy Group window is displayed 3 Click the Policies tab 4 Select the policy categories you want to add to the Default policy group Select the Name column to selec...

Page 14: ...ecurity Manager application filtering applies to all network users 1 In the Content Security Manager management interface click on Application Filters The Settings page is displayed 2 Click Enable App...

Page 15: ...ator s Guide for complete instructions on installing configuring and using the SonicWALL ADConnector application Alert The following instructions assume Active Directory is fully operational on your n...

Page 16: ...t password Installing the SonicWALL ADConnector The SonicWALL ADConnector installation wizard installs both the SonicWALL AD Configuration Tool and the SonicWALL Agent Service Note You must have admin...

Page 17: ...st be a 16 digit hexadecimal number for example 0123456789abcdef 11 Click Next 12 On the CFA User Configuration page enter information for the domain user account the ADConnector will use to log into...

Page 18: ...anaged Configuring the Content Security Manager for Active Directory 1 In the Content Security Manager management interface select Users Settings 2 In the Authentication Method section select Use Wind...

Page 19: ...a Static Route to the ADConnector If the ADConnector is installed on a computer in a different subnet than the Content Security Manager you need to add a static route in the Content Security Manager...

Page 20: ...oup 5 Determine if any of your users have content filtering needs different from the needs of the group they belong to and assign an appropriate policy or policy group to each exceptional user 6 Deter...

Page 21: ...names mentioned herein may be trademarksand or registeredtrademarksof theirrespective companies Specifications and descriptions subjectto change with out notice T 408 745 9600 F 408 745 9300 www sonic...

Reviews: