Page 16
Connecting and Configuring the
SonicWALL Email Security Appliance on the Network
This section contains the following sub-sections:
•
“Connecting the SonicWALL Email Security Appliance to Your Network” on
page 16
•
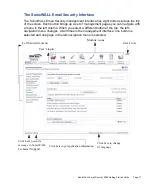
“The SonicWALL Email Security Interface” on page 17
•
“Change the Default Administrator Password” on page 18
•
“Enter the License Keys for Each Service” on page 18
•
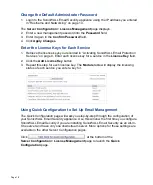
“Using Quick Configuration to Set Up Email Management” on page 18
Connecting the SonicWALL Email Security Appliance to Your
Network
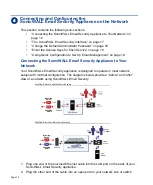
Your SonicWALL Email Security appliance is designed to operate in most network
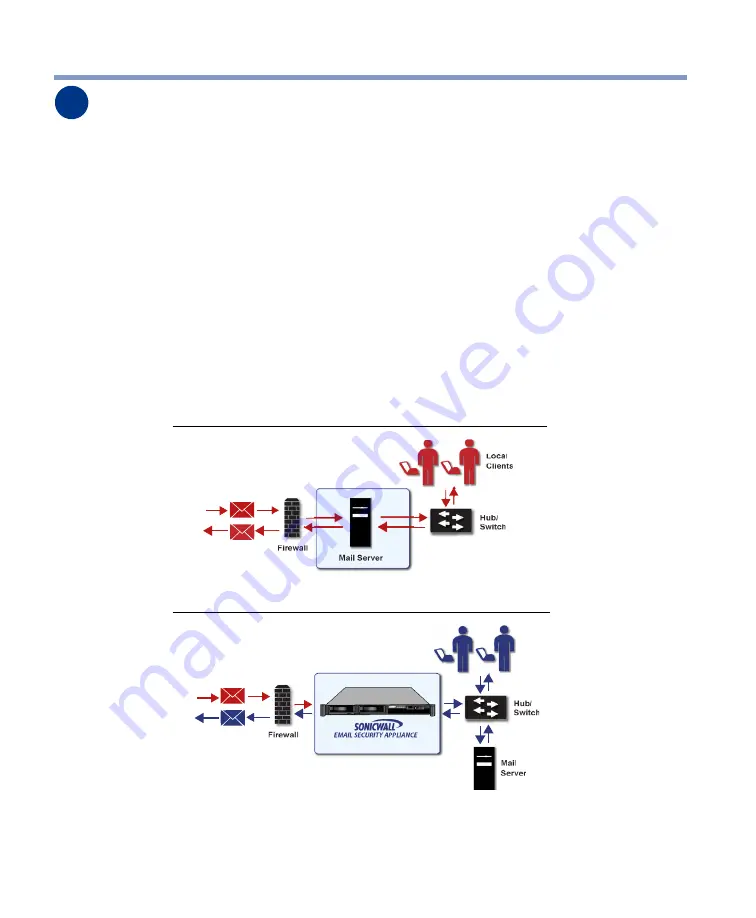
setups with minimal configuration. The diagrams below provide a “before” and “after”
view of a network using SonicWALL Email Security.
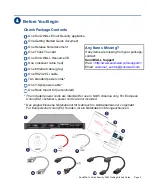
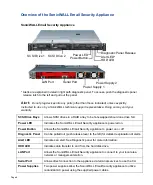
1. Plug one end of the provided Ethernet cable into the LAN port on the back of your
SonicWALL Email Security appliance.
2. Plug the other end of the cable into an open port on your network hub or switch.
4
Local
Clients
Incoming
Outgoing
Incoming
Outgoing
Mail Flow Before SonicWALL Email Security
Mail Flow After SonicWALL Email Security
EMAIL SECURITY 8000

