SonicWALL Installation Guide Page 23
Connecting the SonicWALL to the Network
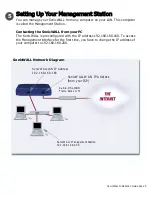
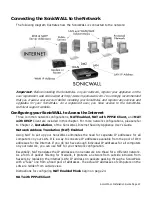
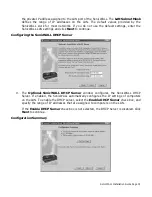
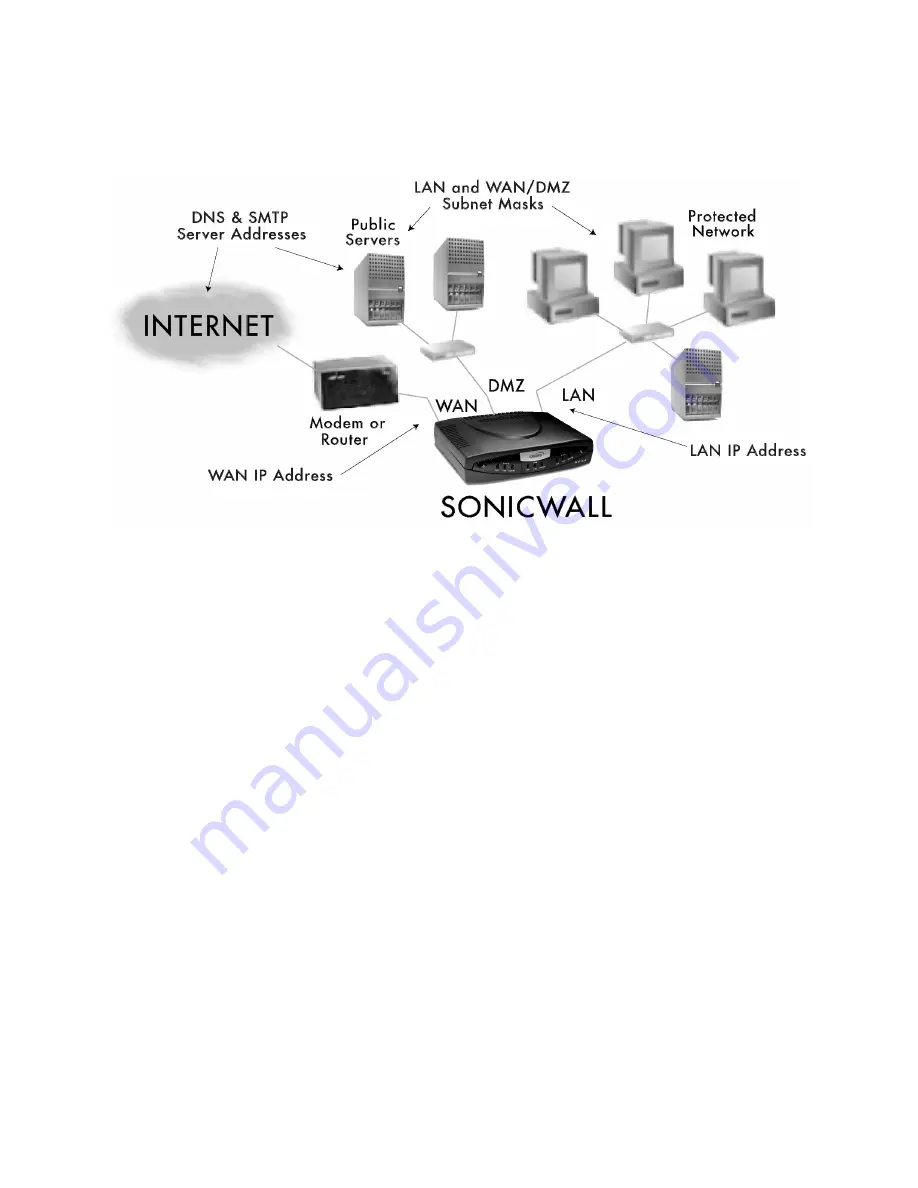
The following diagram illustrates how the SonicWALL is connected to the network:
Important
: Before installing the SonicWALL on your network, register your appliance on the
user registration web site located at http://www.mysonicwall.com. It is strongly recommended
that you create a user account before installing your SonicWALL and register any services and
upgrades for your SonicWALL.
As a registered user, you have access to the SonicWALL
technical support website.
Configuring your SonicWALL to Access the Internet
Three common network configurations,
NAT Enabled, NAT with PPPoE Client,
and
NAT
with DHCP
Client are included in this chapter. For more network configurations, please refer
to Chapter 2,
Installation
, of the SonicWALL Internet Security Appliance User’s Guide.
Network Address Translation (NAT) Enabled
Using NAT to set up your SonicWALL eliminates the need for separate IP addresses for all
computers on your LAN. It is a way to conserve IP addresses available from the pool of IPv4
addresses for the Internet. If you do not have enough individual IP addresses for all computers
on your network, you can use NAT for your network configuration.
Essentially, NAT translates the IP addresses in one network into those for a different network.
As a form of packet filtering for firewalls, it protects a network from outside intrusion from
hackers by replacing the internal (LAN) IP address on packets passing through a SonicWALL
with a “fake” one from a fixed pool of addresses. The actual IP addresses of computers on the
LAN are hidden from outside view.
Instructions for configuring
NAT Enabled Mode
begin on page 24.
NAT with PPPoE Client
Summary of Contents for GX 250
Page 1: ...SONICWALL Installation Guide...
Page 51: ...Page 50...

