SMA 210/410 Deployment Guide
Additional Configuration
21
If you do not have enough available addresses to support your desired number of concurrent NetExtender
users, you may use a new subnet for NetExtender. This condition may occur if your existing DMZ or LAN is
configured in NAT mode with a small subnet space, such as 255.255.255.224, or more commonly if your DMZ or
LAN is configured in Transparent mode and you have a limited number of public addresses from your ISP. In
either case, you may assign a new, unallocated IP range to NetExtender (such as 192.168.10.100 to
192.168.10.200) and configure a route to this range on your gateway appliance.
For example, if your current Transparent range is 67.115.118.75 through 67.115.118.80, and you wish to
support 50 concurrent NetExtender clients, configure your SMA X0 interface with an available IP address in the
Transparent range, such as 67.115.118.80, and configure your NetExtender range as 192.168.10.100 to
192.168.10.200. Then, on your gateway device, configure a static route to 192.168.10.0, using 67.115.118.80.
Adding a New SMA Custom Zone
Adding a new SMA custom zone on your gateway appliance is a necessary step in deploying your SMA appliance
using Scenarios A and C. For more information, see the following sections:
•
Connecting the SMA on a New DMZ
•
To add a new SMA custom zone on the gateway appliance:
1 Log into your gateway appliance as an administrator and navigate to the
Network > Interfaces
page.
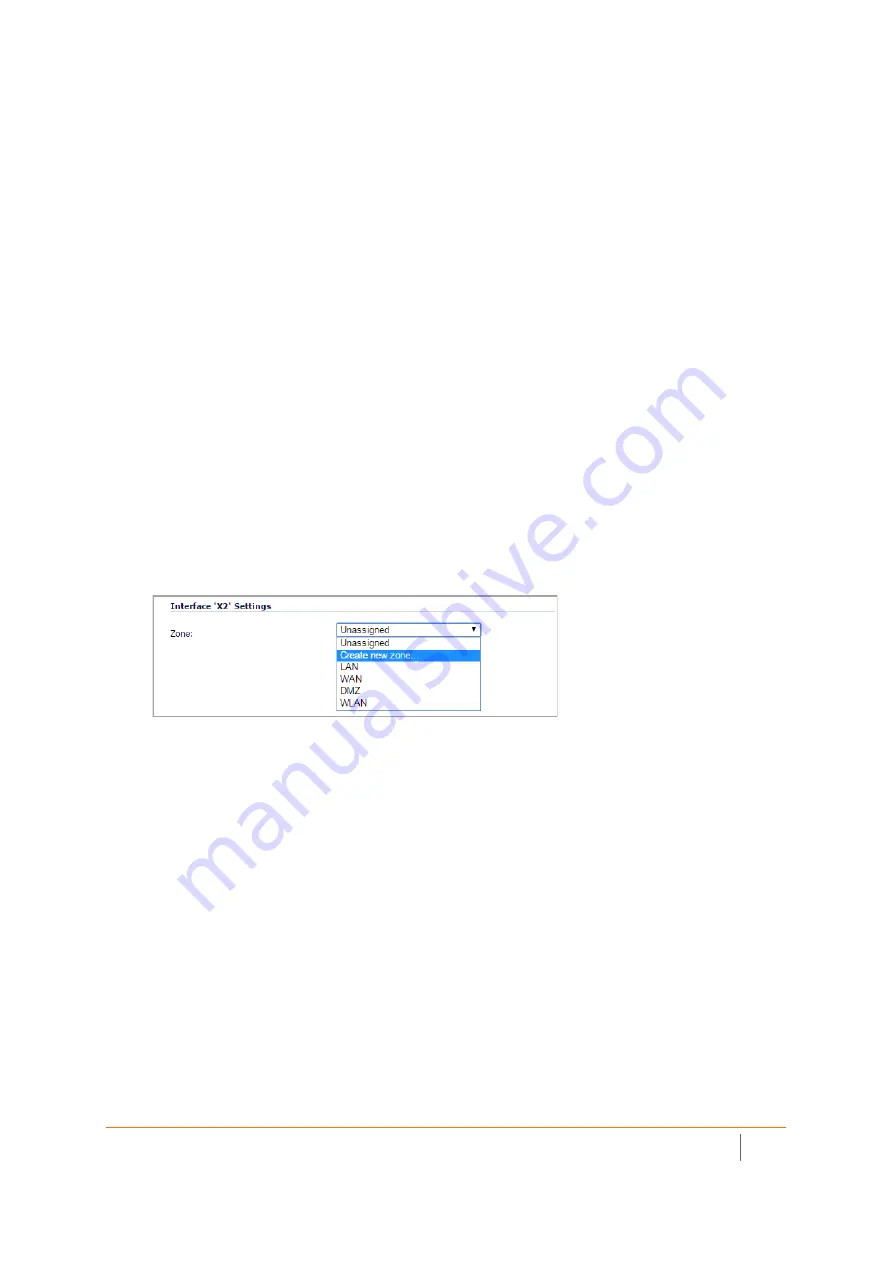
2 Click the Configure icon for the interface connected to your SMA, such as X2.
3 Select
Create new zone
in the Zone field.
The Add Zone window opens.
4 Enter SMA in the
Name
field.
5 Select
Public
from the
Security Type
drop-down menu.
6 Clear the
Allow Interface Trust
check box.
7 Select the following check boxes:
• Enable Gateway Anti-Virus Service
• Enable IPS


