7. Archiving
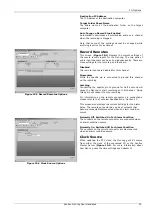
Arrange Archive Audio into Fixed Duration Files
When this box is ticked, the audio transferred from the Net-
Log to the archive destination drive will be split into fixed
length files, determined by the Target File Duration option.
Without this option enabled, the audio files will appear on
the archive destination drive as they do on the Net-Log.
Target File Duration
This is the duration (5 – 60mins) of the files that will be
created on the destination drive. For example, if it is set to 5
minutes then the files on the target drive or device will be of
a five-minute duration. This option is only valid when the
“Arrange Archive Audio into Fixed Duration Files” box is
ticked.
File Type
This determines the type of file that is created (.wav, .mp2
or .g7a).
Destination IP Address
This is the IP Address of the PC on the network that you
want to archive to.
Target Folder Share Name
This should be set to the share name of the folder where
you want the archives to be stored at the destination IP
Address. Only the share name should be entered, not the
path of the shared folder. To find the share name, locate the
target folder in Windows Explorer, the right click on this
folder and select “Sharing” from the popup menu. When the
archive begins, sub-folders will be created automatically.
Auto Purge on Record Stop Enabled
When this box is ticked, all available audio is archived each
time a recording is ended.
Once you are happy with the settings, press the “Update”
button, and they will be written to the Net-Log shown in the
Net-Log selector.
Format of Archived Files
The archived files are stored in sub-directories beneath the
directory name that you have defined. The format is
(depending on the selected file type):
\IP Address\Service Name\dd-mm-yyyy\hh-mm-ss.wav
or
\IP Address\Service Name\dd-mm-yyyy\hh-mm-ss.mp2
or
\IP Address\Service Name\dd-mm-yyyy\hh-mm-ss.g7a
Where IP Address is the Net-Log’s IP Address, Service Name
is that defined in the Service Name tab of the Options, dd-
mm-yyyy represents the date of the recording in day-
month-year format and hh-mm-ss is the start time of the
recording in hours-minutes-seconds format.
Beginning to Archive
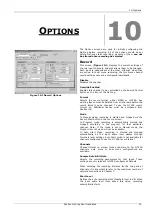
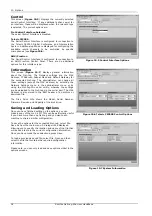
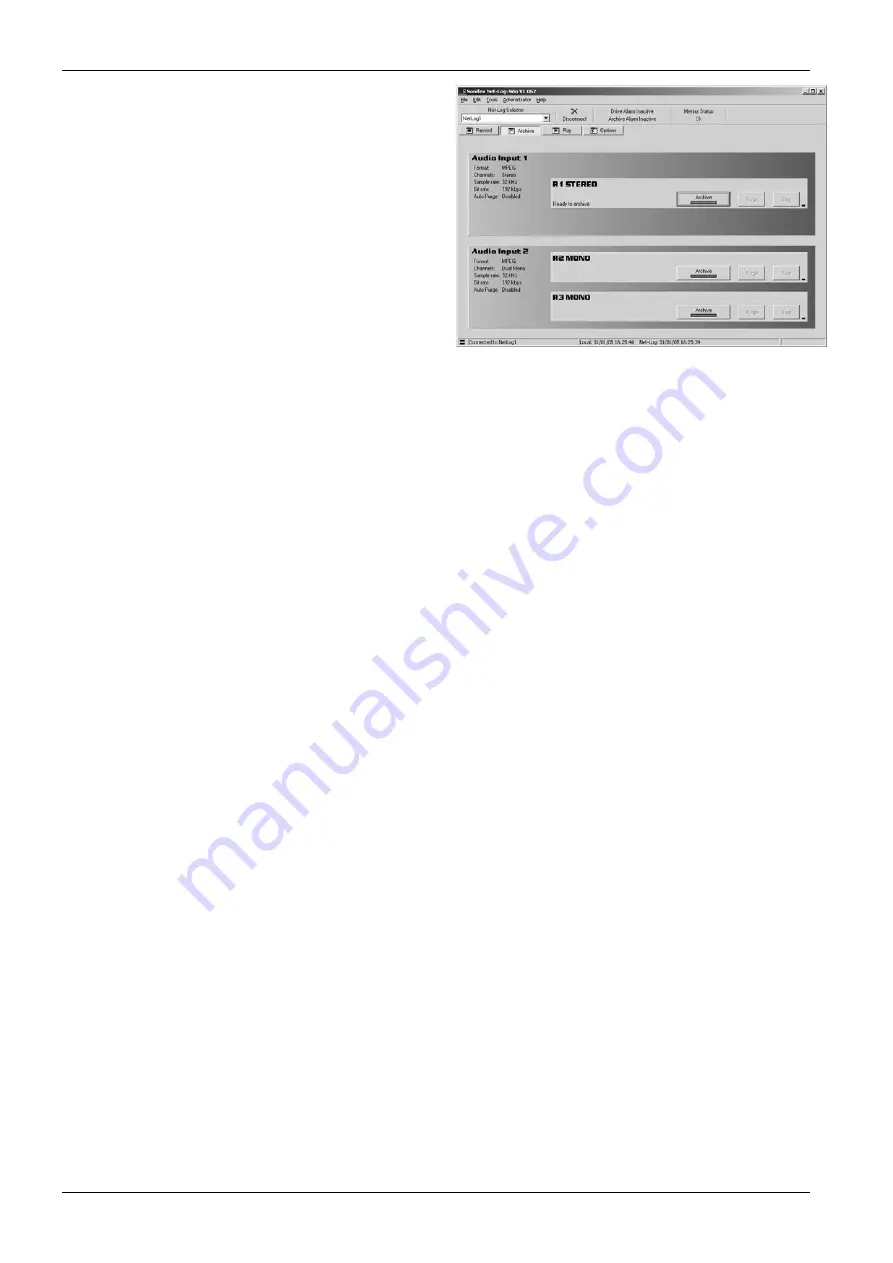
To start archiving, select the Archive screen and press the
“Archive Start” button (
Figure 7.2
) for the particular
channels that you wish to archive. The LED in the button will
illuminate when data is being archived (i.e. transferred from
Net-Log to the PC).
If you want to stop the archive process, simply select the
“Stop” button.
Note: You can only archive audio data from the Net-Log that
you are currently logged on to. If you disconnect, all
archiving will stop. See section 8 – Auto archive, for details
of how to archive data from one or more Net-Logs
simultaneously and without having to logon/logoff.
Figure 7.2 Archive Screen
Sonifex Net-Log-Win User Handbook
20
Summary of Contents for Net-Log
Page 1: ...Sonifex Net Log User Handbook...
Page 6: ...Contents Sonifex Net Log User Handbook...
Page 10: ...License Form Sonifex Net Log User Handbook 4...
Page 16: ...1 Introduction Sonifex Net Log User Handbook 10...
Page 24: ...3 Net Log Set up Installation Sonifex Net Log User Handbook 18...
Page 32: ...5 Recording Sonifex Net Log User Handbook 26...
Page 36: ...6 Playing Downloading Sonifex Net Log Win User Handbook 18...
Page 48: ...9 Serial Control Interface Sonifex Net Log Win User Handbook 30...
Page 56: ...11 The Administrator Sonifex Net Log Win User Handbook 38...
Page 62: ...13 Technical Specification Sonifex Net Log Win User Handbook 44...
Page 64: ...14 Glossary Sonifex Net Log Win User Handbook 46...


