background image

Menu Operation Guide

-23-

-24-

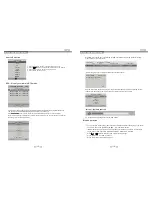
Format disk         

Warning! All data will be lost.

EXIT

Start

Then Press OK button to start format the disk, then a warning with All data will be lost” will be displayed to 
remind the user to choose Start or EXIT.
Press       button to start,       button to exit.

In Time Record Operation

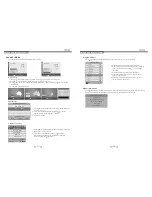
Press REC button on the remote control to start recording the current programme, the recording window will
be disappeared after few seconds and a red transparent icon with REC characters will be displayed at the 
right side of the screen. Press HOLD button for stop. it is available for recording when the unit is in 
Standby mode.

PVR.L Operation

Menu

Delete

OK Select

INFO

Index

Recorded List    Program

DISNEY ADVENTURES

DISNEY ADVENTURES

DISNEY ADVENTURES

GOOD CHEF BAO CHFF

GOOD CHEF BAO CHFF

GOOD CHEF BAO CHFF

GOOD CHEF BAO CHFF

GOOD CHEF BAO CHFF

George And Martha

DISNEY ADVENTURES

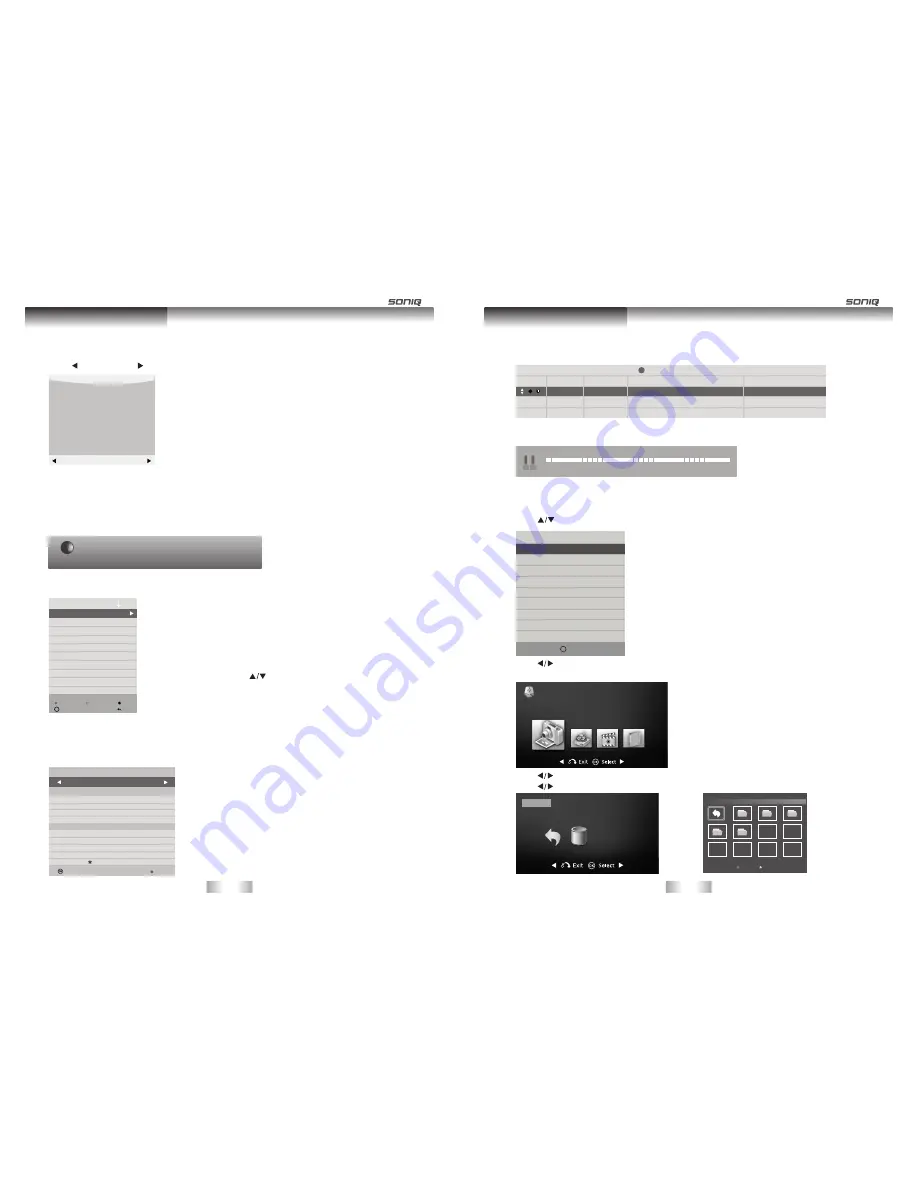
Press PVR. L button to display the recorded program list, select any of the items for watching.

Preserve Record Operation

Delete

: Press red button to delete focused program.

INFO

: Press green button to pop out programme information.

Index

: Press to switch recording program orders.

OK

: Play focused program.

Up/Down

: Press         button to select program.

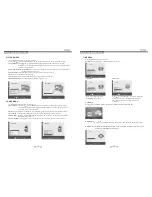
Press EPG directly to display the PROGRAMME GUIDE window, focus on your favorite channel that you 
want to record then press REC button at the remote control to enter into the RECORDER menu, and then 
you are required to set the recording time there, Press OK for confirm.

Back

Select

RECORDER

800  SZTVM01

-       

+

Start


Time

End


Time

Mode


AUTO

42


Minut

14


Hour

May


Month

31


Date

12


Minute

15


Hour

May


Month

31


Date


Menu Operation Guide

Time Shift

[00:00:03/00:00:00]                                       

A   B

20:13

Schedule List               09:33  25th  Dec         Delete

    Time                Date                              Programme Title                              Channel Name

10:00         Sun, 25 Dec     SP-THE SINGING CHRISTMAS TREE                7  7  Digital

PVR Recorder Schedule

Press yellow button on the remote control to display schedule list.

Timeshift

Press TSR button to delay the process of program broadcasting in DTV mode.

Media Menu

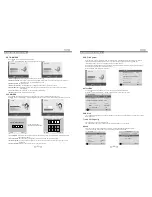
Note: Before operating MEDIA menu, plug in USB device, then press SOURCE button to set the Input 
          Source.
Press          button to select MEDIA in the Source menu, then press OK button to enter.

Press          button to select PHOTO in the main menu, then press OK button to enter.
Press EXIT button to quit the menu.

Press          button to select drive disk, then press OK button to enter.
Press          button to select Return option to go back to previous menu.

Recording

[00:00:36]

800 SZTVM01

The Sideshow with Paul McDermott

(0000320MB)

09:20

REC

USB Device

PHOTO

1

:

1

C

1/1

Return                Up Folder               movie                 music

Photo                     Text

Sub  Menu

Select/Unselect All

C:\MEDIA

Select

OK

Input Soure

ATV

AV

YPbPr

VGA

HDMI 1
HDMI 2
HDMI 3

MEDIA

DTV

Summary of Contents for E32W13A-AU

Page 1: ...Printed in China www soniq com au Instruction Manual E32W13A AU 32 HD LED LCDTV www soniq com au MD121225 01 Printed in China HOTLINE AUSTRALIA 1300 765 663 NEW ZEALAND 0800 100 236 ...

Page 2: ...itute a risk of electric shock to persons Warning To reduce the risk of electric shock do not remove cover or back No user serviceable parts inside Refer servicing to qualified service personnel The exclamation mark within an equilateral triangle alerts users to the presence of important operating and maintenance servicing instructions in the literature accompanying the appliance This appliancesho...

Page 3: ...anufacturer 16 Power Lines An outdoor antenna should be located away from power lines 17 Outdoor Antenna Grounding if an outside anternna is connected to the receiver the antenna system must be grounded so as to provide against voltages and built uo static charges 18 Non use Periods The power cord of the appliance should be unplugged from the outlet when left unused for a long period pf time 19 Ob...

Page 4: ...er such as thunderstorms earthquake etc acts by the third parties accidents owner s misuse or use in other improper conditions SONIQ is not liable for incidental damages such as profit loss or interruption in business modification or erasure of record data etc caused by use or inability to use of product SONIQ is not liable for any damage caused by neglect of the instructions described in the owne...

Page 5: ...ible input signal sources Press to cycle through various sources Press this button to display the OSD menu When the OSD menu is on press this button to exit the menu Press this button to turn the unit on when it is in standby mode Press this button once more to put it to standby mode Connect the HDMI signal Connect the PC VGA signal output of your personal computer 7 Connect for media files playba...

Page 6: ...layed or display an error 9 Connecting VGA Signal Connection and setup Connecting with an HDMI to HDMI cable Connect the HDMI output terminal of your HDMI device to the HDMI input terminal on the unit using an HDMI cable Connect PC video output to the VGA IN input terminal using Mini D SUB 15 Pin cable Connect the audio output of your PC to the unit VGA AUDIO IN input terminal using an appropriate...

Page 7: ...enna VHF UHF Connecting Composite Video Signal Composite video input is the most commonly used signal input However this type of input also prvides a less optimal image quality Many video sources can only output Composite video signals for example VCRs camcorders and Video game Connecting OPTICAL Signal To achieve excellent sound quality we recommend users to use the high powered speakers such as ...

Page 8: ...umerical buttons Press 0 9 to select a TV channel directly when watching TV The channel changes after 2 seconds or press OK button to change immediately Press to return to previous channel FAV button In TV mode press FAV button to display your favorite programs SLEEP button Press to activate sleep timer PAUSE button Press to pause the current picture press again to resume ASPECT button Press to ch...

Page 9: ... MENU button can open the menu or exit to the upper level menu There are six main menu pages in the system PICTURE SOUND CHANNEL TIME LOCK OPTION Press button to select any item or adjust some settings Press OK button to confirm a selection Press EXIT button to exit the main menu Vol vol Volume control Note Volume adjusting will exit the MUTE status Select OK Input Soure ATV AV YPbPr VGA HDMI 1 HD...

Page 10: ... select Signal Information then press OK button to display signal details including Channel number Network name Modulation model Signal quality and Signal strength 1 Press Red button to delete the current channel 2 Press Yellow button to change program order Selected channnel can be moved by using then press OK for confirm 3 Press Blue button to skip the selected channel 5 Press Green button to re...

Page 11: ...ress OK button to enter sub menu and then press button to adjust Press OK to enter sub menu Press button to adjust 2 On Time 1 Off Time Press to select On Time then press OK button to enter the sub menu Use button to adjust Clock Display the current system time It s not available Press to select Time Zone then press OK button to enter Sub menu 3 Time Zone TIME Back Select TIME TIME Back Select TIM...

Page 12: ...Guide PVR File System Back OPTION OPTION Back Select OSD Language English PVR File System OSD Time Out OSD Transparency Restore Default Menu Select Disk C Check PVR File System Start USB Disk Time Shift Size Speed Format Hard Disk Recommended Free Record Limit 6 Hr OK Select PVR function is only available for DTV includes Record Timeshift and Playback functions Record includes in time record and p...

Page 13: ...display the PROGRAMME GUIDE window focus on your favorite channel that you want to record then press REC button at the remote control to enter into the RECORDER menu and then you are required to set the recording time there Press OK for confirm Back Select RECORDER 800 SZTVM01 Start Time End Time Mode AUTO 42 Minut 14 Hour May Month 31 Date 12 Minute 15 Hour May Month 31 Date Menu Operation Guide ...

Page 14: ...aving Mode Return Up Folder 1024x768_bmp bmp 1440x900 bmp 1600x1200b mp 21312 bmp DTVLOGO_NESX bmp GRAY1 bmp GRAY2 bmp untitled bmp untitled1 bmp untitled123 bmp Sub Menu Select Unselect All C MEDIA Photo BMP 1 2 Return Up Folder QXQ music 000111 jpg 06 mp3 10024616c mp3 Sub Menu Select Unselect All 0521hangmu09 jpg 0521hangmul3 jpg 0521hangmu15 jpg 08_gC1WIvNHu1UZ_0 Resolution 1280x800 Size 199 K...

Page 15: ...ton at the time it starts and press the button again at the time it ends Press Exit button to quit the menu A set AB AB set AB TEXT Menu X MUTE USB Device TEXT Press button to select the drive disk you want then press OK button to enter Press button to select Return option to go back to previous menu When highlighting the option you selected text can be previewed and information will appear Press ...

Page 16: ...t or dark pixels on the screen These pixels will have no impact on the performance of the TV Supported PC Input Signal Your unit can use as PC monitor it supports below RGB PC HDMI mode INPUT RGB PC HDMI mode INPUT SPEC INPUT FORMAT VGA HDMI 1 2 Input Resolution 640x480 640x480 640x480 720x400 800x600 800x600 800x600 832x624 1024x768 1024x768 1152x870 1280x800 1280x960 1360x768 1366X768 Horizontal...

Page 17: ...e White Contrast Ratio Color Depth Expected Life Time 1366 horiz by 768 vert pixels RGB stripe arrangement 300cd 1 00 1 2 8bit D 16 7M colors about 50 000 hours TV System Input Output ANT IN ANT IN X 1 HDMI input HDMI X 3 USB input USB X 1 YPbPr input YPbPr X1 VGA input VIDEO input VIDEO X 1 DIGITAL AUDIO OUT OPTICAL 1 DIGITAL AUDIO OUT OPTICAL X 7W 7W Audio Power 809 L x 174 W x 565 H mm Unit Dim...

Reviews: