background image


-

6

-


-  Do not take out USB or SD device during recording to USB/SD. 
 
Phono & Encoding 
Note 
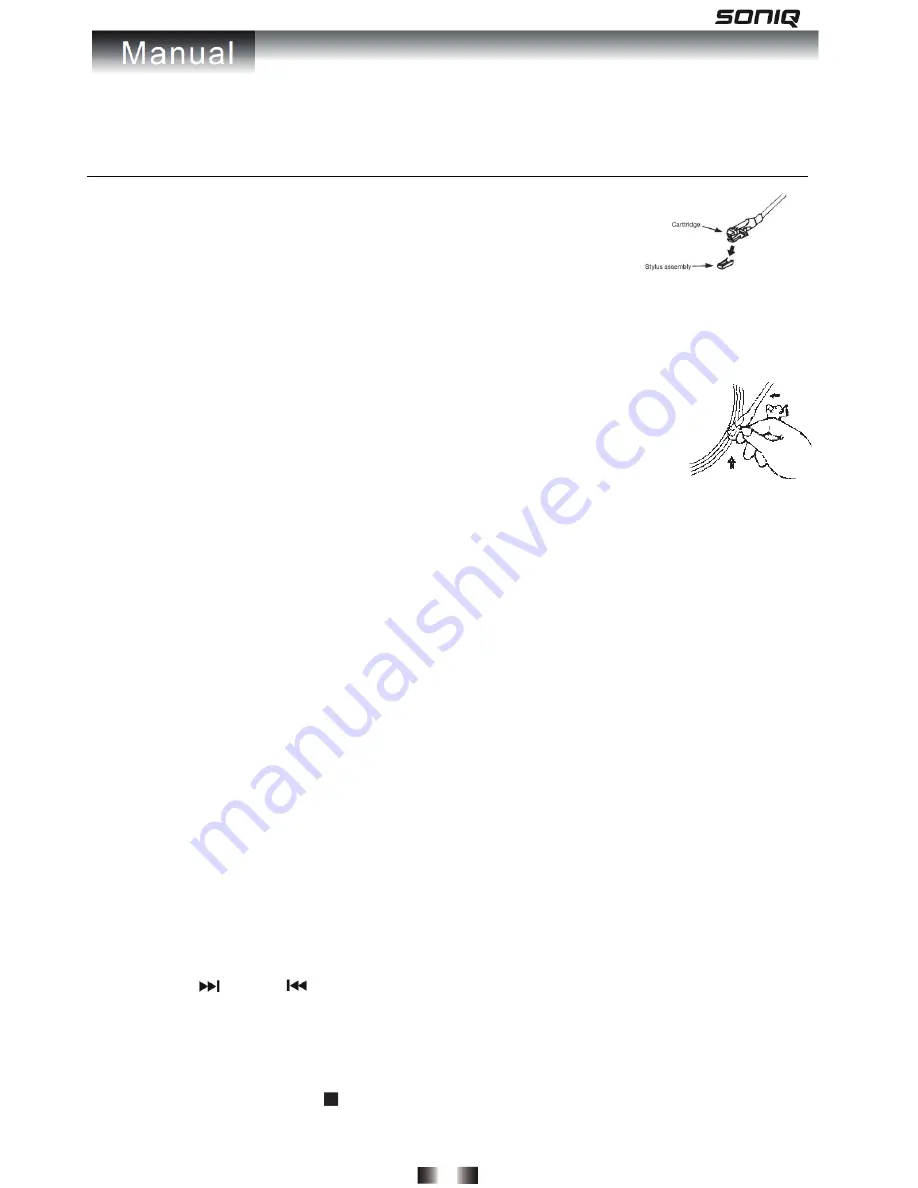
-  Remove the stylus protector. 
-  Be  sure  that  the  tone  arm  is  being  detached  from  the  tone  arm  rest  before 

operating and re-secured again afterwards. 

 
1.  Press FUNCTION button to select “PHON” on display. 
2.  Set the 33/45/78 RPM SELECTOR to the proper position depending on the record to be played. 
3.  Place the record on the platter, use the 45 RPM adaptor if required. 
4.  Push the LIFT LEVER upward to raise the tone arm from the arm park, and then slowly 

move it to the record side. The platter will start to rotate. 

5.  Put  down  the  LIFT  LEVER  to  drop  the  tone  arm  and  touch  the  record gently.  Phono 

playing starts now. 

6.  Adjust the volume to the desired level. 
7.  At the end of record, the platter will automatically stop rotating. Push the LIFT LEVER upward to raise the tone 

arm and move it to the arm park, and then put down the LIFT LEVER. 

8.  To stop manually, lift the tone arm from the record and return it to the arm park. 
 
Remark 
-  Due to the variance format of record, auto-stop function may not be effective to all record.   
-  As some kind of record the auto-stop area was out  of the unit setting, so it will stop before the last track 

finishes. In this case, select the AUTO-STOP SWITCH to “OFF” position, then it will run to the end of the 
record  but  will  not  stop  automatically  (turn  off  the  unit  by  power  button  or  switch  back  the  AUTO-STOP 
SWITCH
 to “ON” position to stop the platter rotate). Then put back the tone arm to the arm park. 

 
Phono encoding 
1.  Press FUNCTION button to select “PHON” on display 
2.  Insert memory device (USB drive, SD or MMC card) 
3.  Press the REC button, then USB or SD icon will be flashing.   
4.  Press SKIP 

  or SKIP 

  button to select desired mode (USB or SD) for encoding. Then press the REC 

button again to confirm. And the system is starting the encoding mode after few seconds. 

5.  If only USB drive, SD or MMC card is inserted, step 4 can be skipped. 
6.  The “REC” will be flashing on the display during encoding. 
7.  To finish encoding, press STOP    button, “REC” will disappear. 
8.  To divide track, press REC button during recording, recording will stop momentary. Then recording will resume 

Summary of Contents for M301C

Page 1: ......

Page 2: ... 1 M301R M301C Bluetooth turntable multi function player Instruction manual Read this instruction manual carefully before use ...

Page 3: ... PLL radio with preset AM FM stations Clock Sleep function LCD display with blue backlight RCA line out Stereo built in speaker External power adaptor 45RPM adaptor remote control Location of Control 1 SPEAKER 2 STANDBY 3 REMOTE CONTROL RECEIVER 4 STANDBY INDICATOR 5 FUNCTION 6 BT PLAY PAUSE 7 LCD 8 BT PREV 9 BT NEXT 10 SLEEP 11 SPEAKER 12 VOLUME 13 EARPHONE JACK 14 REC DEL 15 MODE CLK 16 USB SLOT...

Page 4: ... as vases shall be placed on the apparatus 2 Batteries battery pack or batteries installed shall not be exposed to excessive heat such as sunshine fire or the like 3 The mains plugs or an appliance coupler is used as the disconnect device and the disconnect device shall remain readily operable Precautions for Use Installation 1 Unpack all parts and remove protective material 2 Do not connect the u...

Page 5: ...4 When the sleep time minute is over unit will be switched to standby mode automatically 5 Press SLEEP button once when the SLEEP icon lights up on the display user can check how many minute left before unit switch to standby mode Listening to AM FM radio AM FM radio tuning 1 Press Function button to select radio mode 2 Select the desired band by radio BAND button AM or FM 3 Tune to the required s...

Page 6: ...ect desired mode USB or SD for encoding Then press the REC button again to confirm And the system is starting the encoding mode after few seconds 5 If only USB drive SD or MMC card is inserted step 4 can be skipped 6 The REC will be flashing on the display during encoding 7 To finish encoding press STOP button REC will disappear 8 To divide track press REC button during recording recording will st...

Page 7: ... it to the arm park Remark Due to the variance format of record auto stop function may not be effective to all record As some kind of record the auto stop area was out of the unit setting so it will stop before the last track finishes In this case select the AUTO STOP SWITCH to OFF position then it will run to the end of the record but will not stop automatically turn off the unit by power button ...

Page 8: ... in encoding 1 Press FUNCTION button to select AUX mode 2 Insert memory device USB drive SD or MMC card 3 Press the REC button then USB or SD icon will be flashing 4 Press SKIP or SKIP button to select desired mode USB or SD for encoding Then press the REC button again to confirm And the system is starting the encoding mode after few seconds 5 If only USB drive SD or MMC card is inserted step 4 ca...

Page 9: ...ion selection 6 Then the system will start audio playback from desired device USB or SD MMC automatically 7 During playback from USB or SD press REC button to switch between tracks encoded by this unit or other tracks stored in the USB or SD originally If display shows NFIL it means no file encoded by this unit is stored in the USB or SD 8 During playback from USB if only USB device is inserted th...

Page 10: ...tch on the Bluetooth function of your Bluetooth device and select M301RC Bluetooth equipment for connection 3 After your Bluetooth device is connected with the unit via Bluetooth start to playback from your device 4 Press the BT PLAY PAUSE button once to halt playing press it again to continue 5 During Bluetooth playback press BT NEXT button once to play the next file 6 During Bluetooth playback p...

Page 11: ...ted folder for storage and playback of trucks recorded by this unit Press SKIP or SKIP button to select the newly recorded track Remark The recording speed is 1 1 and according to the actual playing time of the external audio device The recording format is preset at MP3 bit rate 128 kbps Do not take out USB or SD device during recording to USB SD Earphone jack line out socket 1 This system can be ...

Page 12: ...button on the unit 6 FM ST Select between FM stereo and mono radio 7 FUNCT Perform same function as FUNCTION button on the unit 8 MODE CLOCK Perform same function as MODE CLOCK button on the unit 9 PLAY PAUSE Perform same function as PLAYE PAUSE button on the unit 10 STOP BAND Perform same function as STOP BAND button on the unit 11 SKIP DOWN Perform same function as SKIP DOWN button on the unit B...

Page 13: ......

Reviews: