background image

21

Smart TV Function

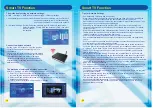
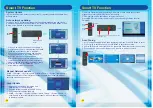
Wi-Fi Direct

HOME - > Settings - > Network and location settings - > Wi-Fi direct
The connected device must acquire the Wi-Fi Direct certificate. 
Wi-Fi Direct can at any time realize interconnection without the help of Wi-Fi router and 
AP.
1. Make sure the Wi-Fi Direct is enabled both on TV and the connected device.
2. Enable the Wi-Fi Direct at the connected device.
3. The devices which are available for TV connection display in the window list.
4. Select the device you are willing to connect to the TV then choose YES if connecting 
request appears.
5. If the connected device accepts the request, then the connecting setup has been done.

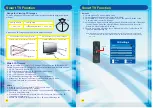
Function of the AP needs to be activated. Please enquire to the AP supplier for the
possibility of AP wireless connections.
Please verify the security settings of AP SSID for wireless AP connection, and 
enquire to the AP supplier for the AP SSID security settings.
The TV can become slower or malfunction with wrong settings of network 
equipments (wired / wireless router, hub, etc).
Please install correctly by referring to the manual of the equipment, and set the 
network.
When AP is set it include 802. 11n, and if Encryption is designated as WEP or 
WPA(TKIP / AES) and WPA2 hardware encryption schemes, the connection may not be
possible. There may be different connection methods according to the AP manufactures.

22

Smart TV Function

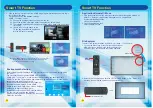
Wi-Fi Hotspot

ALL Apps

HOME - > Settings - > Network and location settings - > Wi-Fi hotspot
First, assure TV is connected to wired network. Then to get mobile phone or notebook 
connected to TV. Specific operations are as follows:
  1. Make sure the Wi-Fi hotspot on TV is enabled.
  2. Select settings to input the SSID and password. Choose Save to complete the 
      settings.
  3. Use mobile phone and notebook to search TV Wi-Fi hotspot, and then input the 
      password. 
      Connection has been completed.

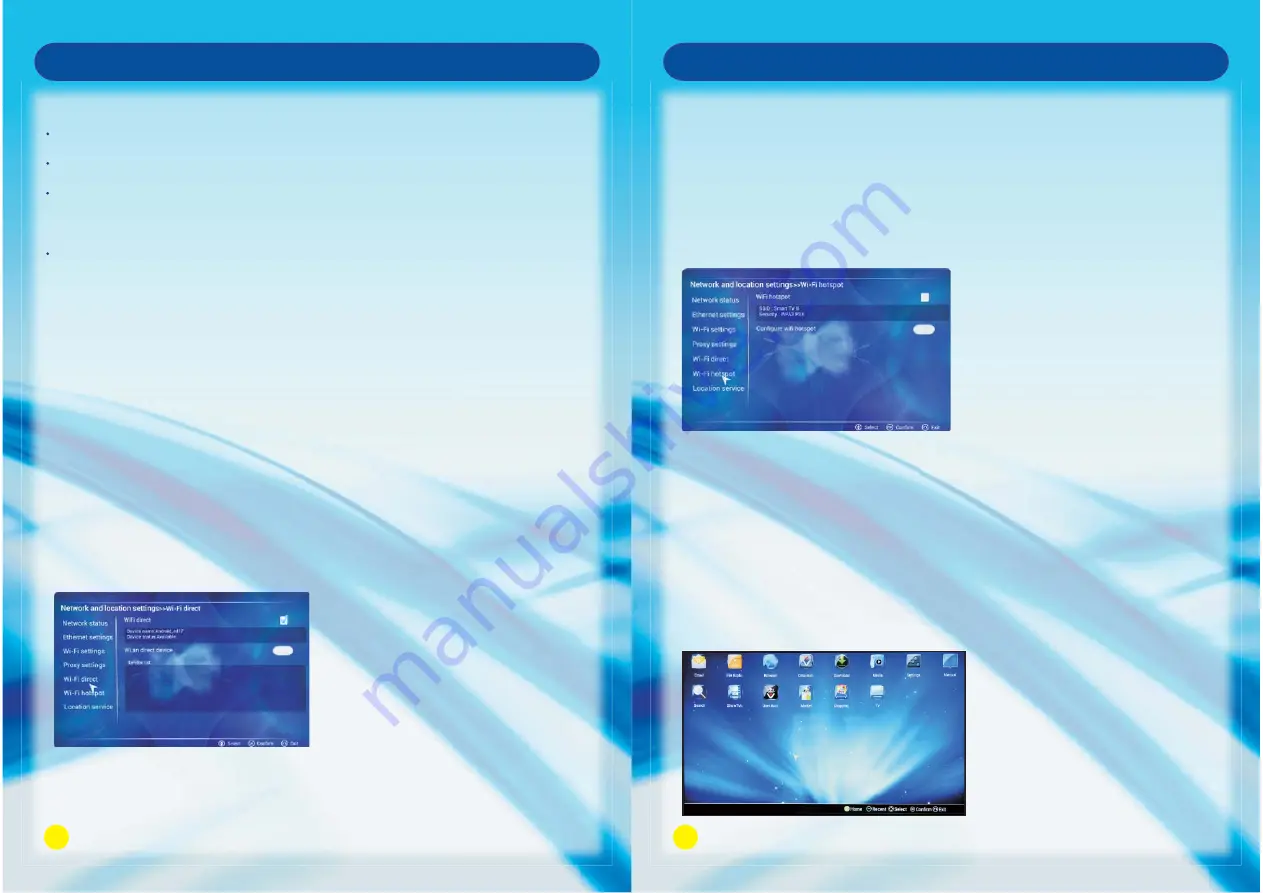
Press the NAVIGATION Buttons to scroll to the ALL Apps and press OK, from the 
displayed window you can operate any of the downloaded apps.

Application Management

Please insert the SD card before applying this function.

Apps Installation:

Install the apps that you want from the on-line shop.
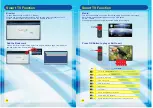
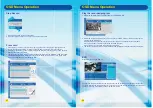
1. The procedure for registration on cinavision are as follows:
     1.1 Click on the login at the top of the HOME page.
     1.2 Select register and obey the clause.
     1.3 Input the user name, e-mail and password, then confirm the password.
     1.4 Registration completed after being confirmed.

Note:

 Should you change the password, the 

          modified password should contain at 
          least 8 characters.

Summary of Contents for S49VT15A

Page 1: ...erating 2 Retain Instructions The safety and operating instructions should be retained for future reference 3 Warnings All warnings on the appliance and in the operating instructions should be adhered to 4 Follow Instructions All operating instructions should be followed 5 Earthing Connection The TV shall be connected to a MAINS socket outlet with a protective earthing connection 6 Water and Moist...

Page 2: ...roduct or its stand or push suddenly Always pay special attention when children are near product to avoid harm Minimun Distances 10cm 20cm 10cm 5cm CAUTION Do not place the main unit on an unstable cart stand shelf or table CAUTION When the product is not used for an extended period of time it is advisable to disconnect the AC power cord from the AC outlet CAUTION Avoid exposing the main unit to d...

Page 3: ...ICRO USB PORT Indicator 1 Charging port of remote control Charging light for Remote Control Indicator 2 Pairing light Low Power Indicator 1 SUBTITLE Button EPG Button Open or close EPG menu in DTV mode 6 Remote Control Remote Control for Smart TV ESC Button Return to the previous menu under the Smart menu Press to exit all OSD menu HOME Button To access the HOME page COLOR Button to obtain the spe...

Page 4: ... users do not need to perform this step again under normal conditions but if it does not work with battery fully charged or if you have replaced the Remote Control or 2 4G QT166 RF DONGLE before operating then follow the steps below 1 Turn on the power at the left side of Remote Control pairing will take effect in one minute and hold the Remote Control within 1 meter of the unit 2 Press and hold R...

Page 5: ...e spare part SD MMC SD MMC card reader slot STANDBY MENU SOURCE CH CH VOL VOL VOL VOL CH CH SOURCE MENU STANDBY 1 2 Front View No 1 2 5 Name Remote Control Sensor Window Power Indicator Description Receives the signal from the Remote Control Do not put any objects in front of the window in order not to hinder the reception of signal Flashes red when the unit is powered on Lights up red when the un...

Page 6: ...hould be unplugged from the wall outlet Connect the power cord directly to the wall outlet HDMl VGA PC Connection Connecting the Power Cord Connection and Setup 12 Connection and Setup Component Connection AV IN Connection Component YPbPr Connection Component Video Cable Back side of DVD player DVD player included Green Blue Red R L VIDEO Video Audio Output Wall Outlet Power Cord ...

Page 7: ...fication users need to choose to connect to the external power supply otherwise the device may not be recognized 4 If the USB HDD does not have an external power supply the USB device may not be detected So be sure to connect the external power supply 5 The recommended capacity is 2TB or less for a USB external hard disk and 32GB or less for USB flash memory 6 The recognition speed of a USB storag...

Page 8: ... Hold the Left Return Button on the needed short cut icon for a second to add it to the column Operation for deleting this application Press and Hold the Left Return Button on the icon required to be deleted for a second the selected one can be deleted Accessing HOME menu Turning on the TV will automatically enter HOME menu or you can either press HOME Button to access the HOME menu Every time whe...

Page 9: ...w the specifications of your telecommunication carrier or internet service provider Network Connection Connect the TV to a local area network LAN via the LAN port as shown in the following illustration and set up the network settings If wired and wireless networks are both available wired is the preferred method After making a physical connection a small number of home networks may require the TV ...

Page 10: ...e are not responsible for any malfunction of the TV and or the internet connection feature due to communication errors malfunctions associated with your broadband internet connection or other connected equipment We are not responsible for problems within your internet connection Some content available through the network connection may not be compatible with the TV You may experience undesired res...

Page 11: ...nd if Encryption is designated as WEP or WPA TKIP AES and WPA2 hardware encryption schemes the connection may not be possible There may be different connection methods according to the AP manufactures 22 Smart TV Function Wi Fi Hotspot ALL Apps HOME Settings Network and location settings Wi Fi hotspot First assure TV is connected to wired network Then to get mobile phone or notebook connected to T...

Page 12: ...ove Environment Selection 1 Find the application that you want to uninstall or move through the method of HOME Settings Application management All applications System provided application can not be uninstalled 2 Open the application then select Uninstall Move To use this TV for in store demonstration select Demo Initial setup window will appear when you first start to use choose the setting mode ...

Page 13: ...Smart TV Function Press OK Button to play or Exit to exit 1 3 5 7 9 2 4 6 8 10 No 1 2 3 4 5 6 7 8 9 10 Skip to the previous picture Click it to play or pause playback Skip to the next picture Zoom in the picture Zoom out the picture Right rotation Left rotation Display the information of the picture Set the picture as a wallpaper Set the animation effect and interval time of playing the picture De...

Page 14: ...e current playing song 28 Smart TV Function Video Playback Enter this function by HOME Media then select your favourite video for playing Press OK to play the video or Exit to exit 1 3 5 7 9 11 2 4 6 8 10 12 No 1 2 3 4 5 6 7 8 9 10 11 12 Stop video playback Skip to the previous video Fast rewind playback Playback or pause Fast forward playback Skip to the next video Time setting Display the time p...

Page 15: ...reen Auto Tuning 1 Auto Tuning will be highlighted upon displaying this menu Press OK Button to enter 2 Press to select country press OK Button to enter the next step 3 Use button to select your location then press OK button to enter the next step 4 Press Up and Down to select tuning type Press OK to start auto search playback by pressing HOME Button on the remote OSD menu can only be operated by ...

Page 16: ...p the main menu then press Left and Right to select the PICTURE MENU 1 Picture Mode Press Left and Right to adjust the mode colour by Standard Dynamic User Mild and 3D Mode Contrast Brightness Color Sharpness can be adjusted only under User mode press MENU to return to the main menu 2 3D Settings Once the TV receives 3D signal the system will automatically turn this function On To watch in 3D you ...

Page 17: ... enter OPTION page it will highlight the first option 1 OSD Time Out Press OK and then press Left and Right Button to set the OSD Time Out 3 Restore Default Operate this item to resume all the initial settings Time Menu Press MENU Button to display the main menu Use Up and Down to enter TIME page it will highlight the first option 1 Current Time Can not be selected but it can automatically obtain ...

Page 18: ...SB storage device is working When such device is suddenly separated or unplugged the stored files or the USB storage device may be damaged 2 Please use only USB storage devices that are formatted as a FAT32 file system otherwise it may not be recognized 3 Every USB only supplys 500mA electric current if the user s device requirement is over the specification users need to choose to connect to the ...

Page 19: ...p the recording 2 Confirm Confirm 38 OSD Menu Operation Play the recorded program 1 MENU OPTION MENU PVR SETTINGS FILE MANAGER 2 Select the recorded program that you want to play press OK button or red button to play the program at the left window Press the blue button to play in full screen press it again to exit the full screen playback Press green button to delete the selected recorded program ...

Page 20: ...ny other purposes as general spectacles sunglasses protective goggles etc may physically harm you or weaken your eyesight Do not put 3D glasses in extremely cold or overheated places Do not use broken 3D glasses Do not squeeze and strike the 3D glasses Wipe the 3D glasses with clean and soft cloth Do not use sharp objects or chemical products to wipe the surface of 3D glasses You may not feel the ...

Page 21: ...e TV sizes viewing angle and other elements may make the viewing angel and distance different TV 50 50 Recommendable Viewing Location Up Down Up Down Center is recommended for inspection Notomme Notomme Recommendable Viewing Locaion Left Right Left Right 50 degress are recommendable OK OK OK Recommen Viewing Distance 2 5m 5m 100 Viewing Distance 2 5m 5m Viewing Angle 42 Smart TV Function 5 1 Make ...

Page 22: ... properly connected Change channels to confirm if the symptom is still present If PC VGA is selected as the input signal source use the Auto Sync Function in the Set Up Menu In VGA Mode to let the display adjust picture automatically Check for incorrect battery orientation Check for dead batteries Check your distance and angle from display Check whether remote control is pointing at sensor window ...

Reviews: