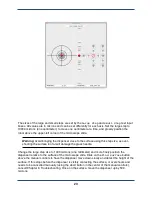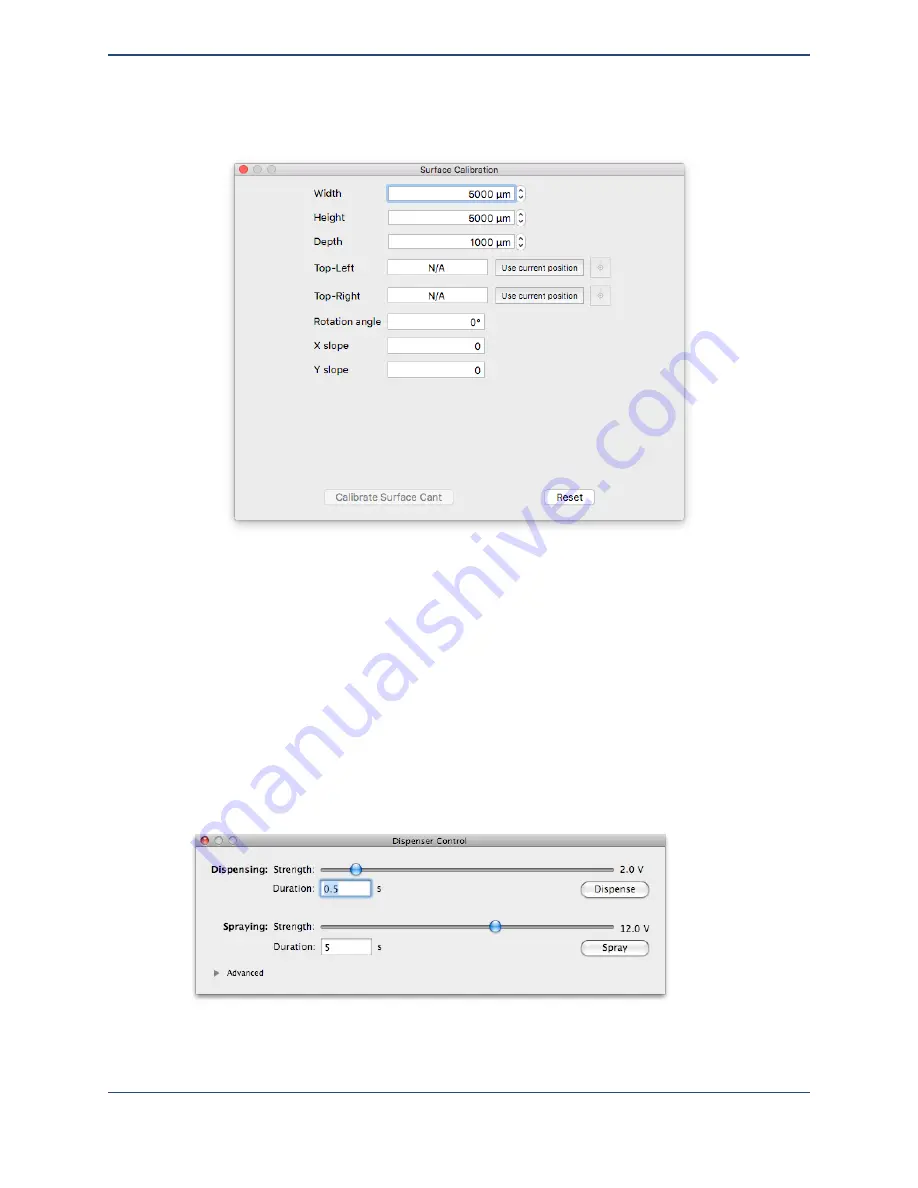
Open the surface calibration window by clicking on the C
alibrate Surface
button.
Under the
Distance to calibrate
group,set the distance to calibrate along the X axis to
20000 microns (20 mm is just a little less than the full 25 mm width of a typical microscope slide)
and set the distance to calibrate along the Y axis to 70000 microns (again, 70 mm is just shorter
than the full 75 mm height of a microscope slide). Once these values have been entered, press
the
Calibrate surface cant
button to begin the surface topography measurement. The
dispenser will move down until it contacts the surface, the position will be measured, and then
the dispenser will pick up and move to a new location. The software measures 5 points in a line
along both the X and Y axes to determine the cant of the surface. This process should take a
few minutes to complete.
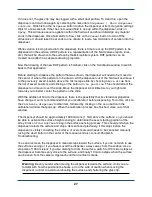
Now that all calibration has been taken care of, back the positioner away from the surface by
1000 microns. Select the menu item
Dispenser Controls
toolbar item to bring up the screen
that controls the dispenser settings.
24
Summary of Contents for MICROPLOTTER II
Page 1: ...MICROPLOTTER II MANUAL REVISION 2 2 ...
Page 2: ...SONOPLOT INC 3030 LAURA LANE SUITE 120 MIDDLETON WI 53562 608 824 9311 CONTACT SONOPLOT COM 2 ...
Page 4: ...Dispenser refurbishing 59 Revision History 61 4 ...
Page 6: ......
Page 10: ......
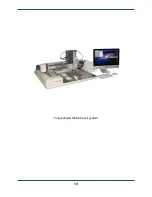
Page 21: ...Fully installed Microplotter II system 19 ...
Page 22: ......
Page 58: ......
Page 62: ......
Page 64: ......
Page 66: ...60 ...


