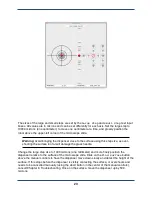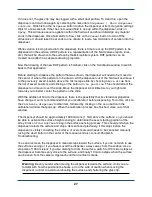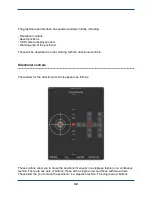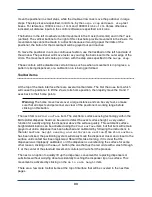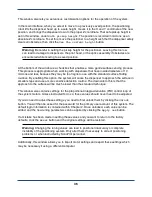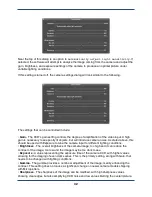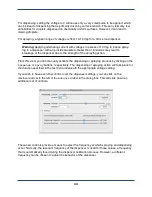
This window also lets you set various customization options for the operation of the system:
In the main interface, when you select to move to a previously saved position, the positioning
robot lifts the dispenser head up to a safe height, moves it to the X and Y coordinate of the new
position, and brings the dispenser down to the proper Z coordinate. That safe pickup height is
set in this window, under
Safe pickup height
. The position is recorded in microns as an
absolute Z coordinate. To set this, move the positioner to a height such that the dispenser safely
clears all obstacles, then click the
Use the current height
button.
Warning
: Be careful in setting the pickup height for the positioner. Leaving this too low
can lead to damage to dispensers, the print head, or the optics assembly if obstacles are
encountered while moving to a saved position.
At the bottom of the window is a checkbox that enables a more gentle surface sensing process.
This process is appropriate when working with dispensers that have inside diameters of 10
microns and less, because they may be too fragile to use with the standard surface finding
routines. By enabling this option, the system will cause the dispenser to approach the surface in
smaller steps and use a more sensitive detection routine. The downside to this is that the
approach to the surface will be much slower than the standard technique.
This window also contains settings for the proportional-integral-derivative (PID) control loop of
the system motors. Unless instructed to do so, these values should never need to be adjusted.
If you do need to adjust these settings, you need to first unlock them by clicking the
Unlock
button. You will then be asked for the password for the primary user account of this system. The
default login information is contained within Chapter 2. Once unlocked, each value can be
edited, and the new tuning parameters can be applied by clicking the
Apply now
button.
If a mistake has been made in setting these values and you want to return to the factory
defaults, click the
Reset
button and the original settings will be restored.
Warning
: Changing the tuning values can lead to positioner inaccuracy or complete
instability of the positioning system. Only alter them if necessary to correct positioning
problems or when instructed by SonoPlot personnel.
Additionally, this window allows you to import motor settings and export these settings which
may be necessary if using a different computer.
36
Summary of Contents for MICROPLOTTER II
Page 1: ...MICROPLOTTER II MANUAL REVISION 2 2 ...
Page 2: ...SONOPLOT INC 3030 LAURA LANE SUITE 120 MIDDLETON WI 53562 608 824 9311 CONTACT SONOPLOT COM 2 ...
Page 4: ...Dispenser refurbishing 59 Revision History 61 4 ...
Page 6: ......
Page 10: ......
Page 21: ...Fully installed Microplotter II system 19 ...
Page 22: ......
Page 58: ......
Page 62: ......
Page 64: ......
Page 66: ...60 ...


