Chapter: The Sonos® Controller 200
7-7
Clock and Alarms
This section discusses how to use the clock and alarms features on the Sonos
Controller 200. For help using the Sonos Controller for PC, go to "Clock and Alarms"
on page 5-4.
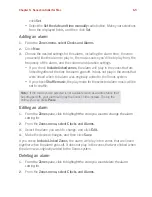
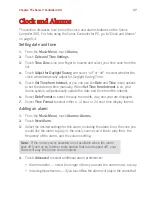
Setting date and time
1.
From the
Music Menu
, touch
Alarms
.
2.
Touch
Date and Time Settings
.
3.
Touch
Time Zone.
Use your finger to browse and select your time zone from the
list.
4.
Touch
Adjust for Daylight Saving
and select “on” or “off” to select whether the
clock will automatically adjust for Daylight Saving Time.
5.
Touch
Set Time from Internet,
or you can use the
Date
and
Time
menu options
to set the date and time manually. When
Set Time from Internet
is
on
, your
Sonos system will periodically update the date and time from the Internet.
6.
Select
Date Format
to select the way the month, day, and year are displayed.
7.
Select
Time Format
to select either a 12 hour or 24 hour time display format.
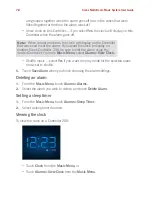
Adding an alarm
1.
From the
Music Menu
, touch
Alarms>Alarms.
2.
Touch
New Alarm
.
3.
Select the desired settings for this alarm, including the alarm time, the zone you
would like the alarm to play in, the music source you’d like to play from, the
frequency of the alarm, and the volume setting.
4.
Touch
Advanced
to select additional alarm preferences:
• Alarm duration — select the length of time you want the alarm music to play.
• Include grouped zones — if you touch
Yes
, the alarm will play in the zones that
Note:
If the music you’ve selected is not available when the alarm
goes off (such as an Internet radio station that has dropped off), your
alarm will play the Sonos chime instead.

