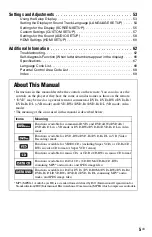
Sony 3-283-149-22(2), Operating Instructions Manual
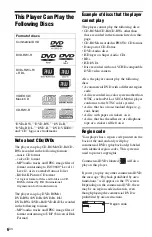
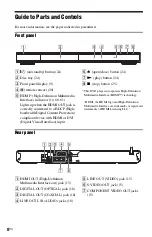
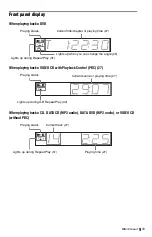
The Sony 3-283-149-22(2) is an innovative product designed to enhance your user experience. This exemplary device comes with an Operating Instructions Manual, ensuring a smooth setup and usage. Find this manual for free download on 88.208.23.73:8080, providing the necessary guidance to maximize the potential of your Sony product.
Share
Download


Reviews:
No comments
Related manuals for 3-283-149-22(2)

Boxee Box
Brand: D-Link Pages: 18

DV-180
Brand: Valor Pages: 10

5000
Brand: Kaleidescape Pages: 2

DMP-BD10 - Blu-Ray Disc Player
Brand: Panasonic Pages: 8

KX-VC300
Brand: Panasonic Pages: 8

Diga DMR-EZ47
Brand: Panasonic Pages: 8

CQ-VW120W
Brand: Panasonic Pages: 16

DVD-S48
Brand: Panasonic Pages: 16

DVD-CV52
Brand: Panasonic Pages: 24

Diga DMR-EZ47VEB
Brand: Panasonic Pages: 2

AJ-HPM200
Brand: Panasonic Pages: 2

DVD-R100
Brand: Samsung Pages: 2
DVD-1080P9
Brand: Samsung Pages: 2
DVD-C500
Brand: Samsung Pages: 16

DVD P241 - Progressive-Scan DVD Player
Brand: Samsung Pages: 25

DVD-C700
Brand: Samsung Pages: 23

DVD-HD746
Brand: Samsung Pages: 22

DVD-P145
Brand: Samsung Pages: 16


