70
• Yellow button (“Swap”): Changes the
channel order. Select the channel you want
to move, and press the yellow button
(“Swap”). Then select another channel to
swap positions with, and press the yellow
button (“Swap”).
• Blue button (“Signal”): Displays the signal
strength and the signal quality.
b
To retain the current channel list setting at “Swap,”
etc., set “Auto Service Update” to “Off” (page 71).
Allows you to edit, erase, or arrange the
analogue channels.
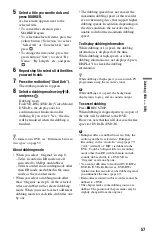
1
Select a channel using
M
/
m
, and press
the red button (“Edit”).
2
Select the item you want to change using
M
/
m
, and change the settings using
<
/
,
.
3
Press the red button (“Save”).
• To preset another channel, repeat from
step 1.
• To erase a channel, select the channel,
and press the green button (“Erase”).
• To change the channel order, see
“Digital Channel List” on page 69.
CH System
Select the region to get the best broadcast
reception.
Channel
Press
<
/
,
repeatedly until the channel
you want is displayed.
• To select a cable or satellite channel, press
<
/
,
until the channel you want is
displayed.
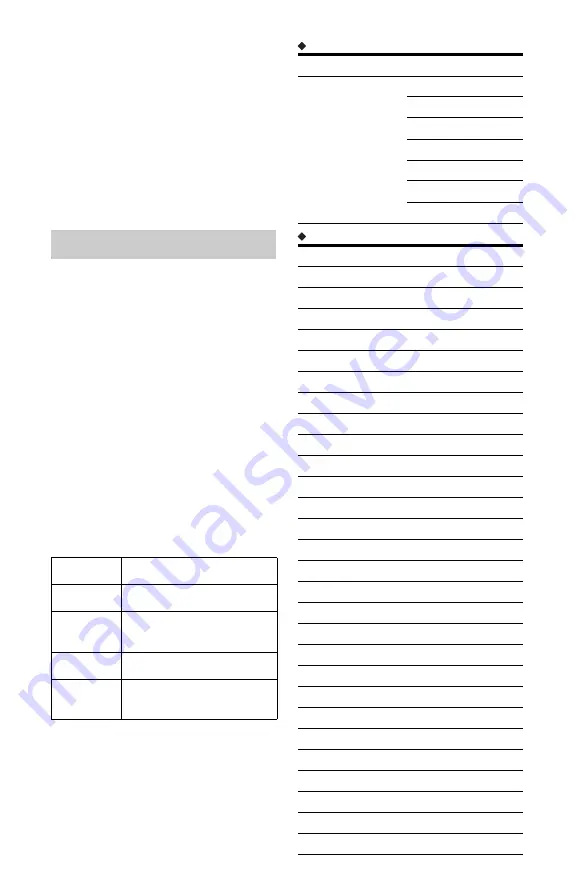
Receivable channels
Tuner channels
Analog Manual Setting
AU
Select this.
FR
Do not select this.
Western
Euro
Select this.
UK
Do not select this.
Eastern
Euro
Do not select this.
TV system
Channel coverage
BG
• Australia
E2 – E12 VHF
AS0 – AS12 VHF
E21 – E69 UHF
AS28 – AS69 UHF
S1 – S20 CATV
S21 – S41 HYPER
S01 – S05 CATV
Channel Set number Channel
1
AS1
2
AS2
3
AS3
4
AS4
5
AS5
6
AS6
7
AS7
8
AS8
9
AS9
10
AS10
11
AS11
12
AS12
13
AS0
14
AS5A
15
AS9A
28
AS28
29
AS29
30
AS30
31
AS31
32
AS32
33
AS33
34
AS34
35
AS35
36
AS36
37
AS37
38
AS38
39
AS39
40
AS40


