Recording
Chapter 2 Recording and Playback
24
Chapter 2
Recording and Playback
Recording Procedure
This section describes the procedure to perform a recording on this unit,
showing an example session in which playback signals coming from a
player VCR will be recorded on the tape loaded in the unit.
Notes
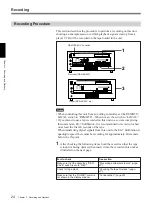
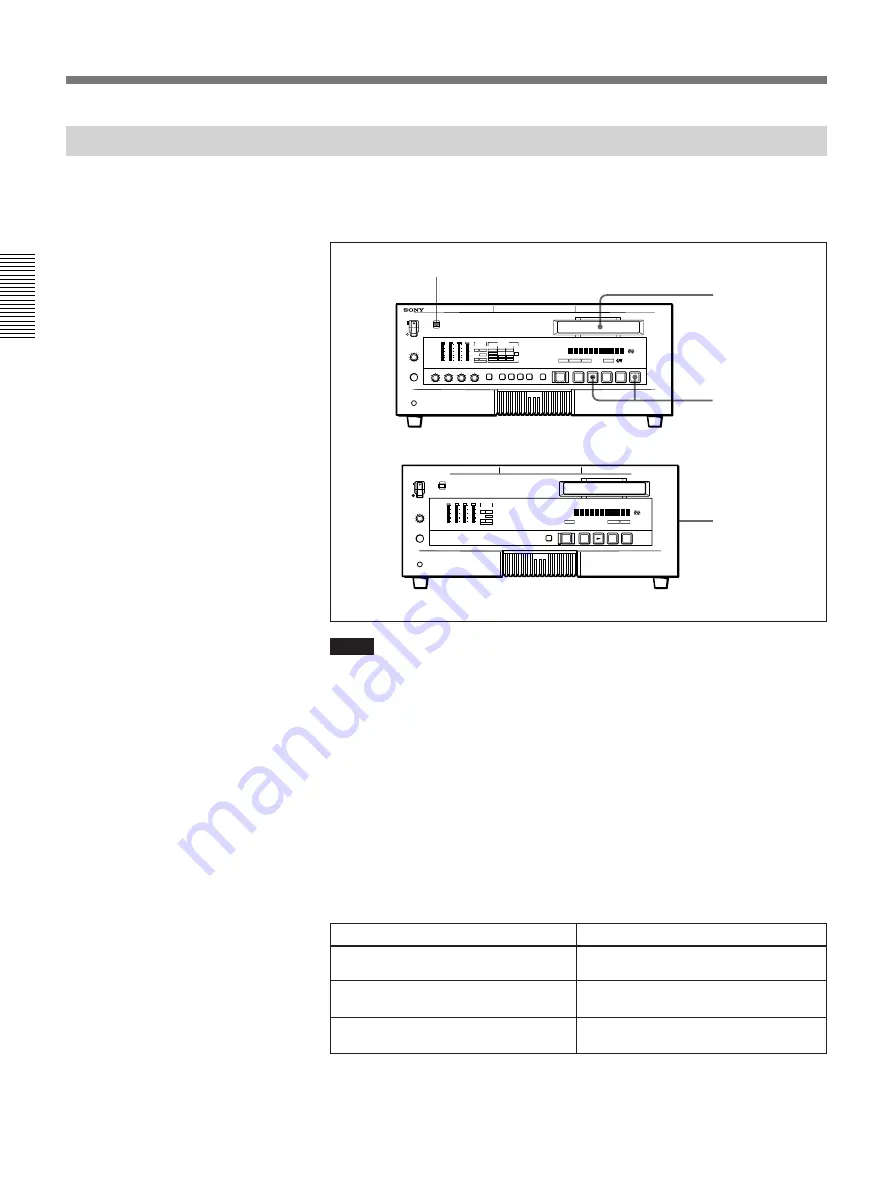
• When controlling this unit from an editing controller, set the REMOTE/
LOCAL switch to “REMOTE”. When not, set the switch to “LOCAL”.
• If you intend to use a tape recorded on this unit in a system comprising
this unit and an ES-7 EditStation, it is recommended to record color bars
on at least the first 40 seconds of the tape.
When transferring digital signals from this unit to the ES-7 EditStation at
quadruple speed, there must be recording for approximately 40 seconds
before the IN point.
1
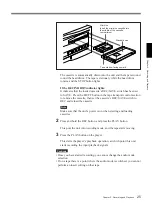
After checking the following items, hold the cassette so that the tape
window is facing upward, then insert it into the recorder (this unit) as
illustrated on the next page.
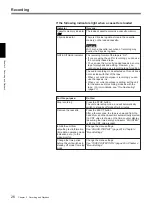
Item to check
See section
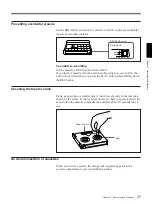
Make sure that the cassette’s “REC/
SAVE” switch is set to “REC”.
“Preventing accidental erasure”
(page
27).
Check for tape slack.
“Checking the tape for slack”
(page
27).
“Condensation”
(page 69)
Make sure that the “HUMID!” alarm is
not shown in the display window.
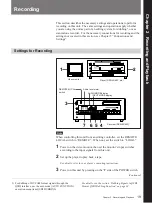
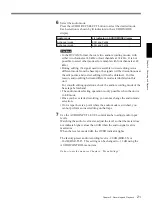
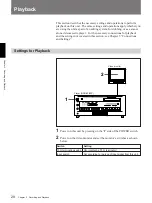
Recorder (DSR-85/85P)
REMOTE/LOCAL switch
Player (DSR-60/60P, etc.)
)
0
6
r
p
1
2
3
)
0
6
p


