75
Era
si
n
g
an
d
Edi
ting
Erasing and Editing
Before Editing
This recorder offers various edit options for
various disc types.
b
Notes
• You may lose the edited contents if you remove
the disc or a timer recording starts while editing.
• DVD discs created by DVD camcorders cannot
be edited on this recorder.
• If a message appears and indicates that the disc’s
control information is full, erase or edit
unnecessary titles.
• The remaining disc space displayed on the
screen may differ from the actual remaining disc
space.
• When editing a DVD+R or DVD-R, finish all
editing before finalising the disc. You cannot
edit a finalised disc.
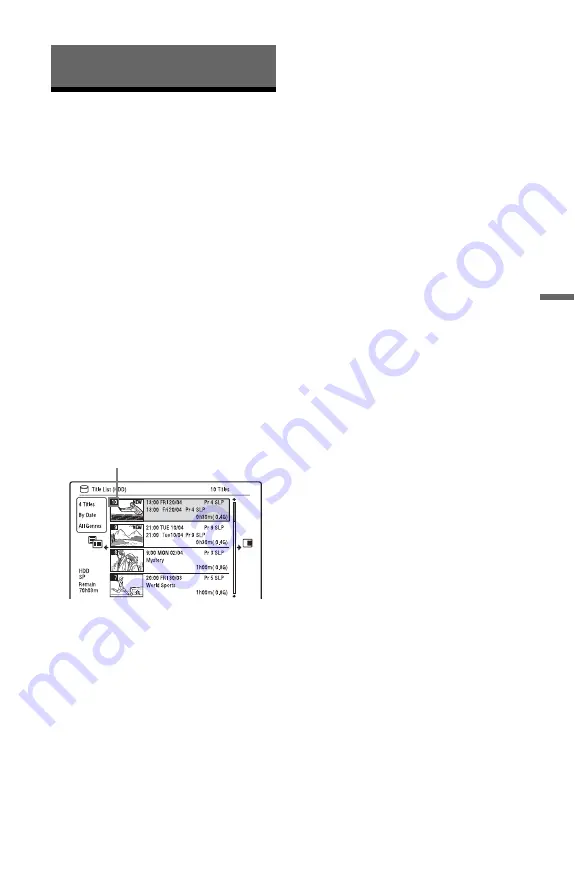
To open up disc space
To open up disc space on a DVD+RW or
DVD-RW (Video mode), erase the title with
the largest number in the title list.
To open up disc space on the HDD or a
DVD-RW (VR mode), you can erase any
title.
See “Erasing and Editing a Title” on
page 76.
For DVD-Rs and DVD+Rs, the available
disc space does not increase even if you
erase titles.
To switch between the Playlist and
Original Title List (DVD-RW/DVD-R in VR
mode only)
You can display the Playlist titles in the Title
List (Playlist), or the Original titles in the
Title List (Original).
1
Press
<
while the Title List is
displayed.
2
Select “Play List” using
M
/
m
, and press
ENTER.
3
Select “Original” or “Play List” using
M
/
m
, and press ENTER.
About editing accuracy
When editing the titles recorded on the
HDD, you can select the type of editing.
“Video Mode Compatible Editing”:
Recommended if you are going to dub the
titles to DVD-RWs/DVD-Rs (Video mode)
or DVD+RWs/DVD+Rs afterward by High-
speed dubbing. The editing points and
chapter marks may be slightly different from
those you selected.
“Frame Accurate Editing”:
Recommended when you want to edit titles
precisely. However, the editing points may
be slightly different from the point you
selected when you dub the titles by High-
speed dubbing.
Largest title number

