- 25 -
WAX2
RM-ED005
AD-Adjust RF Spec
Spec.
Reference register name
S-REG: APL_LUMA
TARGET_Y_RF±2
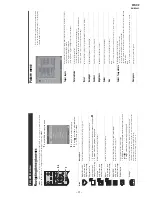
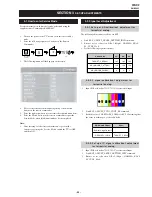
Service adjustments to this model can be performed using the
supplied remote Commander RM-ED005.
3.
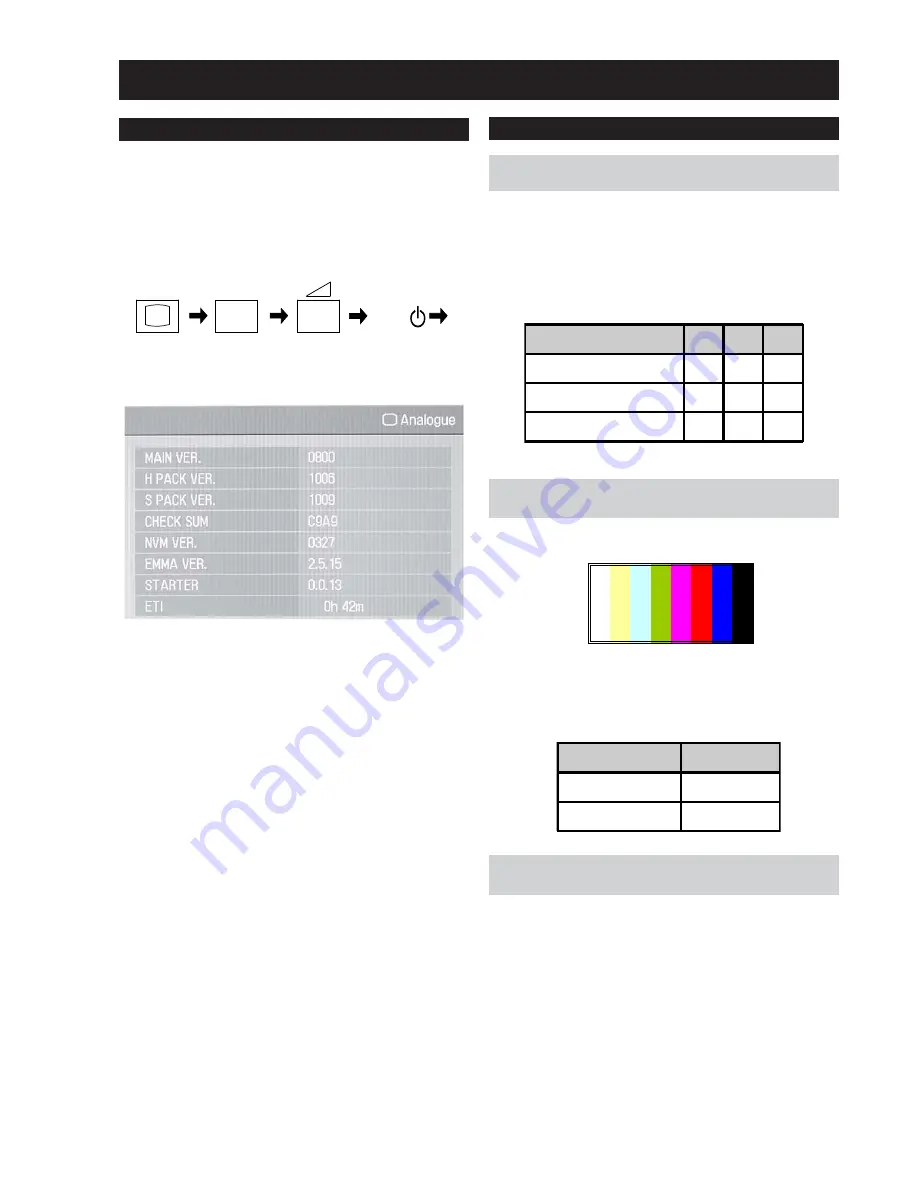
The following menu will then appear on the screen.
4.
Move to the relevant command using the up or down arrow
buttons on the remote commander.
5.
Press the right arrow button to enter into the required menu item.
6.
Press the ‘Menu’ button on the remote commander to quit the
Service Mode when all adjustments have been completed.
Note :
•
After carrying out the service adjustments, to prevent the
customer accessing the ‘Service Menu’ switch the TV set OFF
and then ON.
1.
Turn on the power to the TV set and enter into the stand-by
mode.
2.
Press the following sequence of buttons on the Remote
Commander.
SECTION 3
SET-UP ADJUSTMENTS
3-1. How to enter Service Mode
i+
5
+
(ON SCREEN (DIGIT 5) () (TV)
DISPLAY)
I/
TV
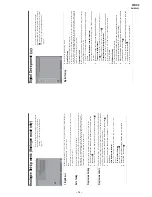
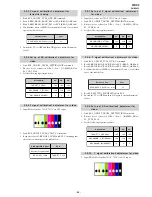
3-2-2. Y signal calibration1 adjustment for
terrestrial analog.
1. Input PAL colour bar 75%Y, 75%C via terrestrial input.
2. Send ECS_ADJUST_TCD3_CONT_RF command.
3. Read the value of S-REG:APL_LUMA via ECS. Confirming that
the value is within spec of the table below.
3-2-3. Set up of C signal calibration1 adjustment
for terrestrial analog.
1. Input PAL colour bar 75%Y, 75%C via terrestrial input.
2. Send ECS_ADJUST_LEVEL_SETTING_INIT command.
3. Ensure noise reduction NR=3 (High), GAMMA_EN=0,
P4_CVD2_85=0.
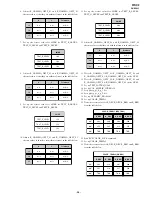
3-2-1. Set up of AD calibration1 adjustment for
terrestrial analog.
The following adjustments are done via ECS.
1. Send ECS_ADJUST_LEVEL_SETTING_INIT command.
2. Ensure noise reduction NR=3 (High), GAMMA_EN=0,
P4_CVD2_85=0.
3. Set the following registration items.
3-2. Signal Level Adjustment
㧜
㧞 㧟
㧠 㧡 㧢 㧣
6+6.'
5KIPCNNGXGNCFLWUVOGPV
65/
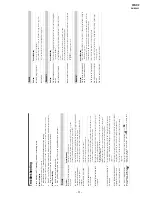
Screen Size
32"
40"
46"
TARGET_Y_RF(PAL)
165
165
165
ADJ_COLOR_Y_ATT(PAL)
128
128
128
ADJ_COLOR_PAL(PAL)
3
3
3
Summary of Contents for BRAVIA KDL-32V2000
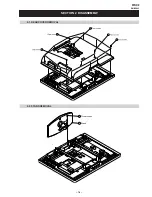
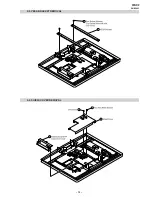
Page 19: ... 18 WAX2 RM ED005 SECTION 2 DISASSEMBLY 2 2 STAND REMOVAL 2 1 REAR COVER REMOVAL ...
Page 20: ... 19 WAX2 RM ED005 2 3 VESA BRACKET REMOVAL 2 4 SHIELD COVER REMOVAL ...
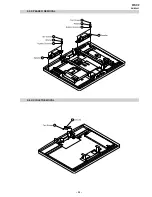
Page 21: ... 20 WAX2 RM ED005 2 5 SPEAKER REMOVAL 2 6 AC INLET REMOVAL ...
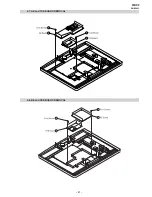
Page 22: ... 21 WAX2 RM ED005 2 7 AE and TUE BOARD REMOVAL 2 8 BE and FEE BOARD REMOVAL ...
Page 23: ... 22 WAX2 RM ED005 2 9 G1 or G2 BOARD REMOVAL 2 10 H1E BOARD REMOVAL ...
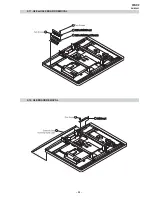
Page 25: ... 24 WAX2 RM ED005 2 13 SHIELD BASE REMOVAL 2 14 LCD PANEL REMOVAL ...

