92
Capturing the Picture of the HD Signal (HD Frame Capture)
Cha
p
te
r 4
Op
er
at
ions
5
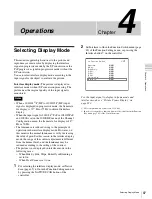
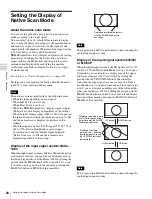
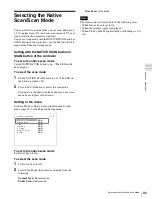
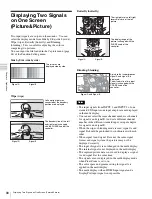
Press the ENTER (Ent) button.
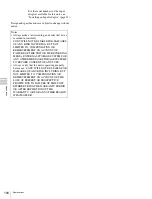
Part inside the cursor is magnified.
You can move the position of the magnified picture
with the PHASE knob or CHROMA knob. You can
change the magnification ratio with the UP or DOWN
button.
You can also change the boundary line color.
For details on changing the boundary line color, see
“Pixel Zoom Setting” (page 62) of the Function Setting
menu.
Press the MENU button of the controller to return to
the cursor display.
To end the pixel zoom operation
When the cursor is displayed or the picture is magnified,
press the Pixel Zoom button of the controller.
Capturing the Picture of
the HD Signal (HD Frame
Capture)
The frame picture of the 3G/HD-SDI input signal is
captured and saved as a picture file in the “Memory Stick”.
This is used to confirm the color tone and picture angle of
the current scene and recorded scene, or as the reference
picture to adjust the monitor.
To save the captured frame, we recommend using
“Memory Stick PRO (High-Speed)” or “Memory Stick
PRO Duo (High-Speed)”.
• Use the controller with software version 1.6 or higher to
use the HD Frame Capture function.
• The file is saved in TIFF. The file size is a maximum of
13 MB.
• The picture file is captured or loaded without
deterioration.
• The saved file may not be opened due to the PC
application used.
• The HD Frame Capture function is effective only for the
3G/HD-SDI signal.
• The interlace input signal is captured in each frame (first
field (F=0) and second field (F=1)).
• The frame is not captured in the following cases:
– When Side by Side, Wipe, Butterfly or Blending is set
to On
– When Pixel Zoom is set to on
– When the internal signal is displayed
– When the input signal has no sync signal
– When the captured frame is displayed
• The HD Frame Capture function is not available on
BKM-15R and BVM-A14F5.
To capture
1
Insert the “Memory Stick” into the Memory Stick
insertion slot of the controller.
For details on the “Memory Stick”, see
“Inserting/Ejecting the “Memory Stick”” on page
131.
2
Display the picture and press the CAPTURE button of
the controller at the point on the picture to be captured.
The captured still picture appears on the display.
Notes

