10.
15.
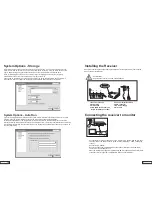
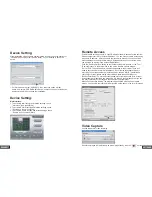
Device Setting
Once installation of the software has completed, double click on the shortcut of
“CamGuard Security System (Home Edition)” on your desktop to set up the
device.
1. For first time user, select “USB 2861 Video” under the option of video
device. And select “USB EMP Audio Device” under the option of audio device,
and then press [OK] to continue the installation.
USB 2861 Video
USB EMP Audio Device
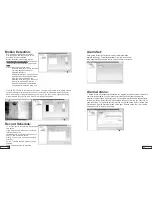
Remote Access
Enable remote service account: A static IP address (fixed) is needed for this section.
Please contact your ISP for a static IP address. You can not use remote access using
a dynamic IP address. After you enable remote service account, you can use fixed
access address to conduct remote access. Application for an account is free, which
can be made by clicking "Free Account Registration".
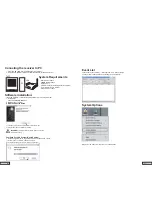
Click the "Remote Options" button on the toolbar of the main interface, or the "Tool" -
"Remote Options" in the main menu to pop up the Remote Options window.
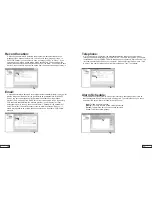
"Server Port": The port used by web server embedded in the program. There is no
need to set this value in normal circumstance. But of course reconfigure this port
according to your requirement. If other Web server, such as MS IIS, is installed on
your computer, then please assign other values. Otherwise conflict will occur.
"Access Permission": To set the account password for remote access. Both account
and password are required when accessing. It is strongly recommended that you set
this item to protect your privacy and the security of your computer.
Mobile Phone Access Setting: The program supports WAP mobile phone remote
access. You can view the locale historical records on the phone in the form of images.
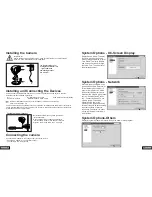
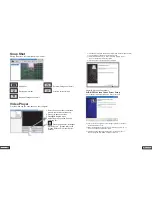
Video Capture
Choose the path for video recording
Record the images in View Window as active image files by click the “ ” button.
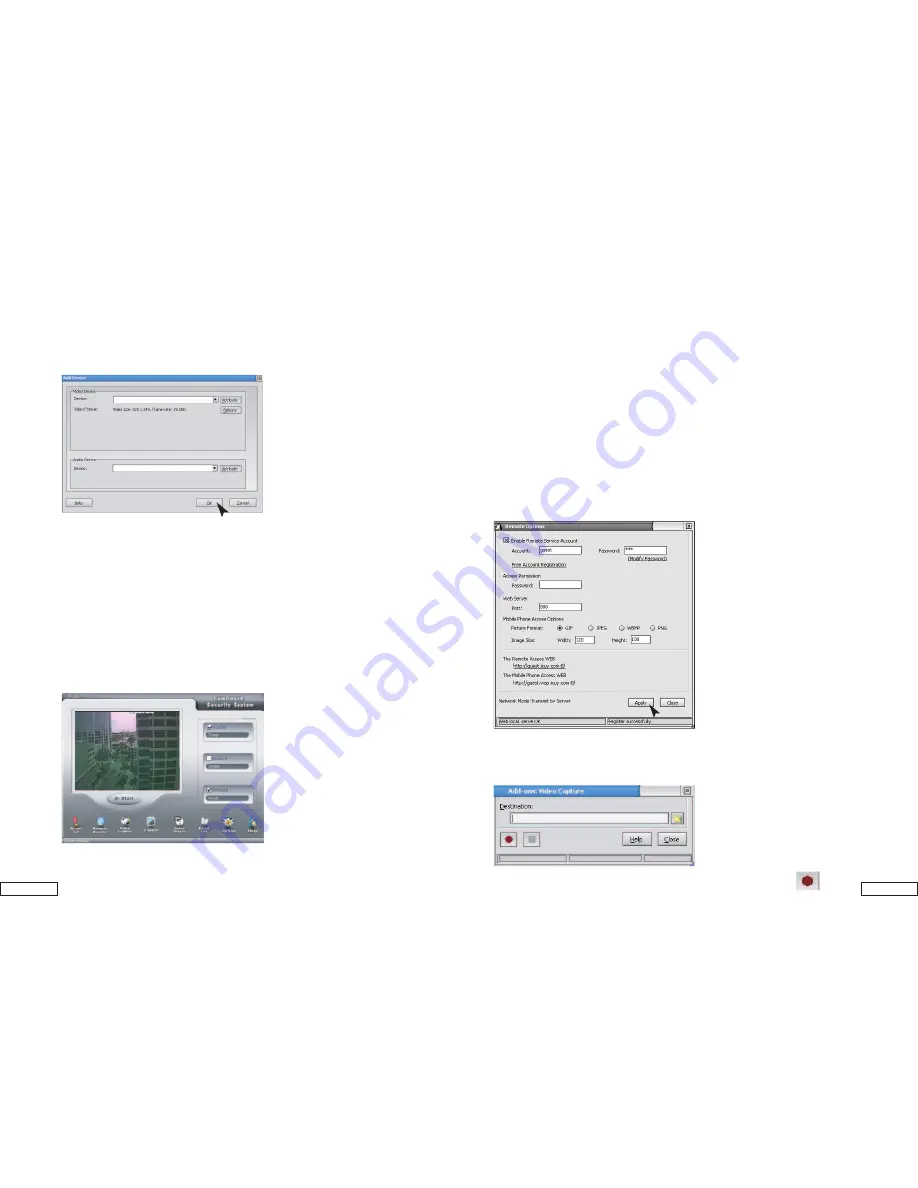
Device Setting:
Main Interface:
1. To activate Alarm function and related settings, check
“Alarm box” then press [Start]
2. To activate Record function and related settings, check
“Record box” then press [Start]
3. To activate Remote function and related settings, check
“Remote box” then press [Start]


