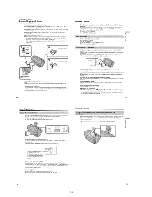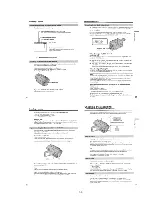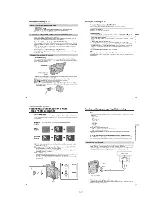
— 7 —
SERVICE NOTE
1.
POWER SUPPLY DURING REPAIRS
In this unit, about 10 seconds after power is supplied (8.4V) to the
battery terminal using the service power cord (J-6082-223-A), the
power is shut off so that the unit cannot operate.
This following two methods are available to prevent this. Take note
of which to use during repairs.
Method 1.
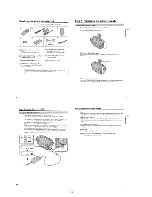
Connect the servicing remote commander RM-95 (J-6082-053-B)
to the LANC jack, and set the remote commander switch to the
“ADJ” side.
Method 2.
Use the DC IN terminal. (Use the AC power adaptor.)
8
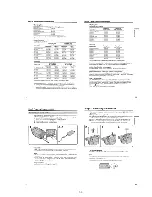
Pull the timing belt in the direction of
arrow
A
with a pincette while pressing
the cassette compartment (take care
not to damage) to adjust the bending
of a tape.
9
Let go your hold the cassette
compartment and rise the cassette
compartment to take out a cassette.
Pincette
Timing belt
Timing belt
Press the cassette compartment not to
rise the cassette compartment
[DC power supply]
(+5V)
Adjust the bending of a tape
Disconnect CN974
of VC-234 board.
Loading motor
DC IN terminal
Battery terminal
#
Battery terminal
3
Battery SIG terminal
2.
TO TAKE OUT A CASSETTE WHEN NOT EJECT (FORCE EJECT)
1
Refer to 2-2. to remove the front panel block assembly.
2
Refer to 2-3. to remove the cabinet (R) block assembly.
3
Refer to 2-4. to remove the cassette lid assembly.
4
Refer to 2-4. to remove the battery panel block assembly.
5
Refer to 2-4. to remove the cabinet (L) assembly.
6
Disconnect CN974 of VC-234 board.
7
Add +5V from the DC POWER SUPPLY and unload with a
pressing the cassette compartment.
Summary of Contents for CCD-TRV67 - Video Camera Recorder 8mm
Page 12: ...1 2 ...
Page 13: ...1 3 ...
Page 14: ...1 4 ...
Page 15: ...1 5 ...
Page 16: ...1 6 ...
Page 17: ...1 7 ...
Page 18: ...1 8 ...
Page 19: ...1 9 ...
Page 20: ...1 10 ...
Page 21: ...1 11 ...
Page 22: ...1 12 ...
Page 23: ...1 13 ...
Page 24: ...1 14 ...
Page 25: ...1 15 ...
Page 26: ...1 16 ...
Page 27: ...1 17 ...
Page 28: ...1 18 ...
Page 29: ...1 19 ...
Page 30: ...1 20E ...


