Recording From CDs
15
GB
Recording From CDs
Recording From CDs
Recording From CDs
7
Reverse the tape to side B and press
H
or
X
on
the player to resume playing the remaining tracks.
To cancel Time Edit
Press CONTINUE.
z
You can program the tracks you want in advance
Create a program selecting the desired tracks, then
follow Steps 2 to 7. Be careful that the total playing time
of the program does not exceed the tape length of one
side.
z
You can freely specify the tape length
Set the tape length using the
l
AMS
L
control.
Example: When the tape length of one side is 30 minutes
and 15 seconds
1 To set the minutes, turn
l
AMS
L
until
“30” appears in the display, then push
l
AMS
L
.
2 To set the seconds, turn
l
AMS
L
until
“15” appears in the display, then push
l
AMS
L
.
z
You can check and change the program
See page 13.
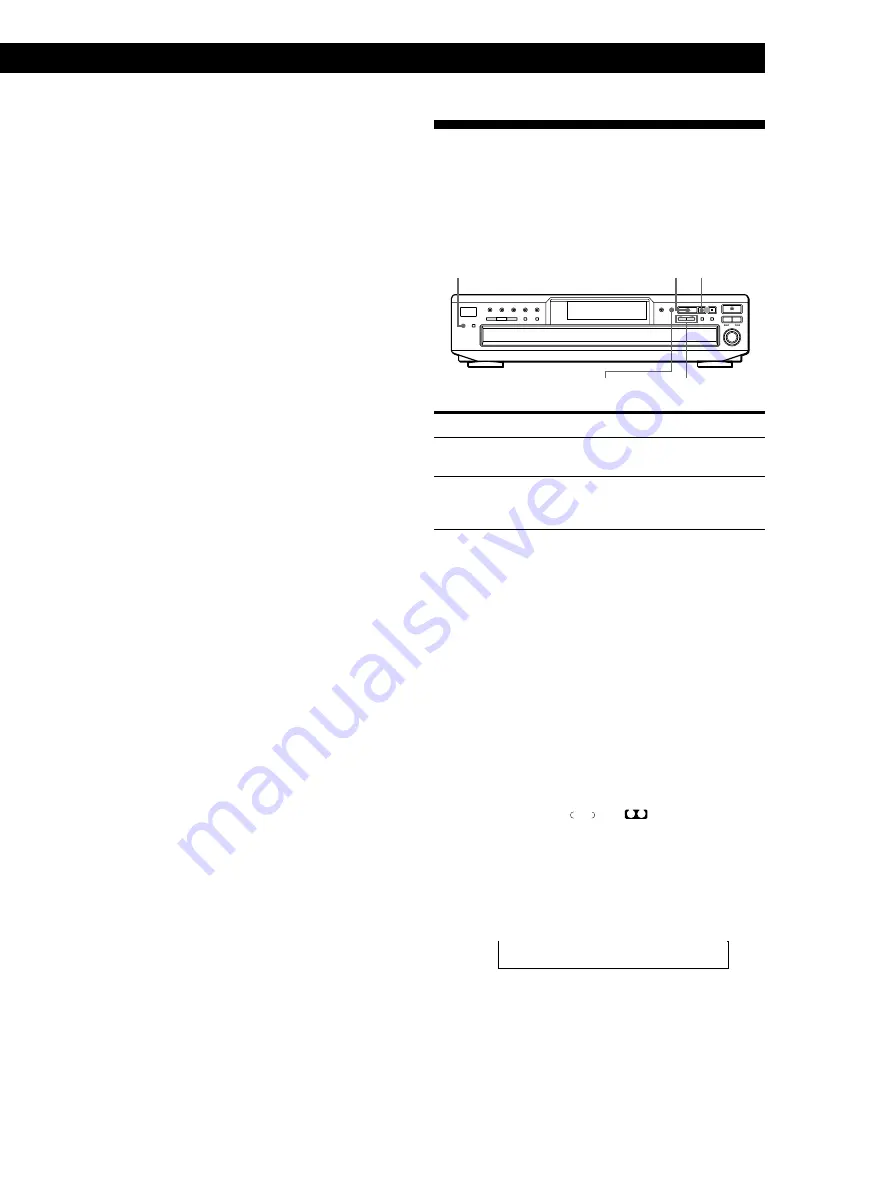
Fading In or Out
You can manually fade in or out to prevent tracks from
starting or ending abruptly.
Note that you cannot use this effect when you use the
DIGITAL OUT (OPTICAL) connector.
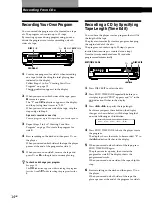
To
Start play fading in
End play fading out
Note
Fading lasts for about 5 seconds. However, when you press
the FADER button during Music Scan (see page 10), the play
fades out for about 2 seconds.
Fading out at the specified time
(Time Fade)
You can have the player fade out automatically by
specifying the playing time. Once you set the Time
Fade, it works twice, that is, the play fades out at the
end of both sides of a tape.
1
Press EDIT/TIME FADE repeatedly before you
start playing until
TIME
FADE
and
A
appear in the
display.
2
Press
m
or
M
to specify the playing time.
Each time you press these buttons, the display
changes as shown below, with the playing time of
one side following each indication.
t
C-46
y
C-54
y
C-60
y
C-74
y
C-90
y
- -. - -
T
(23.00)
(27.00)
(30.00)
(37.00)
(45.00)
EDIT/TIME FADE
m
/
M
FADER
X
H
(Continued)
Press FADER
During pause. “FADE” flashes, then
the play fades in.
When you want to start fading out.
“FADE” flashes and the play fades out.
Then the player pauses.

