Getting Started
6
EN
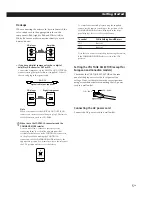
When the disc does not have the Disc Memo, the
disc number (e.g.,
∗
DISC-20
∗
) appears instead of
the Disc Memo.
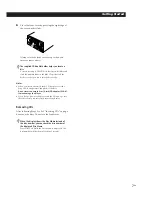
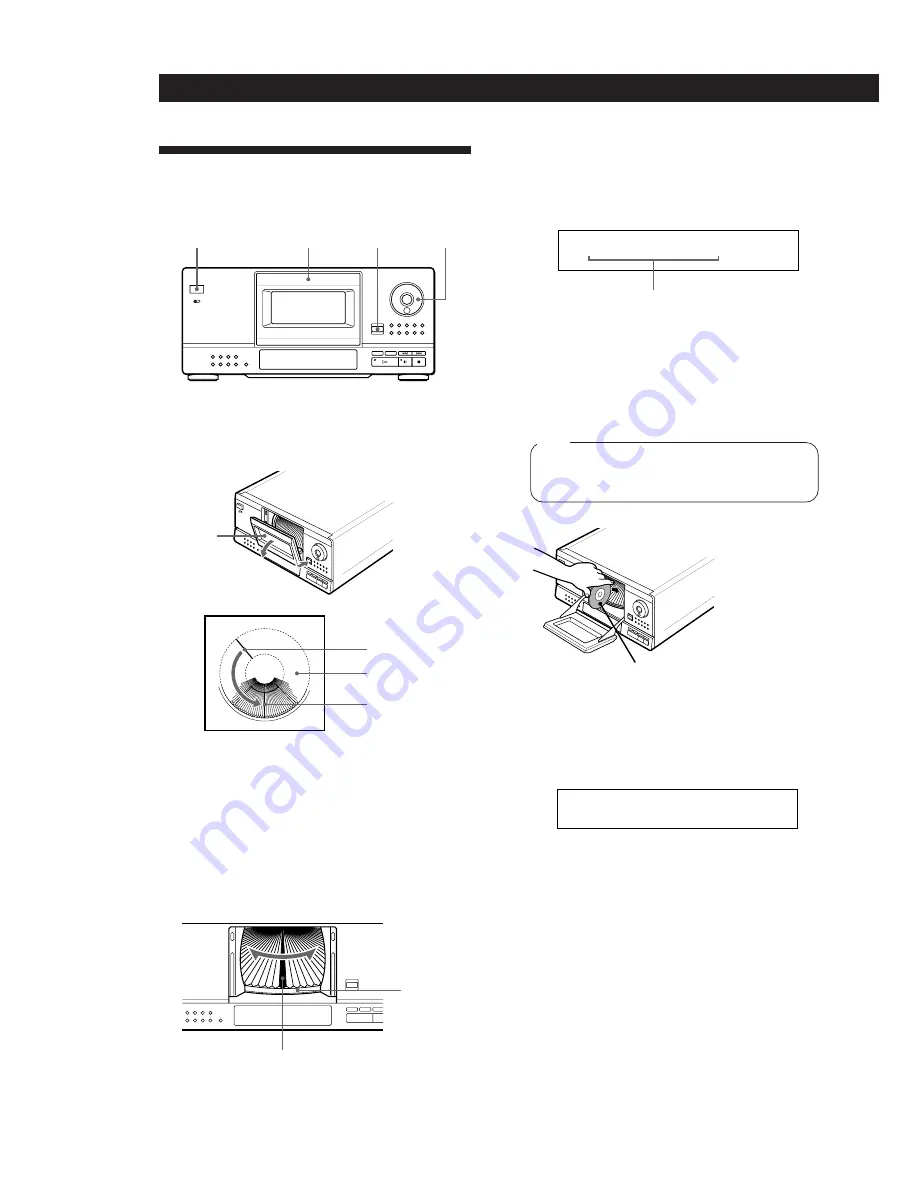
4
Insert a disc with the label side facing right.
Note
Make sure you have inserted the discs into each slit at
a right angle to the rotary table. If the disc is not put in
straight, it may damage the player or the disc.
Inserting CDs
You can insert up to 100 discs into this player.
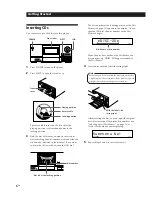
POWER
Front cover
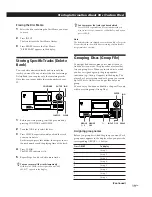
1
Press POWER to turn on the player.
2
Press EJECT to open the front cover.
Front
cover
JOG
EJECT
Playing position
Rotary table
Loading position
The rotary table turns and the disc slit at the
playing position is released and comes to the
loading position.
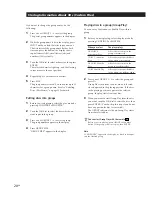
3
Find the disc slit where you want to insert a disc
while checking the disc number (written beside the
slit and also indicated in the display). If you want
to move the slit toward you, turn the JOG dial.
Disc number
Disc slit at the loading position
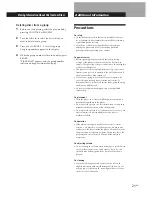
The disc number at the loading position or the Disc
Memo (see page 18) appears in the display. As you
turn the JOG dial, the disc number or the Disc
Memo changes.
ALL DISCS
CD
1
* D I S C - 2 0 *
Disc Memo or disc number
ALL DISCS
CD
S y
1
1
m p h o n y N o
After inserting the disc, you can input the original
disc titles instead of the current disc numbers (see
“Labeling Discs (Disc Memo)” on page 18) to
locate it easily when you start playing.
5
Repeat Steps 3 and 4 to insert more discs.
With the label side
facing right

