10
Getting Started
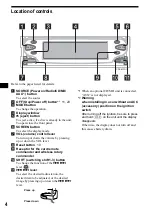
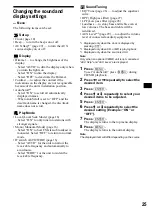
Resetting the unit
Before operating the unit for the first time, or
after replacing the car battery or changing the
connections, you must reset the unit.
Press the reset button with a pointed object, such
as a ball-point pen.
After the reset is complete, the pre-stored images
are displayed. Press
(IMAGE)
on the card remote
commander to show the clock display and set the
clock and calendar.
Note
Pressing the reset button will erase the clock/calendar
setting and some stored contents.
Setting the clock and the
calendar
The clock uses a 12-hour digital indication
(Month/Day/Year Time).
The factory setting is “01/01/2003 01:00AM.”
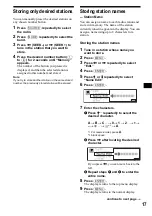
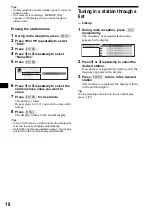
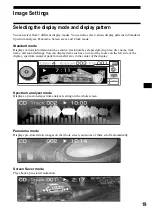
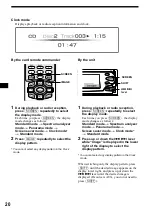
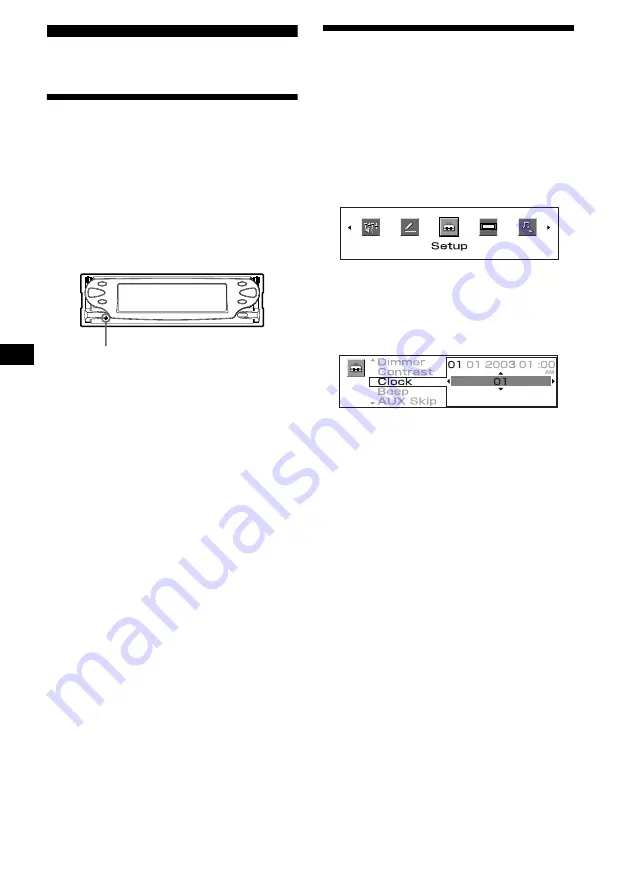
1
Press
(MENU)
.
2
Press
<
or
,
repeatedly to select
“Setup.”
3
Press
(ENTER)
.
4
Press
M
or
m
repeatedly to select
“Clock.”
5
Press
(ENTER)
.
1
Press
M
or
m
repeatedly to set the
month.
Each time you press
M
, the number of the
month increases.
Each time you press
m
, the number of the
month decreases.
2
Press
,
to move to the day, then
press
M
or
m
repeatedly to set the
day.
If you press
<
, you can move back to the
left.
3
Repeat step
2
to set the year, the
hour, and the minute.
6
Press
(ENTER)
.
The settings for clock and calendar are stored,
and the display returns to the normal display.
Note
If your car has no ACC position, turn on the power of
this unit first, then set the clock and the calendar.
Tips
• “AM” or “PM” toggles automatically depending on
your time setting.
• You can set the year from 2000 to 2099.
Reset button

