7
CDX-S22/S22S
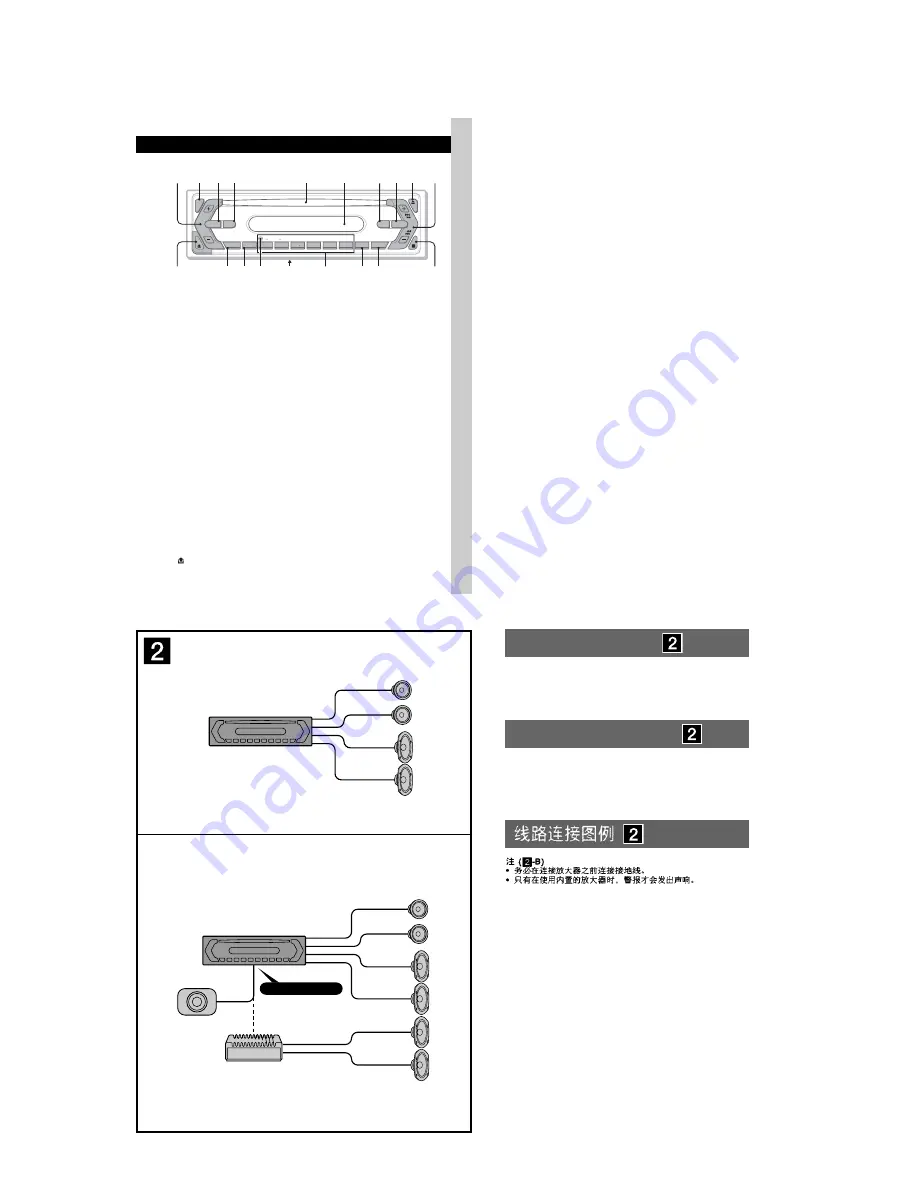
Location of controls and basic operations
(E, MX, CH, EA model)
Connections (E, MX, CH, EA model)
5
Location of controls and basic operations
Main unit
Refer to the pages listed for details.
A
/– button
To adjust volume.
B
SEL (select) button 4, 7
To select items.
C
SOURCE button
To power on; change the source (Radio/CD).
D
MODE button 6
To select the radio band (FM/AM).
E
Disc slot
Insert the disc (label side up), playback
starts.
F
Display window
G
ATT (attenuate) button
To attenuate the sound. To cancel, press
again.
H
EQ3 (equalizer) button 7
To select an equalizer type (XPLOD,
VOCAL, CLUB, JAZZ, NEW AGE, ROCK,
CUSTOM or OFF).
I
Z
(eject) button
To eject the disc.
J
SEEK +/– button
CD:
To skip tracks (press); skip tracks
continuously (press, then press again within
about 1 second and hold); fast-forward/
reverse a track (press and hold).
Radio:
To tune in stations automatically (press); find
a station manually (press and hold).
K
(front panel release) button 4
L
DSPL (display)/DIM (dimmer) button
4, 6
To change display items (press); change the
display brightness (press and hold).
M
SENS button
To improve weak reception: LOCAL/
MONO.
N
RESET button
(located behind the front
panel)
4
O
Frequency select switch
(located on the
bottom of the unit)
See “Frequency select switch” in the
supplied installation/connections manual.
P
Number buttons
CD:
(1)
/
(2)
:
GROUP
* –/+
To skip groups (press); skip groups
continuously (press and hold).
(3)
:
REP 6
(4)
:
SHUF 6
(6)
:
PAUSE
To pause playback. To cancel, press
again.
Radio:
To receive stored stations (press); store
stations (press and hold).
Q
BTM button 6
To start the BTM function (press and hold).
R
OFF button
To power off; stop the source.
S
Receptor for the card remote
commander 8
*
When an MP3/ATRAC CD is played.
SENS
BTM
OFF
DSPL
1
2
3
4
5
6
SEL
DIM
SHUF
REP
EQ3
ATT
SOURCE MODE
SEEK
CDX-S22S
CDX-S22
–
+
GROUP
PAUSE
qa
1
2
3 4
5
6
7 8 9
0
qs qd
qg
qh
qj qk
qf
ql
AUDIO OUT REAR
*
A
B
*
AUDIO OUT SUB/REAR
Connection example
Notes (
2
-B)
•
Be sure to connect the earth lead before connecting the
amplifi er.
•
The alarm will only sound if the built-in amplifi er is used.
Ejemplo de conexiones
Notas (
2
-B)
•
Asegúrese de conectar primero el cable de conexión a masa
antes de realizar la conexión al amplifi cador.
•
Los pitidos se activarán únicamente si se utiliza el amplifi cador
integrado.


