DSC-P9
5-19
6.
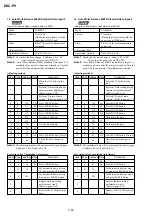
Light Value Adjustment
RadarW
RadarW
RadarW
RadarW
RadarW
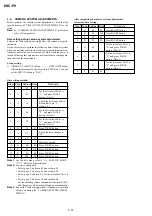
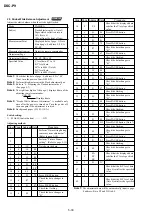
Adjust the standard LV value.
Mode
CAMERA
Subject
Clear chart
(Standard picture frame with the
zoom lens at WIDE end)
Measurement Point
Displayed data of page: 1 (Note
2) and page: F, address: 65
Measuring Instrument
Adjusting remote commander
Adjustment Page
F
Adjustment Address
65 to 67
Specified Value
AE level 1: 0FE0 to 1020
AE level 2: 2F to 50
Note 1:
Check that the data of page: 6, address: 02 is “00”.
If not, turn the power of unit OFF/ON.
Note 2:
The right four digits of the page: 1 displayed data of the
adjusting remote commander.
1:XX:XX
Displayed data
Adjusting method:
Order Page Address Data
Procedure
1
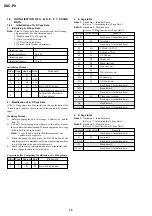
Perform “Data setting during
camera system adjustment”.
(Refer to page 5-14)
2
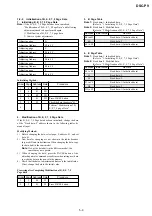
Perform “Picture Frame
setting”.
(Refer to page 5-15)
3
6
01
0D
Press PAUSE button.
(Note 4)
4
6
02
Check the data changes to
“01”.
5
0
03
06
6
1
Check that the displayed data
(Note 2) satisfies the AE
level 1 specified value.
7
F
65
Check that the displayed data
satisfies the AE level 2
specified value.
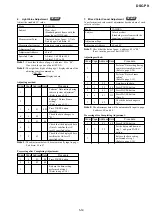
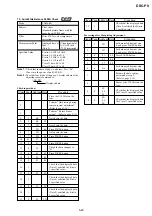
Note 3:
The adjustment data will be automatically input to page:
F, address: 65 to 67.
Processing after Completing Adjustment:
Order Page Address Data
Procedure
1
6
01
00
Press PAUSE button.
2
0
03
00
3
Release the data setting
performed at step 1.
(Refer to page 5-14)
7.
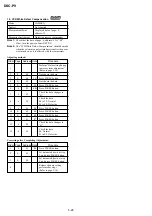
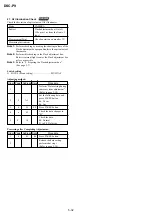
Mixed Color Cancel Adjustment
RadarW
RadarW
RadarW
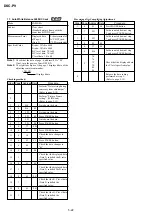
To perform mixed color cancel adjustment based on data of each
color in color bar.
Mode
CAMERA
Subject
Color bar chart
(Standard picture frame with the
zoom lens at WIDE end)
Adjustment Page
F
Adjustment Address
6E and 6F
Note 1:
Check that the data of page: 6, address: 02 is “00”.
If not, turn the power of unit OFF/ON.
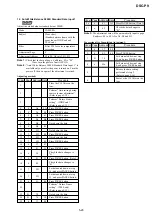
Adjusting method:
Order Page Address Data
Procedure
1
Perform “Data setting during
camera system adjustment”.
(Refer to page 5-14)
2
Perform “Picture Frame
setting”.
(Refer to page 5-15)
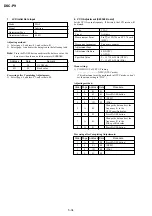
3
7
22
Note down the data.
4
7
22
00
Press PAUSE button.
5
6
01
D7
Press PAUSE button.
6
6
01
D5
Press PAUSE button.
(Note 2)
7
6
02
Check the data changes to
“01”.
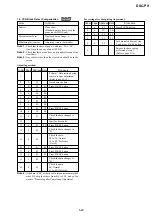
Note 2:
The adjustment data will be automatically input to page:
F, address: 6E and 6F.
Processing after Completing Adjustment:
Order Page Address Data
Procedure
1
6
01
00
Press PAUSE button.
2
7
22
Set the data noted down at
step 3, and press PAUSE
button.
3
Release the data setting
performed at step 1.
(Refer to page 5-14)

