DSC-RX10_L2
1-2
– ENGLISH –
1-3. NOTES ON REMOVING/INSTALLING THE IMAGER BOARD (CD-847 FLEXIBLE BOARD)
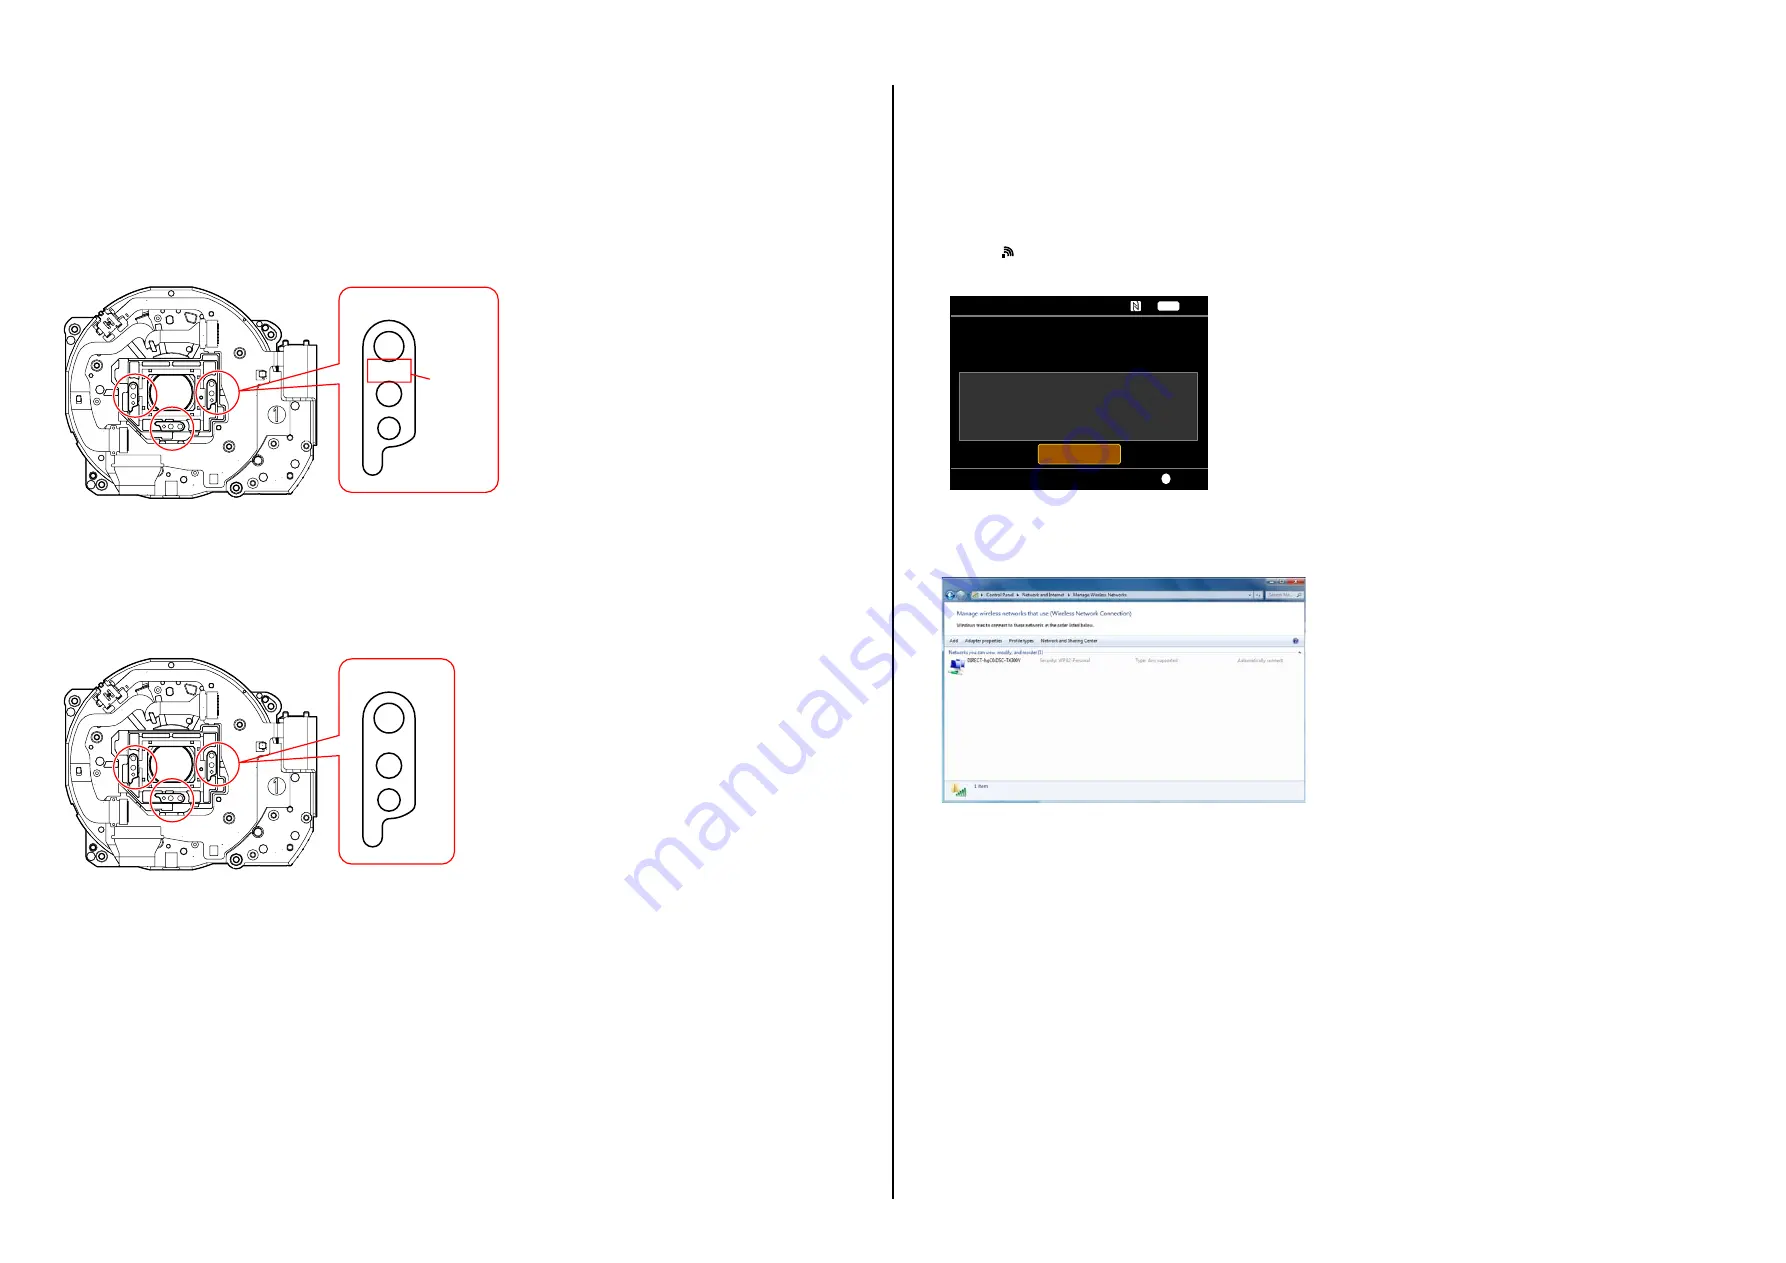
When the CD-847 Flexible Board (Imager) is mounted to the lens, shift and tilt adjustment is made with Gate Boards.
When removing the CD-847 Flexible Board, pay attention to the following.
(1) When the lens is not replaced
Example: In the case of disassembly, cleaning, or replacement of the CD-847 Flexible Board (Imager)
• Check and record the size of the built-in three Gate Boards and store them so as not to lose them.
• When assembling the CD-847 Flexible Board, be sure to install the Gate Boards to their original locations.
Size
0.xx
Note
Be careful not to lose the Gate Boards.
If any Gate Board is lost or their previous positions are not sure, repeatedly take a photo and check that there is no local defocus.
Selecting appropriate Gate Boards
(2) When the lens is replaced
• Check the size of the built-in three Gate Boards. If the thickness of a Gate Board is not 0.20, discard the Gate Board.
• Prepare three Gate Boards B (t = 0.2) (Sony Part No.: 4-410-540-01) and install them to the new lens.
0.20
1-4. CHECKING THE Wi-Fi FUNCTION
Perform the following procedure to check the Wi-Fi function.
Required equipment: Windows personal computer with Wi-Fi interface
1. Turn on the power of the unit.
2. Perform the following operations.
MENU
→
→
[Ctrl w/ Smartphone]
→
●
3. When preparation for Wi-Fi has been completed, the following screen opens and a password for Wi-Fi connection is displayed.
Ctrl w/ Smartphone
Operate smartphone to connect to
this device via Wi-Fi.
Enter
SSID DIRECT-XXXX:DSC-XXXX
Password XXXXXXXX
Device Name DSC-XXXX
Cancel
Wi-Fi
4. Confirm on the personal computer that the unit is detected as a connectable wireless network.
5. To further confirm that the unit is connectable, connect the unit to the personal computer and select “Network and Internet”
→
“Manage Wireless
Networks” from Control Panel to open the network connection list. The unit is included in the list.


