51
Enj
o
yi
ng
im
ages on you
r co
m
p
ut
er
Connecting the camera to
your computer
a
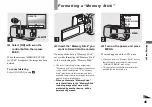
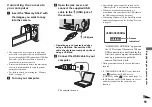
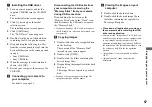
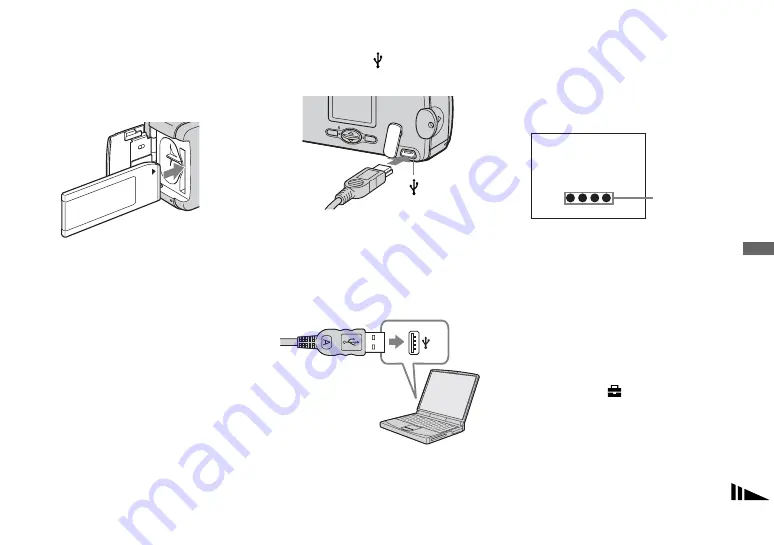
Insert the “Memory Stick” with
the images you want to copy
into the camera.
•
The camera can receive power supply from
most of the computers that are recommended
for use through the USB connection (USB Bus
Powered), so in this case there is no need to
insert batteries into the camera.
•
Removing the batteries before connecting the
camera is recommended in order to prevent
battery deterioration.
•
For further details on inserting the “Memory
Stick,” see page 17.
b
Turn on your computer.
c
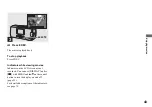
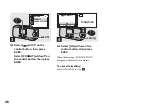
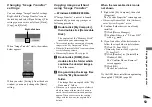
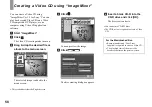
Open the jack cover, and
connect the supplied USB
cable to the
(USB) jack of
the camera.
• Operations are not guaranteed when
using a USB hub. Connect the USB
cable directly to your computer, without
using a USB hub.
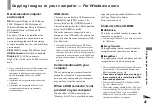
d
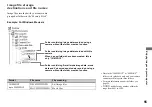
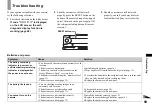
Connect the USB cable to your
computer.
The camera turns on.
•
Note that the power cannot be turned on if a
“Memory Stick” is not inserted in the camera.
•
When you use a desktop computer, we
recommend that you connect the USB cable to
the USB connector on the rear panel.
•
When using Windows XP, the AutoPlay wizard
automatically appears on the desktop. Proceed
to page 54.
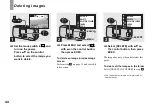
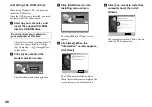
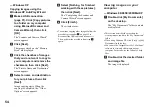
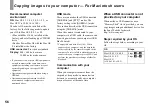
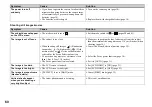
“USB MODE: NORMAL” appears on
the LCD screen of the camera. When a
USB connection is established for the
first time, your computer automatically
runs a program to recognize the
camera. Wait for a while.
* During communication, the access indicators
turn red.
•
If “USB MODE: NORMAL” is not shown in
step
4
, confirm that [USB] is set to
[NORMAL] under [
] in the menu (page 71).
•
In USB mode, the POWER button, lens cover
and other controls on the camera do not
function.
SONY
(USB) jack
USB MODE:NORMAL
Access
indicators
*

