47
GB
Ad
va
nce
d
o
pera
tio
ns
Adjusting the image size
and position
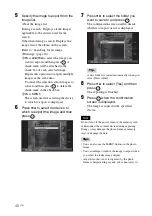
You can enlarge or reduce an image in single
view mode.
1
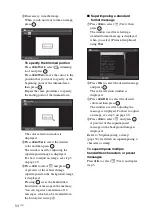
To enlarge an image, press
(zoom in) on the remote control. To
reduce an enlarged image, press
(zoom out).
Each press of the button enlarges the
image further. You can enlarge an image
to a maximum of 5 times the original
scale. You can move an enlarged image
up, down, left, and right.
About crop and save
• The screen currently displayed is saved as it
was trimmed after you press
B
/
b
/
v
/
V
to
move the enlarged image and then press the
MENU button.
• You can select [Save as new image] or
[Overwrite] by pressing the MENU button
when the image is enlarged or reduced. Press
v
/
V
to select the method used to save the
image.
• If you select [Save as new image], the image
is saved as a new image.
• If you select [Overwrite], the image is
overwritten. A confirmation screen is
displayed when you select [Overwrite]. Go
to step 4 on page 46.
Notes
• Enlarging an image may reduce the quality
depending on the image size.
• It is not possible to enlarge an image using the
buttons on the photo frame.
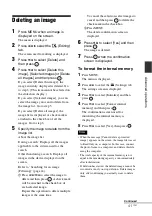
Press ROTATE (
) on the remote
control.
Each press of the button rotates the image 90
degrees counter-clockwise.
Operate from the menu of the
photo frame
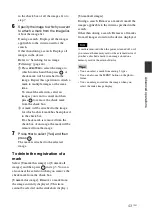
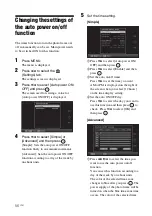
1
Press MENU in single display mode.
The menu is displayed.
2
Press
B
/
b
to select the
(Editing)
tab.
The screen used for editing is displayed.
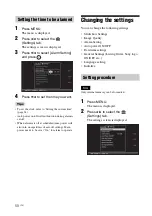
3
Press
v
/
V
to select [Rotate] and
then press
.
The Rotate menu is displayed.
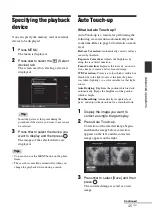
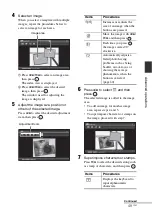
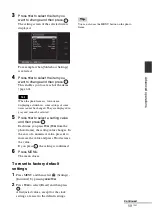
4
Press
v
/
V
to select the direction to
rotate and then press
.
•
:
Rotates the image 90 degrees
clockwise.
•
:
Rotates the image 90 degrees counter-
clockwise.
5
Press
v
/
V
to select [OK] and then
press .
Note
An enlarged image cannot be rotated.
Enlarging/reducing an image
Rotating an image
Continued

