


1-8
DPP-SV55 V1 (UC, CE)
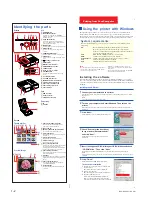
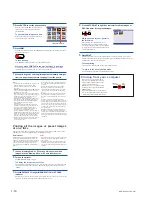
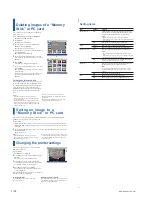
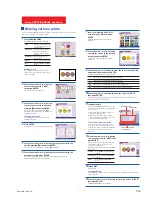
Setting the clock
By adjusting the clock of the printer, you can
record the time when the images were saved
onto the “Memory Stick” or PC card. You can
also automatically start the calendar with the
current month when making a calendar print.
When you unplug the AC power cord, set the
clock again.
1
Press POWER to turn on the power of the printer.
The POWER indicator lights in green.
2
Press MENU.
The menu bar appears on your television.
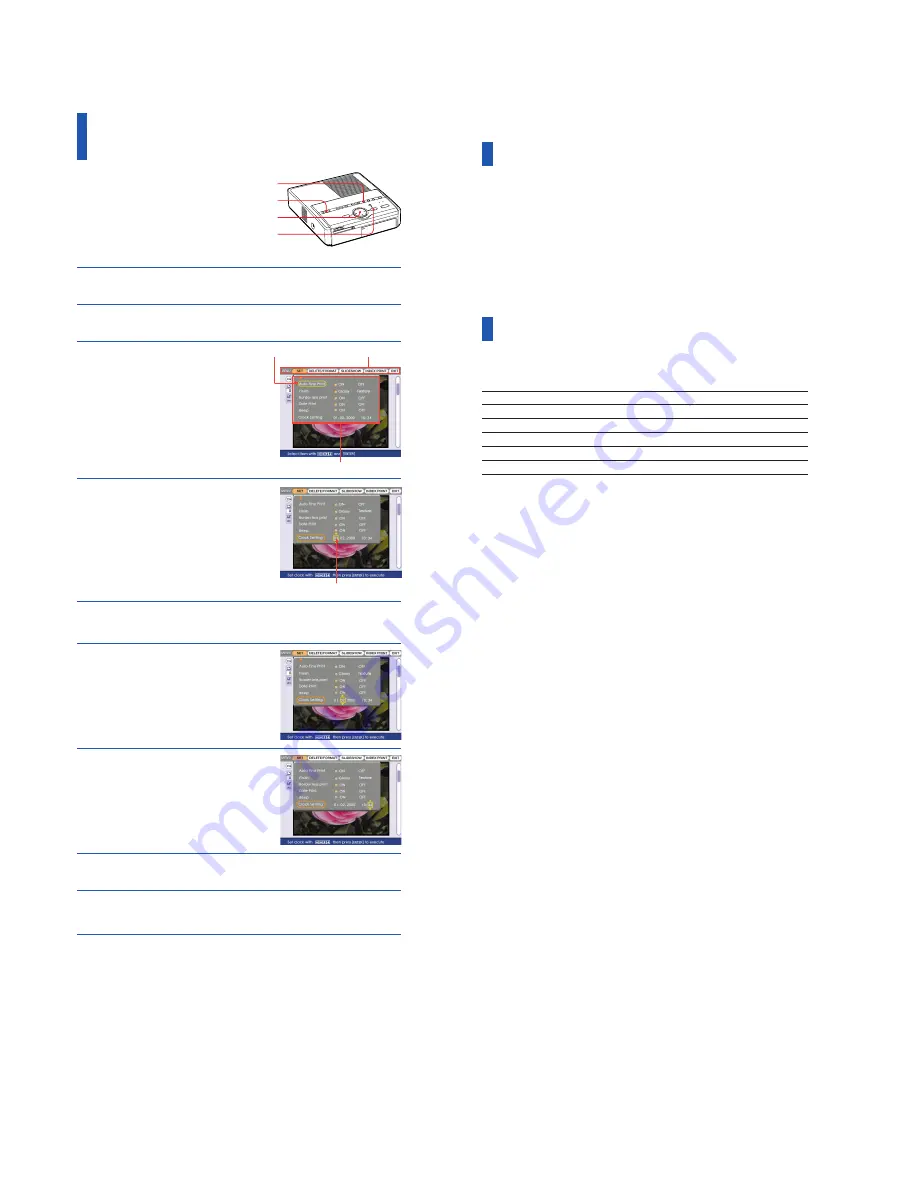
3
Make sure that “SET” is
selected on the menu bar, then
press ENTER.
If another menu item is selected, press
B/b
to move the cursor to “SET” and press
ENTER.
The cursor moves to the SET sub menu.
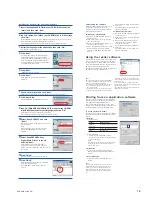
4
Press
V/v
to move the cursor
to “Clock Setting” and press
ENTER.
The cursor appears on the month (for NTSC)
or the day (for PAL).
5
Press
V/v
to set the month or day.
Press
V
to increase the number.
Press
v
to decrease the number.
6
Press
b
.
The cursor moves to the day (for NTSC) or
the month (for PAL).
7
Repeat steps 5 and 6 to set all
of the items: day or month,
year, hour and minute.
If you want to set the previous item, press
B
.
The hour is displayed in 24-hour system.
8
Press ENTER.
The clock setting mode ends.
9
Press MENU.
The menu disappears and the printer returns to the previous screen.
To cancel the menu operations
Press CANCEL. The menu display disappears without saving the settings. The printer returns
to the previous screen.
To confirm the clock setting
Follow the steps 1 through 4. The current clock setting appears on the screen. To return to the
previous screen, press MENU.
2,9
1
4–7
3,4,7,8
Cursor
Cursor
Sub menu
Menu bar
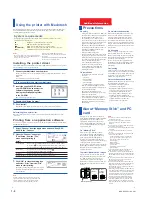
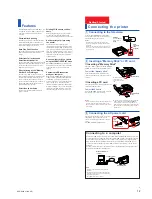
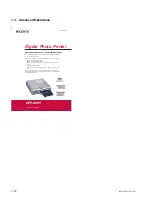
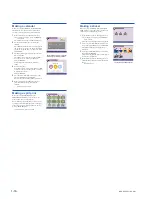
Unpacking the printer
Make sure that the following accessories are supplied with your printer.
• AC power cord (1)
• Video connection cable (1)
• Paper tray (1)
• CD-ROM (for Sony DPP-SV55 Printer Driver Software for Windows 98/98SE Ver. 1.0/for
Mac OS 8.5.1, 8.6, 9.0 Ver. 1.0 and Memory Stick/PC card Reader Software for Windows 98/
98SE Ver. 1.0) (1)
• Operating Instructions – Basic Operations (1)
• Operating Instructions – Advanced Operations (1)
• Operating Instructions – Software Guide/Additional Information (1)
• Warranty (1)
• Sample Printing Pack (1)
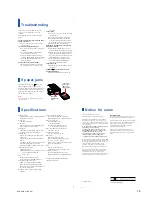
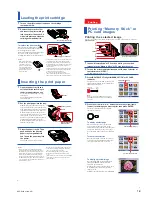
Using the printing pack
You need an optional printing pack designed for the printer. The pack contains a set of print
paper and a print cartridge for either Post Card Size (4x6 inch) or Small Size (3.5x4 inch) print.
Select the printing pack according to the type of printing you will do:
Printing Pack
Contents
SVM-25LS
25 sheets of Post Card Size photo paper/Print cartridge for 25 prints
SVM-25LW
25 sheets of Post Card Size sticker/Print cartridge for 25 prints
SVM-30SS
30 sheets of Small Size photo paper/Print cartridge for 30 prints
SVM-30SW
30 sheets of Small Size sticker/Print cartridge for 30 prints
SVM-30SW09
30 sheets of Small Size 9-split Sticker/Print cartridge for 30 prints
Notes
• Use the printing pack for this printer only.
• Always use the print cartridge and print paper
from the same carton as a set. If you mix
cartridges and paper of different types, printing
may not be possible, or a paper jam or other
trouble may occur.
• When storing a partially-used pack of the print
cartridge and print paper for an extended period
of time, store it in its original bag or in a similar
container.
• Do not touch the ink ribbon of the print
cartridge or the printing surface of the print
paper. If there are fingerprints or dusts on the
printing surface or the ink ribbon, the printing
quality may deteriorate.
• For quality print, avoid placing the print cartridge
and print paper in locations that are subject to
high temperature, high humidity, excessive dust,
or direct sunlight.
Summary of Contents for DPP-SV55
Page 1: ...DIGITAL PHOTO PRINTER DPP SV55 SERVICE MANUAL Volume 1 1st Edition ...
Page 6: ......
Page 23: ...1 17 DPP SV55 V1 UC CE Printed in Japan ...
Page 24: ......
Page 28: ......