1-16
DPP-SV55 V1 (UC, CE)
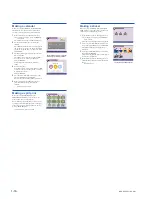
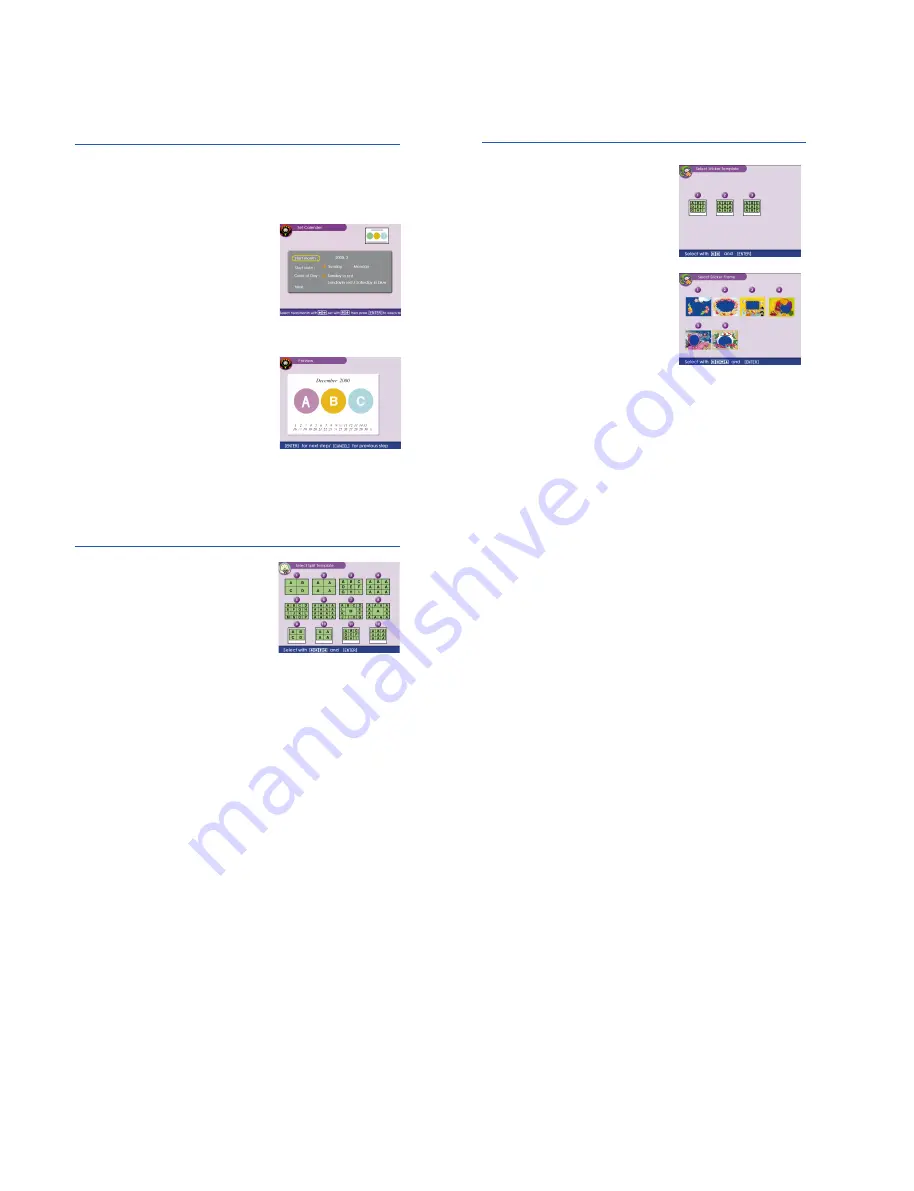
Set the month and day for a calendar
Preview of your calendar selections
Making a calendar
When you select “CALENDAR” in the CREATIVE
PRINT menu, you can add a selected calendar to
an image or images to make an original calendar.
1
Do the following steps in “Making a card” to
select a template. In step 2, select “CALENDAR” .
1
c
2
c
3
c
4
The window for setting a calendar is displayed.
2
Set the first month and the year starting the
calendar.
Press
V/v
to select “Start month” and press
B/b
to move the cursor to the year. To set the number,
press
V/v
. In the same way, set the month. Then
press ENTER.
3
Set the day starting the week (placed to the most
left in a calendar).
Press
V/v
to select “Start date” and press
B/b
to
move the cursor to “Sunday” or “Monday.”
Then press ENTER.
Some templates do not have the “Start date”
setting.
4
Set the color of days.
Press
V/v
to select “Color of Day” and press
B/b
to move the cursor to “Sunday in red” or “Sunday
in red/Saturday in blue.”
Then press ENTER.
5
Press the arrow (
B/b/V/v
) button to move the
cursor to “NEXT,” and press ENTER.
The preview of the created calendar is displayed.
6
Do the following steps in “Making a card” to
select and adjust an image, and print the
calendar:
7
c
8
c
9
c
10
c
13
c
14
Making a split print
When you select “SPLIT IMAGES” in the
CREATIVE PRINT menu, you can make a print
with 4-split, 9-split, or 16-split images.
Do the following steps in “Making a card” to select
a template, select and adjust images for all the split
planes, and print the created split images. In step
2, select “SPLIT IMAGES.”
1
c
2
c
3
c
4
c
8
c
9
c
10
c
13
c
14
Making a sticker
When you select “STICKER” in the CREATIVE
PRINT menu, you can add a frame to each 9-split
image to make a 9-split images sticker.
1
Do the following steps in “Making a card” to
select a template. In step 2, select “STICKER.”
1
c
2
c
3
c
4
The window for selecting a frame is displayed.
1
Press the arrow (
B/b/V/v
) button to move the
cursor to the desired frame, and press ENTER.
The thumbnail list for selecting an image is
displayed.
2
Press the arrow (
B/b/V/v
) button to select an
image, and press ENTER.
The preview is displayed. The selected image is
inset in the selected frame.
3
Do the following steps in “Making a card” to
adjust the image position and print the framed
image:
9
c
10
c
13
c
14
9-split sticker with framed images
Summary of Contents for DPP-SV55
Page 1: ...DIGITAL PHOTO PRINTER DPP SV55 SERVICE MANUAL Volume 1 1st Edition ...
Page 6: ......
Page 23: ...1 17 DPP SV55 V1 UC CE Printed in Japan ...
Page 24: ......
Page 28: ......

