4-2
DPP-SV55 V1 (UC, CE)
7.
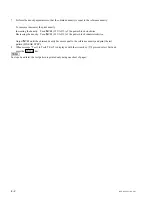
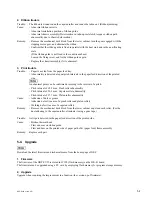
Perform the density adjustment so that the obtained density is equal to the reference density.
To increase (decrease) the print density
Increasing the density: Turn
1
VR1 (22 V ADJ.) of the power block clockwise.
Decreasing the density: Turn
1
VR1 (22 V ADJ.) of the power block counterclockwise.
Adjust
1
VR1 until the obtained density becomes equal to the reference density and print the test
pattern (LINEAR STEP).
8.
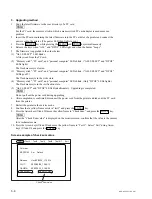
When message “Test1 to Test6/7 Exit” is displayed with the Arrow key (
↑
) pressed, select Exit and
press the ENTER key.
n
In steps 6 and later, the test pattern is printed only using one sheet of paper.
Summary of Contents for DPP-SV55
Page 1: ...DIGITAL PHOTO PRINTER DPP SV55 SERVICE MANUAL Volume 1 1st Edition ...
Page 6: ......
Page 23: ...1 17 DPP SV55 V1 UC CE Printed in Japan ...
Page 24: ......
Page 28: ......

