1-26
DSC-P71/P71M
56
Adjusting the
exposure
– EV adjustment
Mode dial setting:
/SCN/
Used when you want to change the
automatic exposure to one of your own
choice. The value can be set over a range
from +2.0EV to –2.0EV, in 1/3EV
increments.
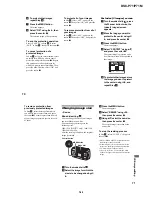
a
Turn the Mode dial to
, SCN,
or
.
b
Press the MENU button.
The menu appears.
c
Select “
”
using
b
/
B
.
The value of the exposure adjustment
is displayed.
d
Select the exposure
adjustment value.
Select the exposure adjustment value
using
v
/
V
.
Make your adjustment while
confirming the brightness of the
background of the subject on the LCD
screen.
To return to auto adjust mode
Return the exposure adjustment value to 0
EV.
•
(Spot light-metering) is not
displayed on the menu of the DSC-P31
(page 61).
• When the subject is at the brightest or
darkest ends of the range, or when you are
using the flash, the adjustment value set
may not actually be used.
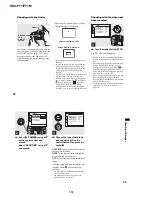
Mode dial
MENU button
Control button
2048
0EV
4
WB
EV
ISO
0EV
Shooting techniques
In normal shooting, the camera makes
automatic exposure adjustments. Check the
image to be shot, if it looks like the image
below, you should make manual adjustments.
If you are shooting a back-lit person or a
snowy scene, make your adjustments in the +
plus direction; if you have a dark subject that
fills the screen, making your adjustments in the
– direction should give the best results.
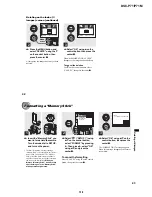
Inadequate exposure
t
Adjust in the + direction
Appropriate exposure
Overexposed
t
Adjust in
the – direction
Advanced still image shooting
57
Ad
vanced st
ill
i
m
age shoot
in
g
Adjusting color tones
– WHITE BALANCE
Mode dial setting:
/SCN/
When shooting images using automatic
features, the white balance is set
automatically in response to the condition
of the subject, and the overall color balance
is adjusted accordingly. When you want to
fix the conditions under which the image is
captured, or when shooting under special
lighting conditions, you can select the
settings manually.
AUTO (no display)
The white balance is adjusted
automatically.
Daylight (
)
Used when shooting outdoors, and for
shooting at night, under neon lights, for
fireworks, sunrises and sunsets.
Cloudy (
)
Used when shooting under a cloudy sky.
Fluorescent (
)
Used when shooting under fluorescent
lights.
Incandescent (
)
• Used when shooting, for example, at a
party, where the lighting conditions
change often
• Used in a studio, or under video lights
• Used when shooting under sodium or
mercury lights
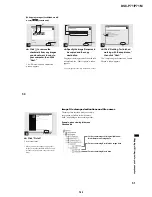
a
Turn the mode dial to
, SCN,
or
.
b
Push the menu button.
The menu appears.
c
Select WB using
b
/
B
, then
select the desired setting
using
v
/
V
.
To return to automatic settings
In Step
3
, select “AUTO”.
•
Under fluorescent lights that flicker, even if you
choose Fluorescent, you may feel that the
overall color of the image may show
differences from the actual color.
•
When the flash is triggered, the manual setting
is cancelled, and the shooting of the image is
done in “AUTO” mode.
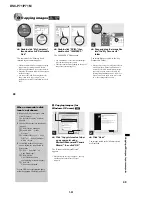
Control button
Mode dial
MENU button
Shooting techniques
The color of the subject that you see will be
captured according to the lighting
conditions. Under the bright summer sun,
everything will appear bluish, under a light
sources like a light bulb, white objects will
appear will appear reddish. The human eye
has an excellent ability to adjust. Even when
lighting conditions change, the eye can
adjust and recognize the correct color almost
instantly. However, digital still cameras are
greatly influenced by light. Normally, this
camera adjusts automatically, but if you
notice that the color of the entire image
seems to be a bit unnatural when replaying
an image on the LCD screen, it is
recommended that you adjust the white
balance.


