1-33
DSC-P71/P71M
70
f
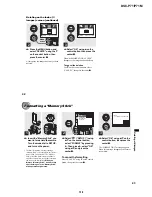
To protect other images,
repeat Step
5
.
g
Press the MENU button.
The menu appears.
h
Select “OK” using the
B
, then
press the center
z
.
The selected image will be protected.
To end the protection operation
Select “CANCEL” in Step
4
or select
“EXIT” in Step
8
, then press the center
z
To cancel protection of a
protected image
In Step
5
, using the control button, select
an image for which you want to cancel
protection, and press the center
z
. Repeat
this operation for all of the images for
which you want to cancel protection. Then,
press the MENU button, select “OK”, and
press the center
z
.
To protect all of your images
In Step
4
select “ALL”, and press the
center
z
. Then select “ON”, and press the
center
z
.
To remove protection from all of
your images
In Step
4
select “ALL”, and press the
center
z
. Then select “OFF”, and press the
center
z
.
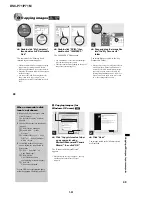
For Index (3 images) screen
a
Turn the mode dial to
, press
the W zoom button twice, the
Index (3 images) screen
appears.
b
Move the image you want to
protect to the center using
b
/
B
, and press the center
z
.
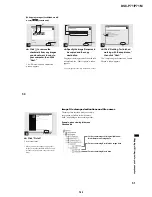
c
Press the MENU button.
The menu appears
d
Select “PROTECT” using
v
/
V
,
and press the center
z
.
The center image is protected, and a
-
(Protect) mark will be attached to
that image.
e
To protect other images, move
the image you want to protect
to the center using
b
/
B
, and
repeat Step
4
.
•
OK
10:30
PM
2002 7 4
100-0005
PROTECT
DELETE
71
St
ill im
a
g
e
e
d
ittin
g
To remove protection from
previously protected images
In Step
4
, select the image from which
you want to remove protection, and press
the center
z
. To remove protection from all
of your images, repeat this process for each
of them.
Changing image size
– Resize
Mode dial setting:
You can change the size of your images,
and record them as new files.
You can change your images to the
following sizes.
2048×1536 (DSC-P71 only), 1600×1200,
1280×960, 640×480
After the resizing is finished, the original
image is retained.
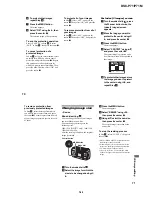
a
Turn the mode dial to
.
b
Select the image for which the
size is to be changed using
b
/
B
.
c
Press the MENU button.
The menu appears
d
Select “RESIZE” using
b
/
B
,
then press the center
z
.
e
Using
v
/
V
, select the new size,
then press the center
z
.
The resized image is recorded as the
newest file.
To stop the resizing process
In Step
5
, select “CANCEL”, then press
the center
z
.
•
Movies (MPEG MOVIE)/Clip Motion/Multi
Burst images cannot be resized.
•
When images are resized from a smaller to a
larger size, the image quality will deteriorate.
•
3:2-sized images cannot be resized.
•
If you try to resize a 3:2-sized image, black
bands will appear at the top and bottom of the
image.
Mode dial
Control button
MENU button

