18
EN
Writing Sub Codes
START ID RENUMBER
PHONES
REC MUTE
REC
AMS
MODE
RESET
RESET
ERASE
WRITE
REHEARSAL
RENUMBER
AUTO
MARGIN
OFF
REC
PLAY
TIMER
POWER
g
START ID
PHONE LEVEL
10
0
§
p
P
r
R
)
0
±
≠
·
OPEN/CLOSE
ANALOG
OPTICAL
COAXIAL
•
••
REC LEVEL
INPUT
48 kHz
44.1 kHz
LONG
•
••
••
REC MODE
STANDARD
SBM
ON
OFF
L
R
5
4
0
6
10
3
1
7
9
2
8
•
•
•
•
•
•
•
•
•
•
Renumbering the Program
Numbers Automatically
(Renumbering)
Renumbering searches for each start ID from the
beginning of the tape and assigns a new program
number to each one starting with 1. Use Renumbering
in the following cases:
• When you’ve added a start ID while playing the
tape.
• When a program number is missing due to an erased
start ID.
• When you began recording from the middle of the
tape and wrote a program number that already
exists, or when one of the the start IDs has no
program number.
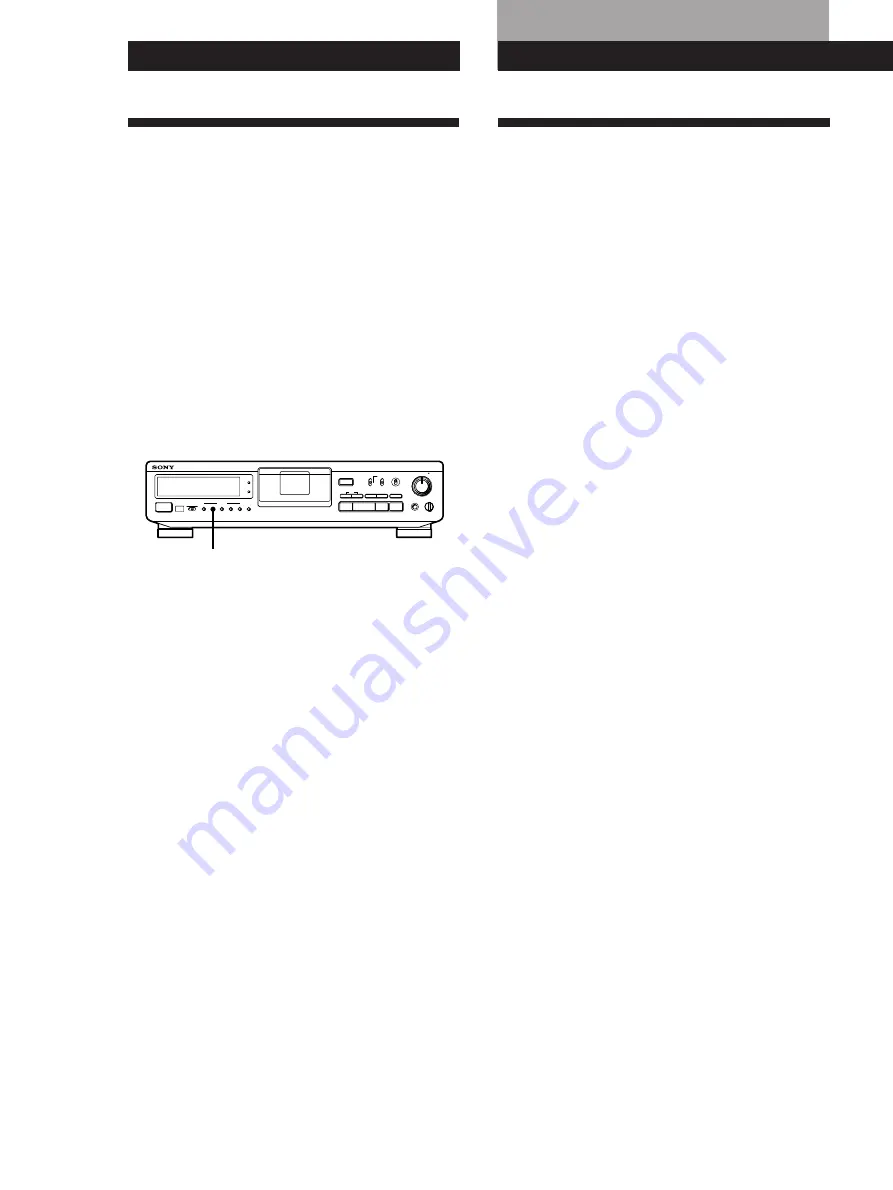
Press START ID RENUMBER while the deck is playing
or stopped.
“RENUMBER” flashes in the display and the tape is
automatically rewound to its beginning. The deck then
starts searching for start IDs from the beginning of the
tape and assigns a new consecutive program number
to each track. When the deck detects a start ID, the
deck plays the track from the start ID for 2 seconds,
then writes a new program number on the tape.
During this time, “RENUMBER” lights up and
“START ID” flashes.
After Renumbering is finished, the deck rewinds the
tape automatically to its beginning, then stops.
Note
Renumbering may not function correctly when:
• A blank section exists on the tape.
• The interval between two start IDs is less than 18 seconds
(36 seconds in long-play mode).
• A start ID exists within 10 seconds from the end of the
tape.
Additional Information
Precautions
On safety
• Do not disassemble the cabinet as this may result in an
electric shock. Refer servicing to qualified personnel only.
• Should any solid object or liquid fall into the cabinet,
unplug the AC power cord before operating the unit any
further.
On power sources
• Before operating the unit, check that its operating voltage
is identical with your local power supply. The operating
voltage is indicated on the nameplate at the rear of the
unit.
• The unit is not disconnected from the AC power source
(mains) as long as it is connected to the wall outlet, even if
the unit itself has been turned off.
• If you are not going to use the unit for a long time, be sure
to disconnect the AC power cord (mains lead) from the
wall outlet. To disconnect the cord, grasp the plug itself;
never pull the cord.
• AC power cord must be changed only at the qualified
service shop.
On operation
If the unit is brought directly from a cold place to a warm
place, or is placed in a very damp room, moisture may
condense inside the unit, “CAUTION” may appear in the
display, and the unit may not operate. If this happens,
remove the cassette and leave the unit turned on for about
an hour until the moisture evaporates.
On placement
• Place the unit in a location with adequate ventilation to
prevent heat build-up.
• Do not place the unit:
— on a soft surface such as a rug that might block the
ventilation holes on the bottom.
— near heat sources.
— in direct sunlight.
— in an inclined position.
— in a place subject to excessive dust or mechanical
shock.
On the tapes
• After using a tape, put it into its case and keep it where it
will not be subject to sunlight, high temperature, moisture
or dust.
• The DAT cassette shell is designed to keep out dust. Do
not open the case to expose the tape.
• The hole at the back of the cassette is the detector slot. Do
not cover this slot.


