6-10
6-5. Drive Auto Adjustment
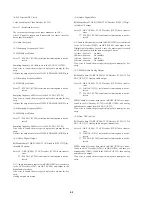
The drive can be automatically adjusted, except disc change and
tangential skew adjustment. For a disc, use the disc for adjust-
ment.
In case of abnormality, press the [STOP] key to stop adjustment.
If the drive does not stop, prevent secondary failure by taking
proper action such as disconnection of the power cable. This ad-
justment should be made after repair is finished and no trouble is
present in the drive.
A trouble, if present, causes NG and the adjustment to be aborted.
As the secondary failure could occur, perform automatic adjust-
ment after the drive is completely repaired.
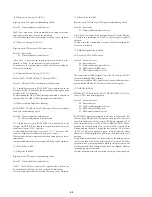
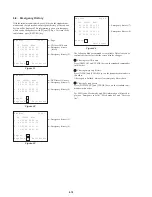
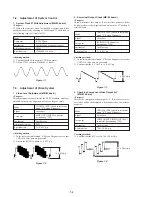
With the initial menu displayed, press [1] on standard commander,
and the screen as shown in Figure 8 will appear.
Drive Auto Adjustment
SA.00000 SI.00 EMG.OO
Select No.
←
Blinking
0: All
3: CD
2: DVD SL
4: DVD-DL
STOP: Press STOP Key
Figure 8
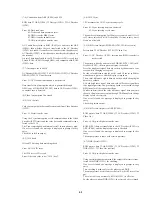
If “All” is selected, the screen shown in Figure 9 is displayed.
Drive Auto Adjustment
SA.00000 SI.00 EMG.OO
0: Adjustment ALL
0: All
2: CD
2: DVD SL
3: DVD-DL
START: Press ENTER Key
←
Blinking
STOP: Press STOP Key
Figure 9
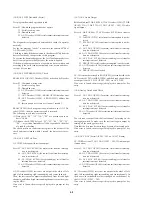
The tray opens after the [ENTER] key is pressed and the initial-
ization is finished. Then, place the disc for adjustment. If “ALL”
is selected, place three discs, DVD_SL, CD and DVD_DL for ad-
justment. Press the [ENTER] key to start adjustment. During ad-
justment, the tangential skew adjustment screen is displayed. Make
this adjustment only when the pickup was replaced.
As for adjustment, rotate the T-SKEW adjusting screw on the
pickup so that the displayed jitter becomes minimum (CCW makes
jitter smaller). Avoid extreme rotation or interference of screw-
driver with the disc. After all of the adjustments are finished, turn
off the power and unplug. Then apply a drop of locking agent to
the recess of screw.
Note that if “All” is selected, the data of previous adjustment are
erased and initial values are set.
T-SKEW adjusting screw
Figure 10
Summary of Contents for DVP-C600D - 5 Disc Cd/dvd Player
Page 10: ...1 1 SECTION 1 GENERAL This section is extracted from US model instruction manual DVP C600D ...
Page 11: ...1 2 ...
Page 12: ...1 3 ...
Page 13: ...1 4 ...
Page 14: ...1 5 ...
Page 15: ...1 6 ...
Page 16: ...1 7 ...
Page 17: ...1 8 ...
Page 18: ...1 9 ...
Page 19: ...1 10 ...
Page 20: ...1 11 ...
Page 21: ...1 12 ...
Page 22: ...1 13 1 13 E ...
Page 37: ...DVP C600D 4 3 4 4 FRAME 2 2 FRAME SCHEMATIC DIAGRAM 2 2 ...


