
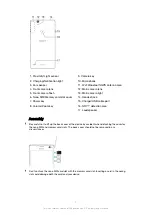
1. Proximity/Light sensor
2. Charging/Notification light
3. Ear speaker
4. Front camera lens
5. Front camera flash
6. Nano SIM/Memory card slot cover
7. Power key
8. Volume/Zoom key
9. Camera key
10. Microphone
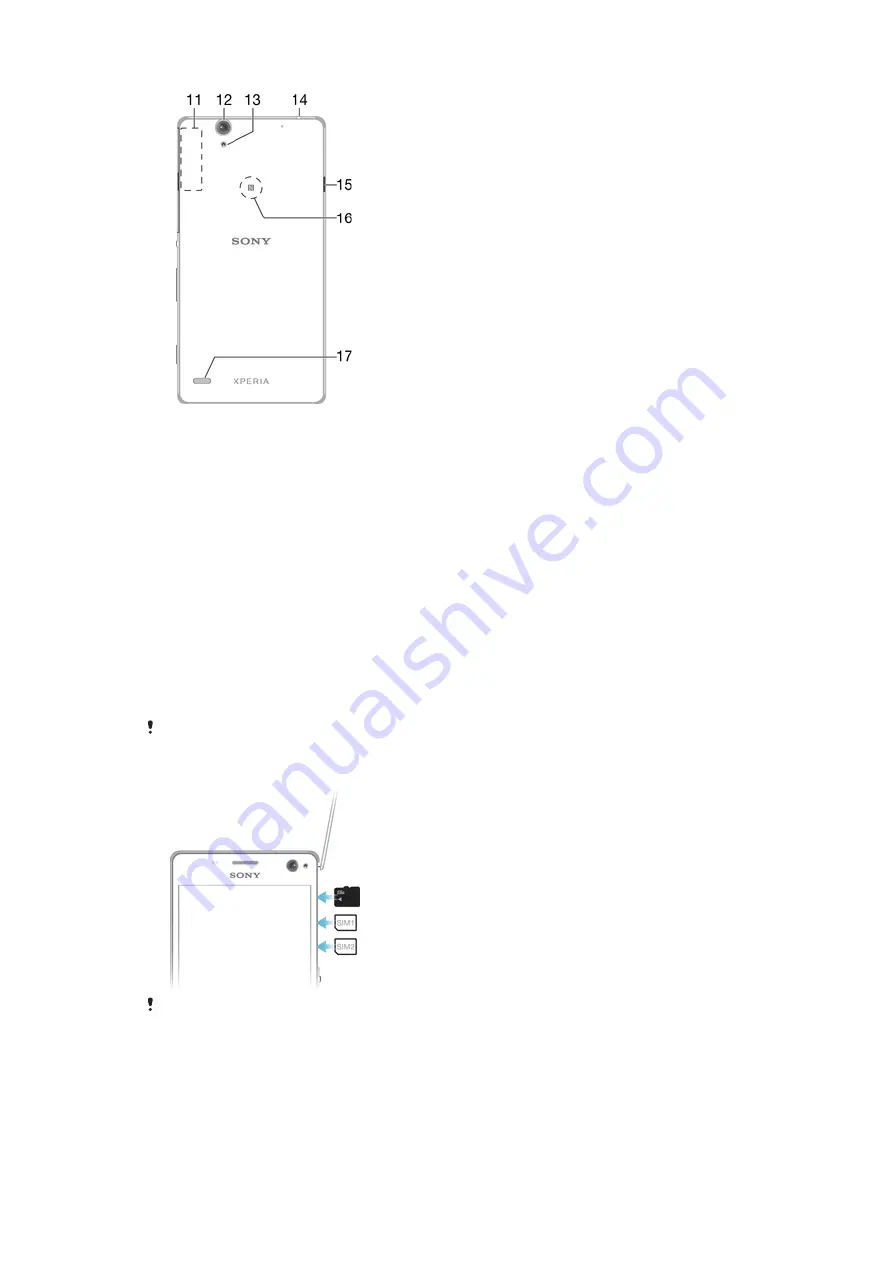
11. Wi-Fi/Bluetooth/GPS antenna area
12. Main camera lens
13. Main camera light
14. Headset jack
15. Charger/USB cable port
16. NFC™ detection area
17. Loudspeaker
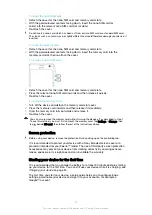
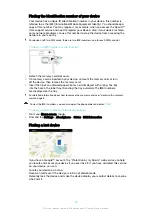
Assembly
Be careful not to lift up the back cover of the device by accident when detaching the cover for
the nano SIM and memory card slots. The back cover should not be removed in any
circumstances.
Don’t confuse the nano SIM card slot with the memory card slot. Inserting a card in the wrong
slot could damage both the card and your device.
7
This is an internet version of this publication. © Print only for private use.


