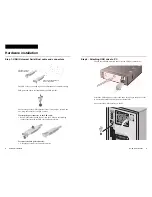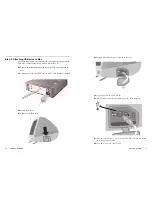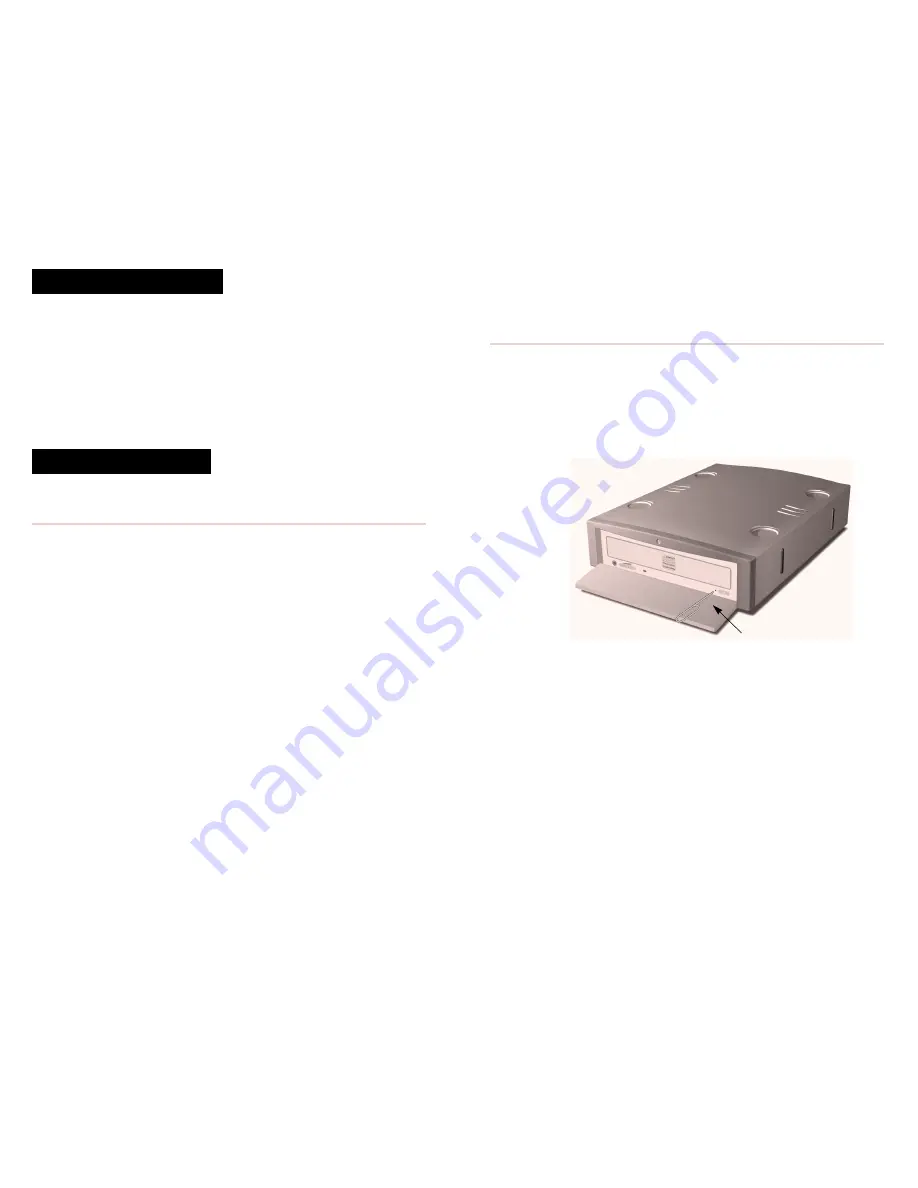
Opening the tray manually in an emergency
The tray may be manually opened if it fails to come out by means of eject
button or software command.
Turn off and unplug the USB drive.
Insert a pointed object, like a paper clip, into the emergency eject hole
and push (typical force 46 N [4.7kg]).
After an emergency removal, consult dealer or qualified service personnel.
Operating the drive 19
Insert a pointed object to
the emergency eject hole.
(Avoid pushing too hard!)
Approx. 40 mm
❳
Operating the drive
Starting the drive
Turn on the drive.
Press the eject button and the drive’s tray extends.
Note: Eject button does not function if software disabled.
Place a disc in the drive tray with label side facing up.
Note: When used vertically, disc locks prevent disc from falling.
Gently press tray or eject button to close the tray. Drive may begin
reading Lead in Data as it accepts disc. Busy indicator lights amber
while reading Lead in Data. For subsequent drive operation, see
software instructions.
Note:Busy indicator stays lighted if:
• the disc is not properly placed on loading tray
• a malfunction occurs
In either case, eject the disc and replace it in the loading tray assuring
it sits properly in the tray. Should this not resolve the problem, contact
the local dealer or qualified service personnel.
Caution: Do not forcibly close disc tray. Excessive force may damage
the mechanism, which is designed to operate at a "feather touch.”
To eject media, simply press eject button and tray will extend from drive.
Software Installation
Please refer to the CD-RW formatting software manual (on software CD)
for instruction on software installation. Formatting software must first be
properly installed in order to write CD’s with this drive.
18 Software Installation / Operating the drive


