1-3
8
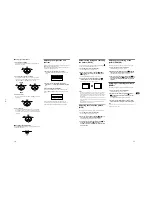
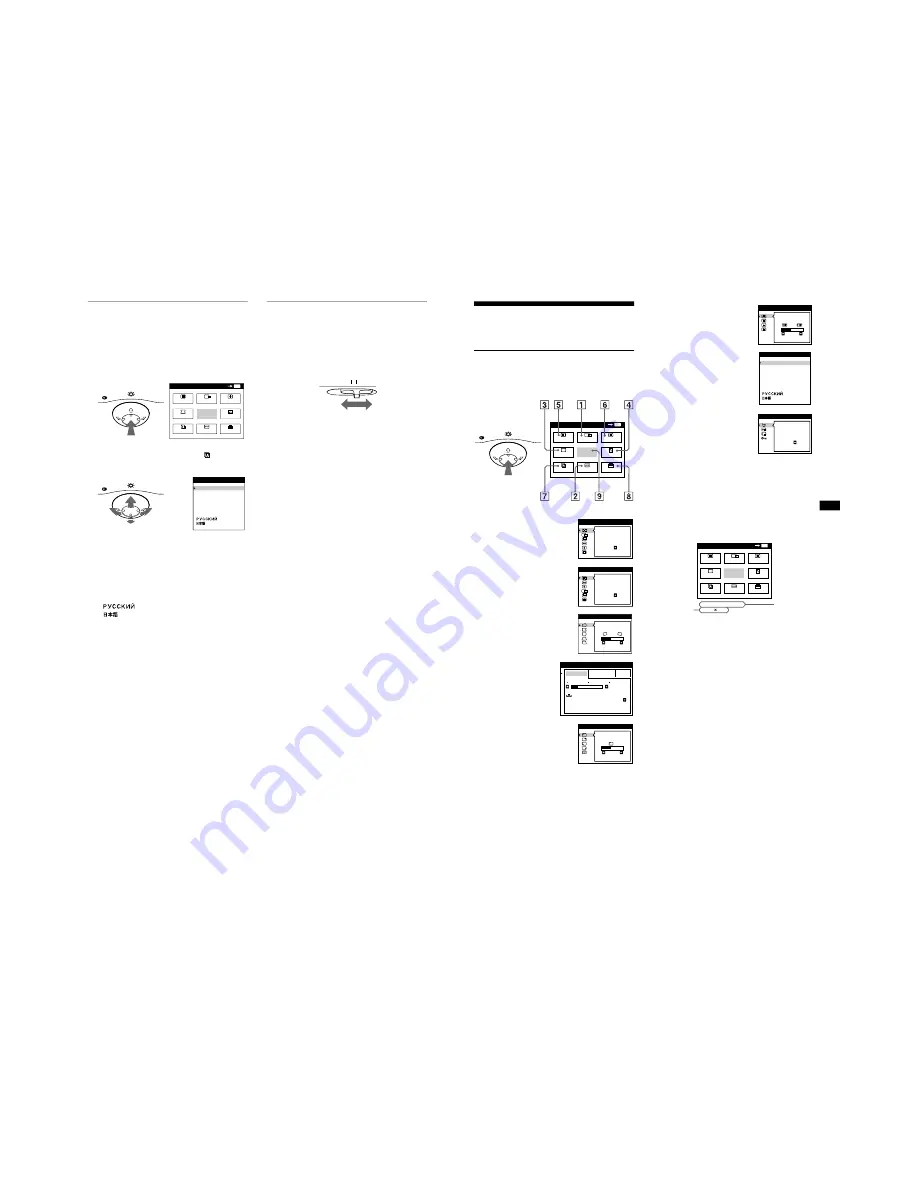
Selecting the on-screen menu
language (LANG)
English, French, German, Spanish, Italian, Dutch, Swedish,
Russian and Japanese versions of the on-screen menus are
available. The default setting is English.
1 Press the center of the control button.
See page 10 for more information on using the control button.
2 Move the control button to highlight
LANG and
press the center of the control button again.
3 Move the control button
m
/
M
to select a language.
• ENGLISH
• FRANÇAIS: French
• DEUTSCH: German
• ESPAÑOL: Spanish
• ITALIANO: Italian
• NEDERLANDS: Dutch
• SVENSKA: Swedish
•
: Russian
•
: Japanese
To close the menu
Press the center of the control button once to return to the main MENU,
and twice to return to normal viewing. If no buttons are pressed, the menu
closes automatically after about 30 seconds.
To reset to English
Press the RESET button while the LANGUAGE menu is displayed on the
screen.
Selecting the input signal
You can connect two computers to this monitor using the HD15
and BNC connectors. To select one of the two computers, use the
INPUT switch.
Move the INPUT switch.
The selected connector appears on the screen for 3 seconds.
“HD15” or “BNC” appears on the screen.
Note
If no signal is input to the selected connector, NO INPUT SIGNAL
appears on the screen. After a few seconds, the monitor enters the power
saving mode. If this happens, switch to the other connector.
MENU
MENU
MENU
EXIT
CENTER
SIZE
GEOM
SCREEN
COLOR
LANG
CONV
OPTION
OK
MENU
ENGL I SH
FRANÇA I S
DEUT SCH
ESPAÑOL
I T A L I ANO
NEDER L ANDS
SVENSKA
L ANGUAGE
INPUT
HD15 BNC
9
US
Customizing Your Monitor
You can make numerous adjustments to your monitor using the
on-screen menu.
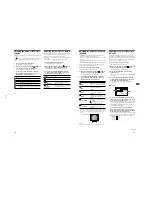
Navigating the menu
Press the center of the control button to display the main MENU
on your screen. See page 10 for more information on using the
control button.
Use the control button to select one of the following menus.
x
Displaying the current input signal
The horizontal and vertical frequencies of the current input signal
are displayed in the main MENU. If the signal matches one of this
monitor’s factory preset modes, the resolution is also displayed.
1
CENTER (page 11)
Selects the CENTER menu
to adjust the picture’s
centering, size or zoom.
2
SIZE (page 11)
Selects the SIZE menu to
adjust the picture’s size,
centering or zoom.
3
GEOM (page 12)
Select the GEOM menu to adjust the
picture’s rotation and shape.
4
COLOR (page 13)
Select the COLOR menu to
adjust the picture’s color
temperature. You can use
this to match the monitor’s
colors to a printed picture’s
colors.
5
SCREEN (page 13)
Select the SCREEN menu to adjust
the picture’s quality. You can adjust
the landing and moire cancellation
effect.
MENU
MENU
EXIT
CENTER
SIZE
GEOM
SCREEN
COLOR
LANG
CONV
OPTION
OK
MENU
AUTO
ON
S I ZE / CENTER
AUTO
ON
S I ZE / CENTER
2 6
GEOMETRY
EASY
EXPERT
s
B
G
R
5 0 0 0 K
6 5 0 0 K
9 3 0 K
0
5 0
K
0
0
I MAGE
RES TORA T I ON
ON
COLOR
L AND I NG
2 6
SCREEN
6
CONV (page 12)
Select the CONV menu to adjust the
picture’s horizontal and vertical
convergence.
7
LANG (page 8)
Select LANG to choose the on-
screen menu’s language.
8
OPTION (page 15)
Select OPTION to adjust the
monitor’s options. The options
include:
• degaussing the screen
• changing the on-screen menu
position
• locking the controls
9
EXIT
Select EXIT to close the menu.
TOP
BOT
2 6
CONVERGENCE
ENGL I SH
FRANÇA I S
DEUT SCH
ESPAÑOL
I T A L I ANO
NEDER L ANDS
SVENSKA
L ANGUAGE
DEGAUS
S
ON
OPT I ON
MENU
MENU
EXIT
CENTER
SIZE
GEOM
SCREEN
COLOR
LANG
CONV
OPTION
OK
68 . 7 kHz / 85Hz
1024 768
the horizontal
and vertical
frequencies of
the current
input signal
the resolution
of the current
input signal
Summary of Contents for FD Trinitron CPD-G500
Page 24: ...CPD G500 4 3 MEMO ...
Page 46: ...CPD G500 MEMO 6 4 ...

