28
GB
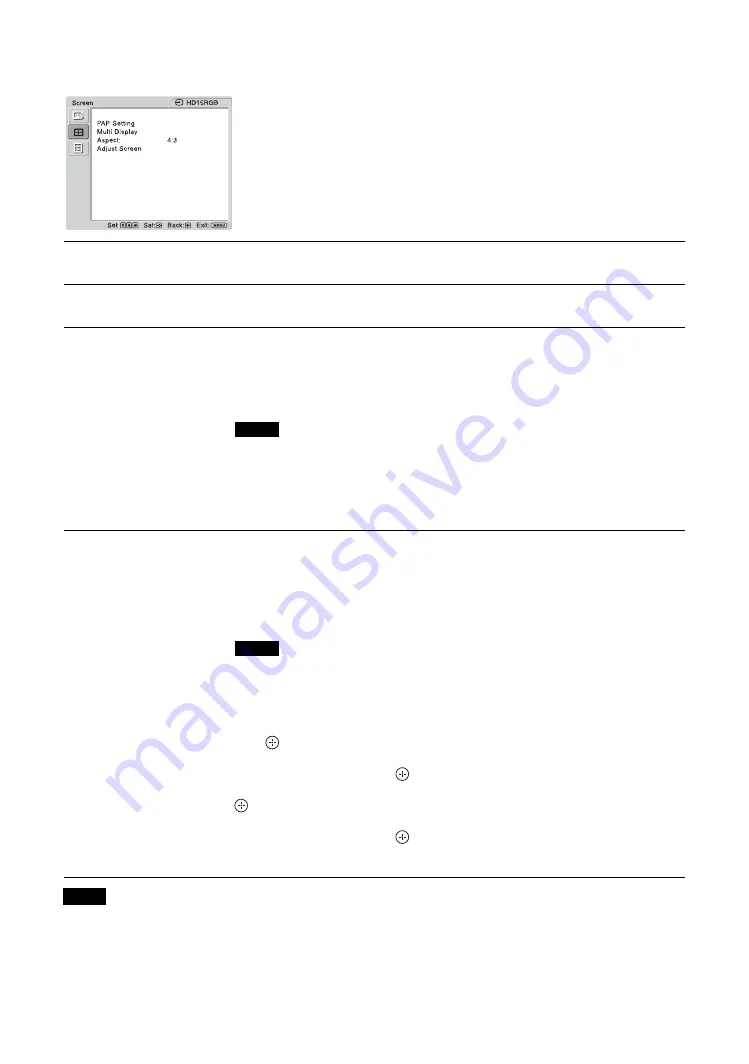
For PC Input
If there is no signal currently being input, none of the “Screen” settings options, except for “PAP Setting” and “Multi Display” can
be selected.
When input is switched to PC input source, the
“Screen” settings specific for PC input are applied.
The “Screen” settings for a PC include the following
options:
PAP Setting
See “PAP Setting” for video input (page 25).
Multi Display
See “Multi Display” for video input (page 26).
Aspect
“Full 1”:
Select to enlarge the picture to fill the display area in the vertical direction,
keeping its original horizontal-to-vertical aspect ratio. A black frame will appear on
the surrounding of the picture.
“Full 2”:
Select to enlarge the picture to fill the display area.
“Real”:
Select to display the picture in its original number of dots.
• You cannot change the aspect ratio in the “PAP” mode. The picture is displayed in the last
aspect ratio used prior to selecting “PAP” mode.
• You cannot set the “Aspect” while using the “Multi Display” function.
• If the input resolution is higher than the panel resolution (1,920 × 1,080), the display of
“Real” is the same as “Full 1”.
Adjust Screen
“Auto Adjustment”:
Select “OK” to automatically adjust the display position and
phase of the picture when the display receives an input signal from the connected PC.
Note that “Auto Adjustment” may not work well with certain input signals. In such
cases, manually adjust the options below.
“Phase”:
Select to adjust the phase when the screen flickers.
“Pitch”:
Select to adjust the pitch when the picture has unwanted vertical stripes.
• “Auto Adjustment,” “Phase,” “Pitch” are not available when digital signal such as DVI or
HDMI is input.
• When performing “Auto Adjustment”, display an image that is bright all over. If you do not,
the position of the picture may be incorrectly adjusted.
“H Size”:
Allows you to adjust the size of the picture horizontally. Press
G
/
g
and
press
to choose a correction.
“H Shift”:
Allows you to move the position of the picture left and right in the
window. Press
G
/
g
and press
to choose a correction.
“V Size”:
Allows you to adjust the size of the picture vertically. Press
F
/
f
and press
to choose a correction.
“V Shift”:
Allows you to move the position of the picture up and down in the
window. Press
F
/
f
and press
to choose a correction.
“Reset”:
Resets all settings of “Adjust Screen” to default settings.
Note
Notes
Notes
Summary of Contents for GXDL52H1 - 52" LCD Flat Panel Display
Page 12: ...12 JP GXD L52H1 3 277 719 03 1 側面 IN 右側面 左側面 マークを押しながら開く マークを押しながら開く ...
Page 93: ......
Page 137: ...45FR FR Z Zoom 14 27 ...
Page 181: ...45DE DE W Weitere Einstell 20 29 Wide Zoom 14 27 Z Zoom 14 27 Zurücksetzen 22 24 27 28 ...
Page 225: ......
Page 269: ...45IT IT Z Zoom 14 27 Zoom largo 14 27 ...
Page 276: ...8 CS Ἃ太 IN Ἃ ⵊἋ 㝫 ㆷ 䘺 Ɂ 㝫 ㆷ 䘺 Ɂ ...
Page 278: ...10 CS ॄ ဇ ؠ ངಖ 1 支架安装孔 符合 VESA 标准的螺孔 间距 400mm 400mm 螺丝 M6 2 扬声器安装位置 安装专用扬声器 SS SPG02 ...
Page 286: ...18 CS 䒙乪ⵧ仒 ợ䒌䒙乪 䒌斨彥䗨䒙乪 濃 5濄㓘溴 ㆲ䒙乪Ɂ孛 ᵯ ㆤ䢞䗨㔝㰹 堩䒙乪 Ɂ 太 1 2 3 ...
Page 311: ...43CS CS 用户信息 34 邮件报告 34 邮件帐户 34 Z Zoom 13 26 执行按钮 7 ...


