64
CCD-TR2300/TR3300 3-856-204-23 (1)
(
1
)
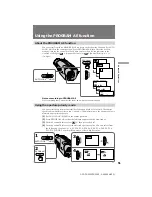
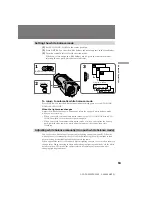
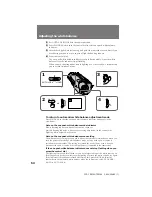
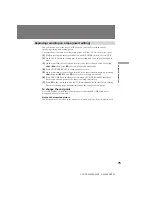
Set AUTO LOCK/HOLD to the center position.
(
2
)
Press WHT BAL, then turn the control dial to select one push white balance
indicator.
(
3
)
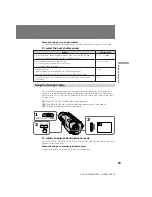
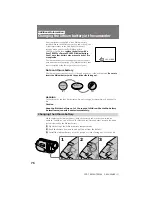
Attach the supplied white lens cap and point the camcorder at a subject if you
are shooting outdoors or at a source of light if shooting indoors.
(
4
)
Press the control dial.
The one push white balance indicator starts to flash quickly. Once the white
balance is set, the indicator stops flashing.
When you are shooting under studio lighting or a video light, we recommend
you to record in indoor mode.
To return to automatic white balance adjustment mode
Press WHT BAL so that the one push white balance indicator disappears in the
viewfinder.
Note on the one push white balance mode indicator
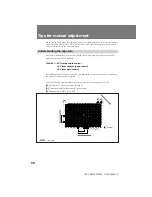
Slowly flashing indicator: white balance has not been set.
Quickly flashing indicator: white balance is being adjusted with the control dial.
Lighting: white balance has been set.
Note on the one push white balance mode setting
The white balance setting for one push white balance mode is retained even when you
turn the power off or change white balance mode, as long as the power source is
installed in the camcorder. The setting is retained for about 1 hour even when you
disconnect the power source if the lithium battery is installed in the camcorder.
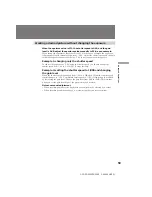
If the one push white balance indicator does not stop flashing when you
press the control dial
The lighting is probably insufficient or you have forgotten to put the white lens cap on.
If this appears to be the case, increase the lighting or attach the white cap and try again.
If the indicator still continues to flash after trying this, press WHT BAL to set the
camcorder to the automatic white balance mode (no indicator) or set AUTO LOCK/
HOLD to AUTO LOCK.
Adjusting the white balance
2
4
1
3
WHT BAL
AUTO LOCK
HOLD
∑


