HDR-GW55VE/GW77/GW77E/GW77V/GW77VE_L2
1-8
– ENGLISH –
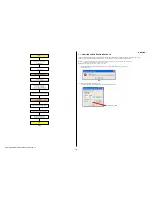
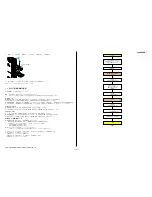
START
END
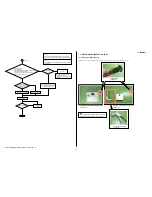
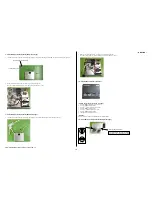
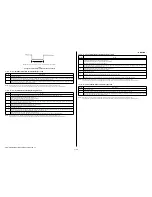
Reactive the camcorder automatically
Disconnect the USB cable,
and turnoff the power switch.
Select the "USB CONNECT" to establish
the connection
Execute
the "
DdmMmcReadTestMINI.vbe
"
(several second)
Wait until "SetOverallReadMINI OK" display
Reactive the camcorder automatically
Execute
the "
11DdmMMCMakePartition.vbe
"
(several second)
Wait until "MakePartition OK" display
During the power is turning-on,
pull-out the AC-adapter.
Then connect the AC-adapter Again
(It's running with blue color monitor.)
Connect to the PC with a USB cable,
and turn on the power switch.
*
by SEUS driver
Fig. 1
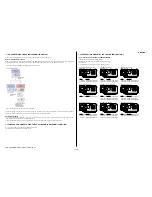
1-7. ADDITION OF DESTINATION DATA FILE
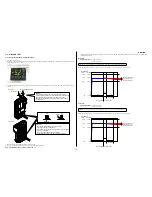
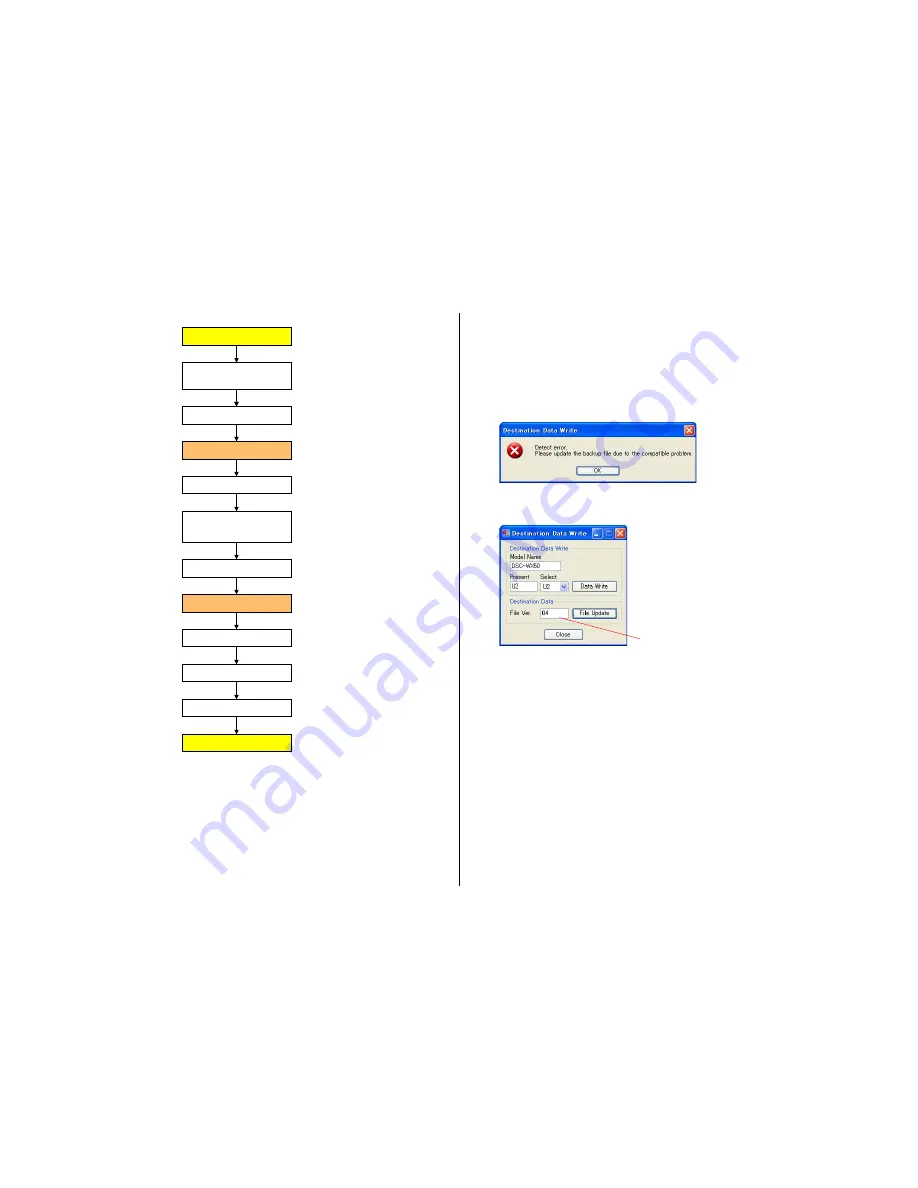
If the Destination Data file included in the Adjust manual is old, “DESTINATION DATA WRITE” cannot be executed in some cases.
In that case, download a new Destination Data file from the TISS homepage according to the following procedure.
Note 1:
To perform Destination Data Write for this model, the Adjust manual of the DSC-WX50 series must have been installed.
Install the Adjust manual of the DSC-WX50 series in advance.
Note 2:
The actual image may differ from the image shown above.
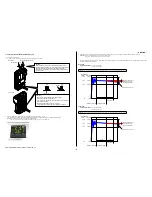
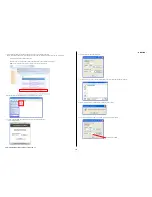
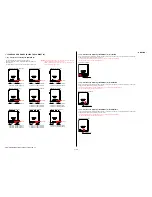
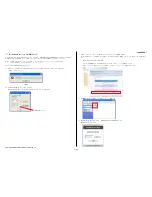
1) If the Destination Data file in the Adjust manual in use is old, the window shown in Fig. 1 is displayed.
Click the [OK] button.
Fig.
1
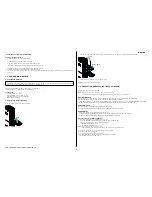
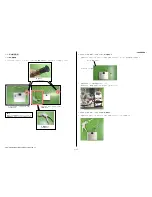
2) The Destination Data Write window opens.
Check the version of the Destination Data file retained in the Adjust manual.
Destination Ver. window


