30
Importing movies and
photos to a computer
(Easy PC Back-up)
Movies and photos recorded on your
camcorder that have not yet been saved
with Easy PC Back-up can be imported
to a computer automatically. Turn on the
computer beforehand.
Connect your camcorder to the wall outlet (wall
socket) using the AC Adaptor supplied for this
operation (p. 11).
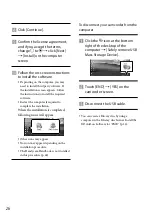
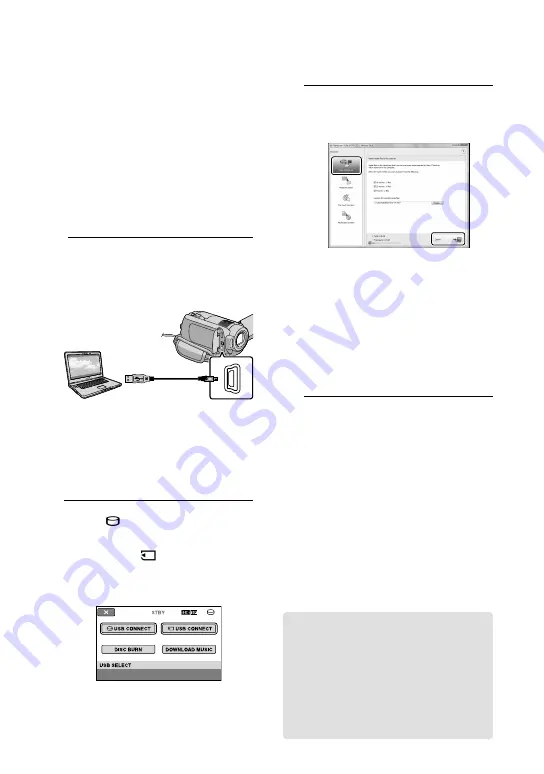
1
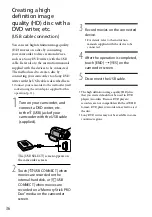
Turn on your camcorder, and
connect it to the computer
using the USB cable.
The [USB SELECT] screen appears on
the camcorder screen.
Do not close the LCD screen when the
camcorder is connected to another device
with the USB cable. Your recorded images
may be lost.
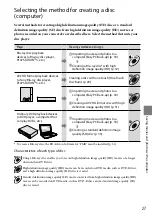
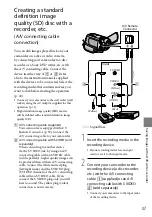
2
Touch [
USB CONNECT] to
import images from the internal
hard disk, or [
USB CONNECT]
to import images from a
“Memory Stick PRO Duo” media.
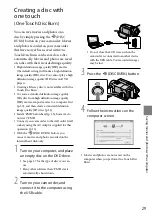
The [Handycam Utility] window
appears on the computer screen.
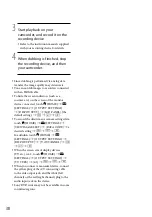
3
On the computer screen, click
[Easy PC Back-up]
[Import].
Movies and photos are imported to
your computer.
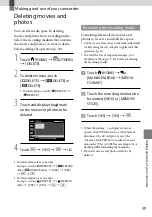
When the operation is completed, the
“PMB” screen appears.
When the operation is completed, a screen
to indicate that movies are being analyzed
may appear. It may take a long time to
analyze movies. In the meantime, you can
operate “PMB.”
You can create either high definition image
quality (HD) discs (Blu-ray disc/AVCHD
format disc) (p. 31) or standard definition
image quality (SD) discs (p. 33) from imported
high definition image quality (HD) movies.
See PMB Guide on importing selected movies
and photos (p. 31).
You can export high definition image quality
(HD) movies from your computer to your
camcorder (HDR-XR100E/XR200E/XR200VE).
On the “PMB” screen, click [Manipulate]
[Export to]
[Handycam (Hard Disk
Drive)]/[Handycam (Memory Stick)]. See PMB
Guide for details (p. 31).
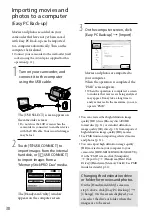
Changing the destination drive
or folder for movies and photos
On the [Handycam Utility] screen in
step 3 above, click [Easy PC Back-up]
[Change]. On the screen displayed, you
can select the drive or folder where the
images are to be saved.
Summary of Contents for Handycam HDR-XR100E
Page 63: ...63 ...

