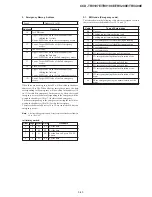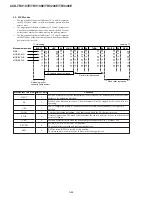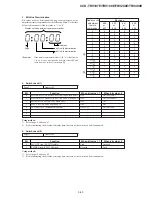
5-30
CCD-TRV107E/TRV108E/TRV208E/TRV408E
3-1-2.
Precautions on Adjusting
1)
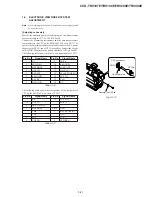
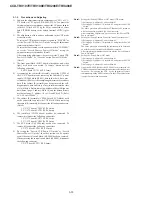
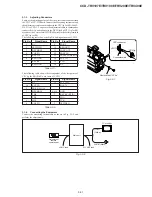
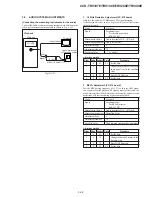
Connect the adjustment remote commander to CN713 of VC-
272 board via CPC jig for SB (J-6082-539-A). To operate the
adjustment remote commander, connect the AC power adapter
to the DC IN jack of CPC jig for SB, or connect the L series
Info-LITHIUM battery to the battery terminal of CPC jig for
SB.
2)
The adjustments of this unit are performed in the VTR mode
or camera mode.
To set to the VTR mode, set the power switch to “PLAYER” or
set the “Forced VTR Power ON mode” using the adjustment
remote commander (Note1).
To set to the Camera mode, set the power switch to “CAMERA”
or set the “Forced Camera Power ON mode” using the
adjustment remote commander (Note2).
After completing adjustments, be sure to exit the “Forced VTR
Power ON Mode” or “Forced Camera Power ON Mode”.
(Note3)
3)
The front panel block (SI-033 board, microphone unit, video
light) need not be connected. To remove, disconnect the
following connector.
SI-033 board CN752 (16P 0.5mm)
4)
As removing the cabinet (R) assembly (removing CN709 of
the VC-272 board) means removing the lithium 3V power
supply (CF-2000 block BT001), data such as date, time, user-
set menus will be lost. After completing adjustments, reset these
data. If the cabinet (R) assembly has been removed, the self-
diagnosis data, data on history of use (total drum rotation time
etc.) will be lost. Before removing, note down the self-diagnosis
data (data of page: 2, address: B0 to C6) and the data on history
use (data of page: 2, address: A2 to AA and E0 to E2). (Refer
to “5-4.Service Mode”.)
5)
The cabinet (R) assembly (CF-2000 block, LCD block) need
not be connected to operate the VTR block. When removing
the cabinet (R) assembly, disconnect the following connectors.
(Note4)
1. VC-272 board CN709 (22P, 0.5mm)
2. VC-272 board CN701 (20P, 0.8mm)
6)
The lens block (CD-354 board) need not be connected. To
remove, disconnect the following connectors.
1. VC-272 board CN271 (14P, 0.5mm)
2. VC-272 board CN301 (24P, 0.5mm)
7)
The EVF block (VF-150 board) need not be connected. To
remove, disconnect the following connectors.
VC-272 board CN705 (20P, 0.5mm)
8)
By setting the “Forced VTR Power ON mode” or “Forced
Camera Power ON mode”, the video section can be operate
even if the control switch block (SS-2000) has been removed.
When removing the control switch block (SS-2000), disconnect
the following connector.
VC-272 board CN711 (5P 0.8mm)
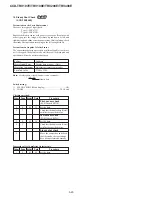
Note1:
Setting the “Forced VTR Power ON” mode (VTR mode)
1) Select page: 0, address: 01, and set data: 01.
2) Select page: D, address: 10, set data: 02, and press the PAUSE
button.
The above procedure will enable the VTR power to be turned on
with the control switch block (SS-2000) removed.
After completing adjustments, be sure to exit the “Forced VTR
Power ON mode”.
Note2:
Setting the “Forced Camera Power ON” mode (Camera mode)
1) Select page: 0, address: 01, and set data: 01.
2) Select page: D, address: 10, set data: 01, and press the PAUSE
button.
The above procedure will enable the camera power to be turned
on with the control switch block (SS-2000) removed.
After completing adjustments, be sure to exit the “Forced Camera
Power ON mode”.
Note3:
Exiting the “Forced Power ON” mode
1) Select page: 0, address: 01, and set data: 01.
2) Select page: D, address: 10, set data: 00, and press the PAUSE
button.
3) Select page: 0, address: 01, and set data: 00.
Note4:
When the FK-2000 block or the CF-2000 block is removed, the
VTR does an unusual movement for one minute after the power is
turned on. So, operate the VTR by the adjustment remote
commander (with the HOLD switch set in the OFF position) after
it passes for more than one minute.

