1-19
CCD-TRV107E/TRV108E/TRV208E/TRV408E
80
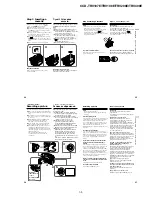
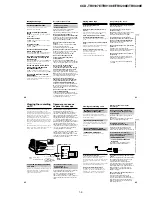
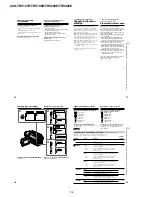
Icon/item
EDIT
TBC
TBC stands for “Time Base Corrector.”
DNR
DNR stands for “Digital Noise Reduction.”
NTSC PB
Icon/item
LCD BRIGHT
LCD B.L.
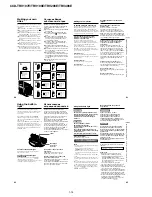
Changing the menu settings
Notes on the SteadyShot function
*
•The SteadyShot function will not correct excessive camera-shake.
•Attachment of a conversion lens (optional) may influence the SteadyShot function.
•SteadyShot does not operate in the 16:9FULL mode. If you set STEADYSHOT to ON in the menu
settings, the
indicator flashes.
If you cancel the SteadyShot function
*
The SteadyShot off indicator
appears. Your camcorder prevents excessive compensation for camera-
shake.
* CCD-TRV408E only
Mode
z
OFF
ON
z
ON
OFF
z
ON
OFF
z
ON PAL TV
NTSC 4.43
Meaning
—
To minimise picture deterioration when editing.
To correct jitter.
To not correct jitter. Set TBC to OFF when playing
back a tape on which you have dubbed over and
recorded the signal of a TV game or similar
machine.
To reduce picture noise.
To reduce a conspicuous afterimage when the
picture has a lot of movement.
To play back a tape recorded in the NTSC colour
system on a PAL system TV.
To play back a tape recorded in the NTSC colour
system on a TV with the NTSC 4.43 mode.
Meaning
To adjust the brightness on the LCD screen with
the SEL/PUSH EXEC dial to adjust the following
bar.
To set the brightness on the LCD screen normal.
To brighten the LCD screen.
POWER
switch
PLAYER
PLAYER
PLAYER
PLAYER
POWER
switch
PLAYER
CAMERA
PLAYER
CAMERA
To darken
To lighten
Note on NTSC PB
When you play back a tape on a Multi system TV, select the best mode while viewing the picture on
the TV.
In more than 5 minutes after removing the power source
The ”EDIT” item is returned to their default settings. The other items are held in memory even when
the battery is removed.
Mode
—––
z
BRT NORMAL
BRIGHT
81
Customising Your Camcorder
Выполнение индивидуальных установок на видеокамере
Changing the menu settings
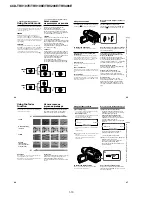
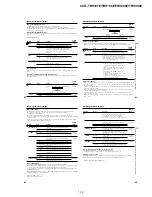
Icon/item
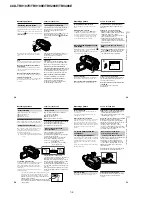
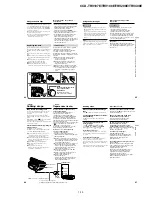
REC MODE
ORC TO SET
ORC stands for “Optimising the Recording Condition.”
q
REMAIN
Mode
z
SP
LP
—––
z
AUTO
ON
Meaning
To record in the SP (Standard Play) mode.
To increase the recording time to twice the SP
mode.
To automatically adjust the recording condition to
get the best possible recording. Press START/
STOP to start adjustment. Your camcorder takes
about 10 seconds to check the tape condition and
then returns to the standby mode.
To display the remaining tape bar:
– for about 8 seconds after your camcorder is
turned on and calculates the remaining amount
of tape.
– for about 8 seconds after a cassette is inserted
and your camcorder calculates the remaining
amount of tape.
– for about 8 seconds after
N
is pressed in
PLAYER mode.
– for about 8 seconds after DISPLAY is pressed to
display the screen indicators.
– for the period of tape rewinding, forwarding or
picture search in PLAYER mode.
To always display the remaining tape bar.
POWER
switch
CAMERA
CAMERA
PLAYER
CAMERA
Notes on the LP mode
•When you record a tape in the LP mode on your camcorder, we recommend playing back the tape on
your camcorder. When you play back the tape on other camcorders or VCRs, noise may occur in
images or sound.
•When you record in the LP mode, we recommend using a Sony video cassette so that you can get the
most out of your camcorder.
•When you record in both the SP and LP modes on one tape, or you record some scenes in the LP
mode, the playback image may be distorted.
•Noise may occur also when you play back on your camcorder tapes recorded in the LP mode on
other camcorders or VCRs.
•When you record a tape in the LP mode on your camcorder, recording is carried out in the standard
8 mm system.
Notes on VF B.L. and LCD B.L.
•When you select BRIGHT, battery life is reduced by about 10 percent during recording.
•When you use power sources other than the battery pack, BRIGHT is automatically selected.
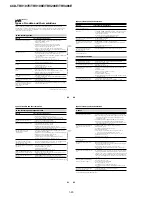
Icon/item
LCD COLOUR
VF B.L.
Meaning
To adjust the colour on the LCD screen, turn the
SEL/PUSH EXEC dial to adjust the following bar.
To set the brightness in the viewfinder normal.
To brighten the viewfinder.
POWER
switch
PLAYER
CAMERA
PLAYER
CAMERA
To reduce
intensity
To increase
intensity
Mode
—––
z
BRT NORMAL
BRIGHT
82
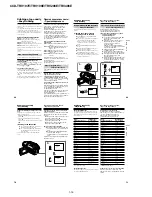
Notes on DEMO MODE
•You cannot select DEMO MODE when a cassette is inserted in your camcorder.
•DEMO MODE is set to STBY (Standby) at the factory and the demonstration starts about 10 minutes
after you have set the POWER switch to CAMERA without a cassette inserted.
To cancel the demonstration, insert a cassette, set the POWER switch to other than CAMERA, or set
DEMO MODE to OFF.
•When NIGHTSHOT is set to ON,
“NIGHTSHOT” indicator appears on the screen and you cannot
select DEMO MODE in the menu settings.
*
1)
European models only
*
2)
Except for european models
Changing the menu settings
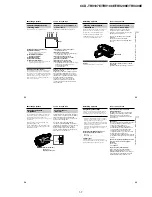
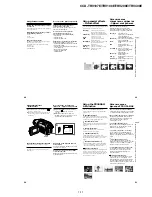
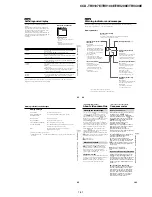
Icon/item
CLOCK SET
AUTO DATE
LTR SIZE
LANGUAGE
DEMO MODE
Mode
——
z
ON
OFF
z
NORMAL
2
×
z
ENGLISH
FRANÇAIS*
1)
ESPAÑOL*
1)
PORTUGUÊS*
1)
DEUTSCH*
1)
ITALIANO*
1)
[COMP]*
2)
[SIMP]*
2)
EΛΛHNIKA
*
1)
z
ON
OFF
Meaning
To set the date or time. (p. 22)
To record the date for 10 seconds after recording
has started.
To cancel the auto date function.
To display selected menu items in normal size.
To display selected menu items at twice the
normal size.
To display the following information indicators in
English: min, STBY, REC, VOL, END SEARCH,
and START.
To display the information indicators in French.
To display the information indicators in Spanish.
To display the information indicators in
Portuguese.
To display the information indicators in German.
To display the information indicators in Italian.
To display the information indicators in Chinese
(traditional).
To display the information indicators in Chinese
(simplified).
To display the information indicators in Greek.
To make the demonstration appear.
To cancel the demonstration mode.
POWER
switch
CAMERA
CAMERA
PLAYER
CAMERA
PLAYER
CAMERA
CAMERA
Notes on ORC setting
•Each time you eject the cassette, the ORC setting will be cancelled. If necessary, set the setting.
•You cannot use this setting on a tape with the red mark on the cassette exposed.
(i. e. the tape is write-protected)
•When you set ORC TO SET, a non-recorded section of about 0.1 second appears on the tape.
However, note that this non-recorded section disappears from the tape when you continue recording
from this section.
•To check if you have already set the ORC setting, select ORC TO SET in the menu settings. “ORC
ON” is displayed if ORC TO SET is already set.
83
Customising Your Camcorder
Выполнение индивидуальных установок на видеокамере
Changing the menu settings
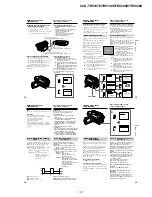
In more than 5 minutes after removing the power source
The “COMMANDER”* item is returned to the default setting.
The other menu items are held in memory even when the battery is removed.
Recording a close-up picture
When REC LAMP is set to ON, the red recording lamp on the front of the camcorder may reflect
on the subject if it is close. In this case, we recommend you set REC LAMP to OFF.
* CCD-TRV107E/TRV208E/TRV408E only
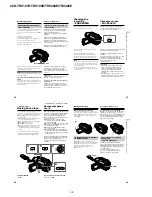
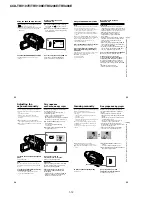
Icon/item
WORLD TIME
BEEP
COMMANDER
*
DISPLAY
REC LAMP
POWER
switch
CAMERA
PLAYER
CAMERA
PLAYER
CAMERA
PLAYER
CAMERA
CAMERA
Mode
——
z
MELODY
NORMAL
OFF
z
ON
OFF
z
LCD
V-OUT/LCD
z
ON
OFF
Meaning
To set the clock to the local time.
Turn the SEL/PUSH EXEC dial to set the time
difference. The clock changes by the time
difference you set here. If you set the time
difference to 0, the clock returns to the originally
set time.
To output the melody when you start/stop
recording or when an unusual condition occurs
on your camcorder.
To output the beep instead of the melody.
To cancel the melody and beep sound.
To activate the Remote Commander supplied
with your camcorder.
To deactivate the Remote Commander to avoid
unintentional operations caused by other VCR’s
remote control.
To show the display on the LCD screen and in the
viewfinder.
To show the display on the TV screen, LCD
screen, and in the viewfinder.
To light up the recording lamp at the front of your
camcorder when recording.
To turn the recording lamp off so that the subject
is not aware of the recording.

