22
Preparatory Settings
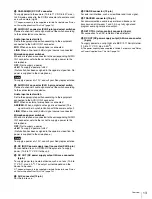
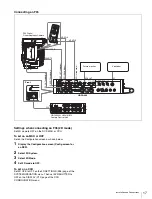
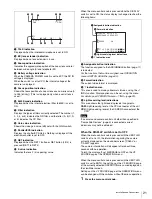
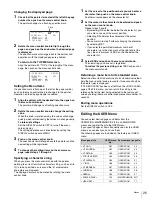
The pointer (
,
) starts flashing, and the settings on the VF
SOURCE page can be changed.
The information will disappear after about three seconds
with no operation.
2
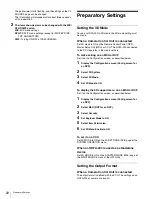
The items shown below can be changed with the MIX/
SPLIT/DIFF switch.
MIX:
MIX mode settings
SPLIT:
SPLIT mode settings (except for SIDE BY SIDE,
TOP AND BOTTOM)
DIFF:
Turning ON/OFF of CAM-CHROMA
Preparatory Settings
Setting the 3D Mode
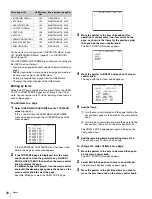
To use an HDFA-200 in 3D mode, the 3D mode setting must
be made.
When a Camera Control Unit is connected
Set 3D mode to ON on the Remote Control Panel (RCP),
Master Setup Unit (MSU) or CCU. The HDFA-200 connected
to the CCU operates in the mode set here.
To make setting on an MSU or RCP
Set it on the Configuration screen, as described below.
1
Display the Configuration screen (Config screen for
an RCP).
2
Select 3D System.
3
Select 3D Mode.
4
Set 3D Mode to ON.
To display the 3D support menu on an MSU or RCP
Set it on the Configuration screen, as described below.
1
Display the Configuration screen (Config screen for
an RCP).
2
Select MSU (RCP for an RCP).
3
Select Security.
4
Set Engineer Mode to ON.
5
Select Item Permission.
6
Set 3D Menu Enable to ON.
To set it on a CCU
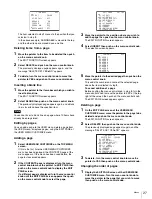
Set 3D MODE to ON on the 3D SETTINGS (S08) page of the
SYSTEM OPERATION menu.
When an HDFA-200 is used as a standalone
device
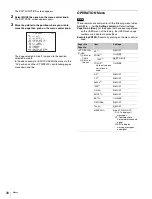
Set 3D MODE to ON on the ADAPTER MODE (M05) page of
the MAINTENANCE menu of the HDFA-200.
Setting the Output Format
When a Camera Control Unit is connected
The output format is defined with the CCU. The settings on an
HDFA-200 or camera are invalid.

