39
Recording
Cha
p
te
r 4
Re
c
o
rdin
g
a
nd Pla
y
bac
k
2
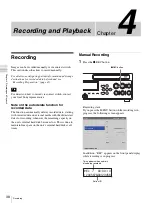
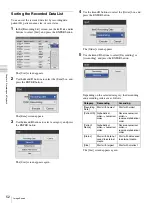
To stop recording, press the
x
STOP button.
If the [MENU] screen is displayed, you can also press
the ENTER button to stop recording. In such cases,
continue with the following steps.
3
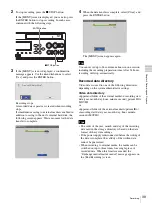
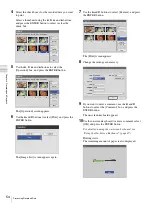
If the [MENU] screen is displayed, a confirmation
message appears. Use the
B
and
b
buttons to select
[Yes], and press the ENTER button.
Recording stops.
A recorded data separator is created when recording
stops.
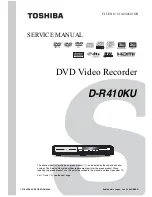
If simultaneous saving to external media is enabled in
addition to saving to the unit’s internal hard disk, the
following screen appears. Wait a moment for the data
transfer to complete.
4
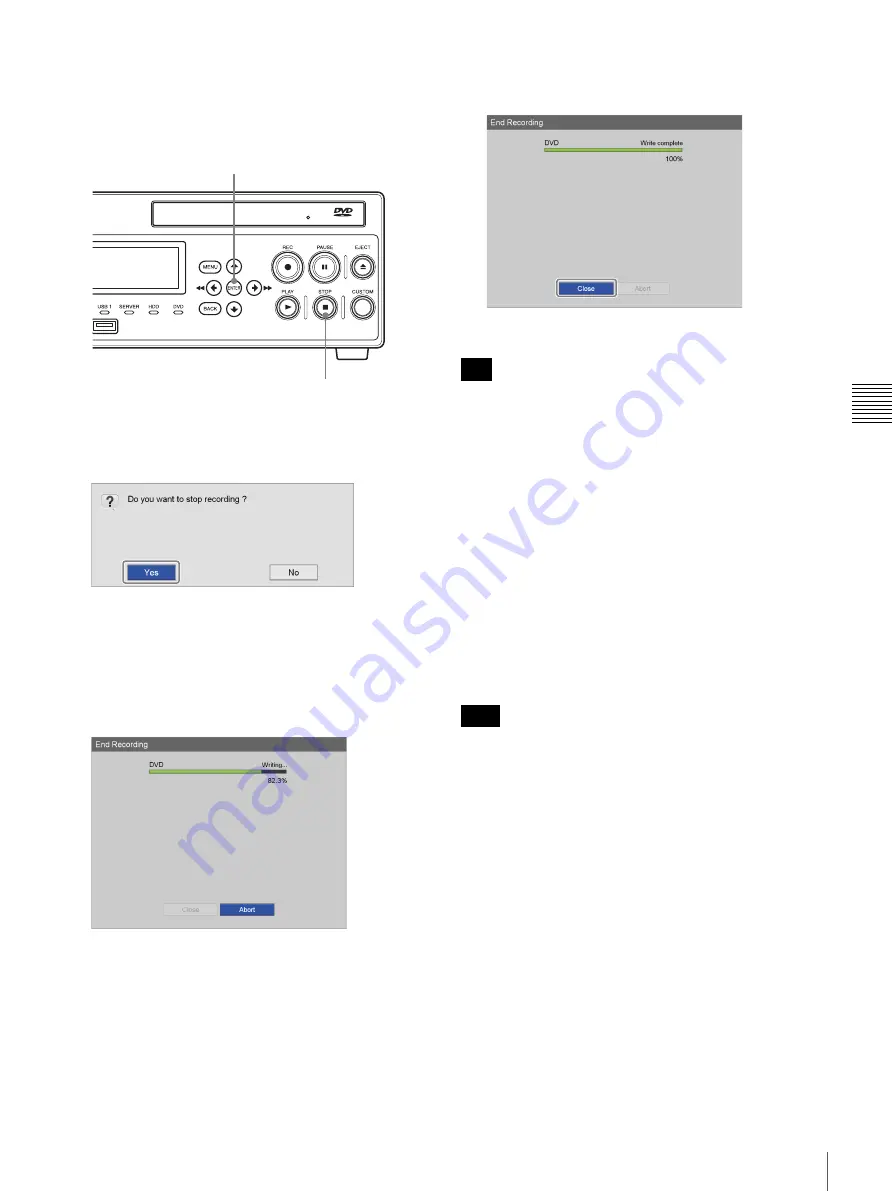
When the data transfer is complete, select [Close], and
press the ENTER button.
The [MENU] screen appears again.
You can record up to 24 continuous hours in one session,
including the recording preparation time. After 24 hours,
recording will stop automatically.
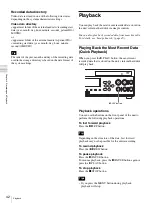
Recorded data directory
Video data is stored in one of the following directories,
depending on the system administrator settings.
Video data directory
<uppermost folder of the external media>/<recording start
date (year, month, day, hour, minute, second)_patient ID>/
MOVIE/
or
<uppermost folder of the external media>/<patient ID>/
<recording start date (year, month, day, hour, minute,
second)>/MOVIE/
• The order of the year, month, and day of the recording
date used in the storage directory is based on the date
format of the system settings.
• If the power supply is disconnected before the writing of
the data is complete, the validity of the written data
cannot be guaranteed.
• When recording to external media, the media can be
switched out up to three times for a single piece of
recorded data. When this limit is exceeded, the
“Exchange media limit exceeded” message appears on
the [End Recording] screen.
x
STOP button
ENTER button
Tip
Tips
Summary of Contents for HVO-500MD
Page 106: ......


