45
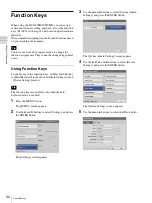
Recording Preparation
Cha
p
te
r 4
Re
c
o
rdin
g
a
nd Pla
y
bac
k
The procedures must be registered beforehand.
For details on this setting, see “Registering Cases”
(page 96).
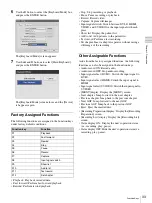
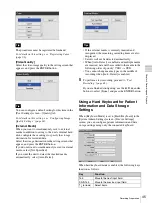
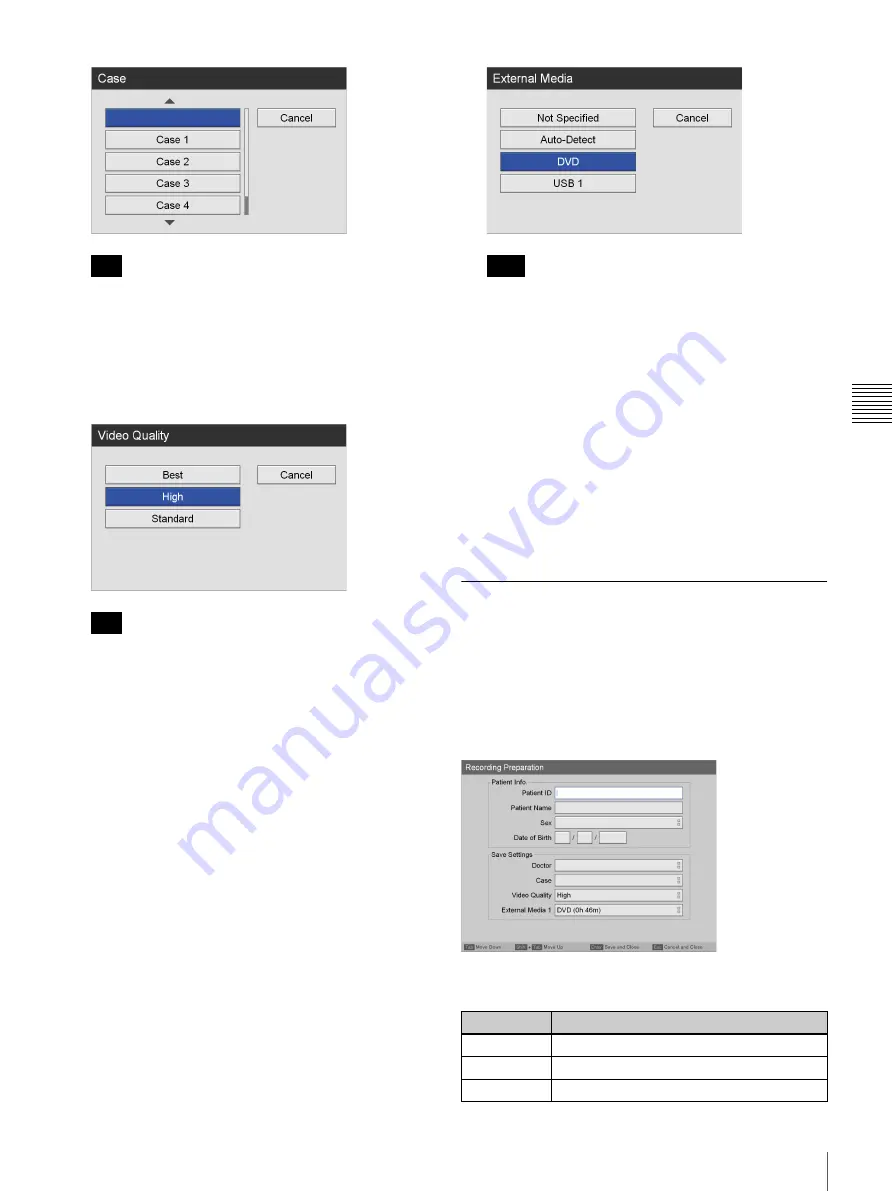
[Video Quality]
Select the video image quality in the setting screen that
appears, and press the ENTER button.
You can configure a default setting for this item in the
[User Settings] screen – [Quality] tab.
For details on this setting, see “Configuring Image
Quality Settings” (page 24).
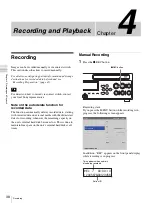
[External Media]
When you want to simultaneously save to external
media in addition to saving to the unit’s internal hard
disk, configure these settings to specify the storage
destination for recorded data.
Select the storage destination in the setting screens that
appear, and press the ENTER button.
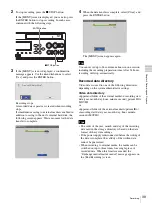
If you do not want to simultaneously record to external
media, select [Not Specified].
If you want the unit to detect the inserted media
automatically, select [Auto-Detect].
• If the external media is currently inserted and
recognized, the remaining recording times are also
displayed.
• Servers will not be detected automatically.
• When [Auto-Detect] is enabled and multiple media
are inserted, data will be recorded to the media in the
following order of priority: USB1
t
DVD.
• You cannot change media types in the middle of
recording when [Auto-Detect] is enabled.
5
To perform a test recording, proceed to
.
If you are finished configuring, use the
V
,
v
,
B
, and
b
buttons to select [Done], and press the ENTER button.
Using a Hard Keyboard for Patient
Information and Data Storage
Settings
When [Keyboard Mode] is set to [Hard Keyboard] in the
[System Admin Settings] screen - [Device Settings]
screen, you can configure patient information and data
storage settings using only the connected keyboard.
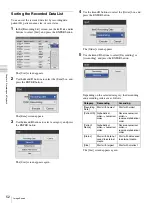
When hard keyboard mode is enabled, the following keys
function as follows.
Tip
Tip
Tips
Key
Function
Tab
Move to the next input field.
Shift+Tab
Move to the previous input field.
R
r
(arrows)
Select items.
Summary of Contents for HVO-500MD
Page 106: ......


