56
Processing Recorded Data
C
h
ap
te
r 4
R
e
c
o
rd
in
g
an
d
P
lay
ba
c
k
5
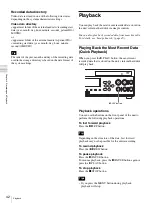
Use the
V
,
v
,
B
, and
b
buttons to select [Execute], and
press the ENTER button.
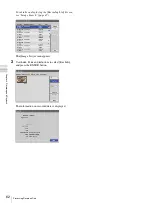
The [Save to] screen appears.
6
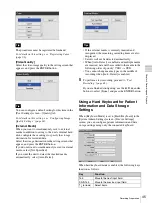
Configure save settings for the recorded data.
Select an item using the
V
and
v
buttons, and press the
ENTER button to display the setting screen for that
item.
[External Media]
Select the storage destination, and press the ENTER
button.
[File Server]
If [SERVER] is selected as the external storage
destination, select a file server (the server configured
for each doctor), and press the ENTER button.
7
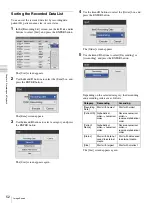
Use the
V
and
v
buttons to select [Execute], and press
the ENTER button.
Copying of recorded data starts.
To cancel copying, select [Abort] and press the
ENTER button.
8
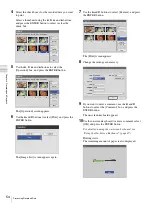
Select [Close], and press the ENTER button.
The [Recording List] screen appears again.
To select data for copying from the [Image
List] (thumbnail display) screen
This section describes how to select thumbnail images of
recorded data in the [Image List] screen for copying onto
external media. You can select whether to copy videos or
still images with this procedure.
1
If you are copying to a DVD disc or USB memory
device, insert the media into the unit.
2
Select [Image List] for the operation box in the
[Recording List] screen.
Tip
Summary of Contents for HVO-500MD
Page 106: ......

