74
Function Settings
Chapt
er 5 Sy
s
te
m
A
d
minis
trat
o
r Se
tt
ing
s
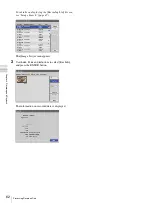
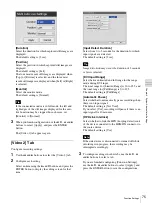
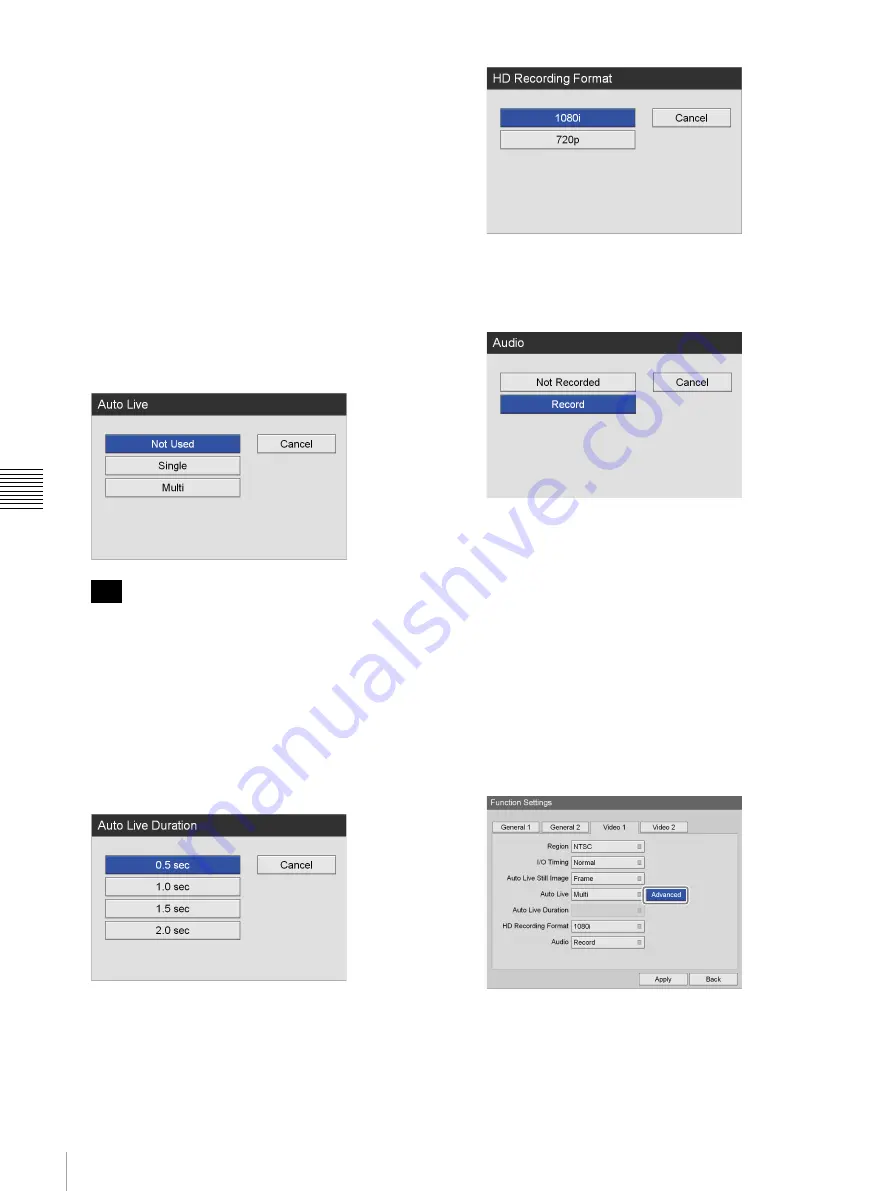
[Auto Live]
Select whether to use the auto live function in the
setting screen that appears, and press the ENTER
button.
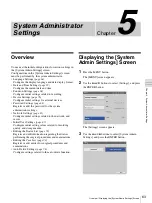
When the auto live function is enabled and you capture
a still image, the captured image is displayed for the
duration specified with the [Auto Live Duration]
setting.
When using the auto live function, you can also select
whether to display a single captured image or multiple
images.
In multi auto live, three or four captured images are
displayed depending on the display position setting.
[Advanced] appears when [Multi] is selected.
The default setting is [Not Used].
For details on this setting, see “To configure multi
auto live settings” (page 74).
If [Auto Live] is set to [Single] or [Multi] while [I/O
Timing] is set to [Pass-Through], the auto live function
will not function.
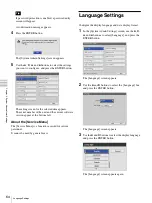
[Auto Live Duration]
This setting can be configured when [Auto Live] is set
to [Single] or [Multi].
Select the duration for which still images are displayed
after capture in the setting screen that appears, and
press the ENTER button.
The default setting is [0.5 sec].
[HD Recording Format]
Select the HD format to use during recording in the
setting screen that appears, and press the ENTER
button.
The default setting is [1080i].
[Audio]
Select whether to record audio in the setting screen
that appears, and press the ENTER button.
The default setting is [Record].
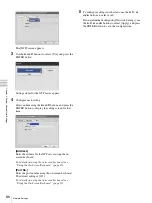
3
To configure settings in other tabs, use the
V
,
v
,
B
,
and
b
buttons to select a tab.
If you are finished configuring [Function Settings],
use the
V
,
v
,
B
, and
b
buttons to select [Apply], and
press the ENTER button to save the configurations.
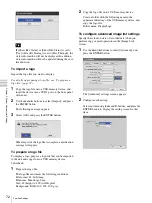
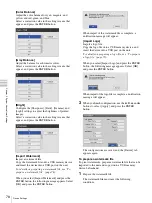
To configure multi auto live settings
Configure duration and position settings for the captured
images that are displayed when using the multi auto live
function.
1
Use the
B
and
b
buttons to select [Advanced], and
press the ENTER button.
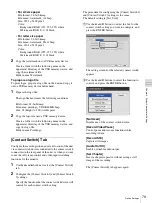
2
Configure each setting.
Select an item using the
V
and
v
buttons, and press the
ENTER button to display the setting screen for that
item.
Tip
Summary of Contents for HVO-500MD
Page 106: ......


