81
Device Settings
C
h
a
p
te
r 5
S
yst
em
Ad
m
in
is
tr
a
to
r Se
tt
in
g
s
3
Use the
B
and
b
buttons to select [Advanced], and
press the ENTER button.
The [Advanced] screen appears.
4
Use the
V
and
v
buttons to select the setting you
want to configure, and press the ENTER button.
The default setting is [Not Controlled].
[Camera Input]
Configure this to output images from an endoscopic
device onto the monitor.
[Recorder Input]
Configure this to output images from this unit onto
the monitor.
[Tally Lamp]
Configure this to indicate the recording status via
the tally lamp on the monitor.
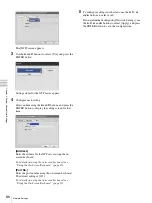
The pin assignment screen appears.
5
Use the
V
and
v
buttons to select a pin number, and
press the ENTER button.
From the eight pins on the monitor connector,
assign one pin each for camera signal inputs
(endoscopic image inputs), recorder signal inputs
(image inputs from this unit), and the recording
status tally lamp (tally lamp on/off) control.
• Pin number 5 is reserved for GND and cannot be
selected.
• The same pin number cannot be configured for
contact switches 1 and 2.
• Pin assignment settings will vary depending on
the monitor. Refer to the operating instructions
for your monitor.
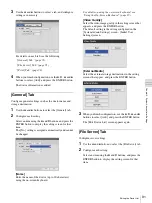
The [Advanced] screen appears again.
6
When you finish configuration, use the
V
and
v
buttons to select [Apply], and press the ENTER
button.
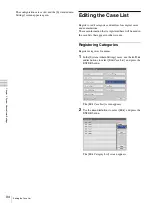
The [Contact Switch] tab appears again.
4
To configure settings in other tabs, use the
V
,
v
,
B
,
and
b
buttons to select a tab.
If you are finished configuring [Device Settings], use
the
V
,
v
,
B
, and
b
buttons to select [Apply], and press
the ENTER button to save the configurations.
Tips
Summary of Contents for HVO-500MD
Page 106: ......


